
PDF · A4 · 10 KB · Free, no sign-up. For home and classroom use.
Penguin colouring page
A penguin standing on a block of ice, drawn in a few big shapes that fill fast with any medium.
This penguin faces straight out of the page, standing upright on a block of ice. Two round eyes sit close together above a small beak, a flipper comes off each side of the body, and two webbed feet spread out flat at the bottom. The body itself is one tall oval with a line running down inside it to separate the pale front from the darker back and sides. The block of ice under the feet is a simple slab with straight edges. Black outline, white paper, and nothing else in the scene.
Work from the middle outward. The front panel is the biggest single area and it is meant to stay light, so decide early whether you are leaving it as bare paper or laying a faint tone across it; once the back is dark, a light front is hard to add without the two smearing together. The back, the head and the outer flippers can then go down heavy. Fill the ice last, so you can judge how cold or how warm to make it against the bird already sitting on it.
The eyes, the beak and the toes are the only tight spots on the page. Both eyes are small circles, and the simplest treatment is to fill each one solid and leave a speck of white paper off-centre as a highlight; pressing hard to force colour into the last sliver usually ends with a ring of stray marks around the eye instead. The webbed feet have short dividing lines between the toes, and those stay visible only if you keep your stroke running along them rather than across them.
Because so much of the bird is one broad dark mass, this sheet rewards anything that covers evenly. A marker gives the flattest back and the sharpest edge against the white front. Coloured pencil over the same area takes longer and leaves its strokes on show, an option that reads more like feathers. Crayon on the ice block produces a nice broken texture where the wax skips, and a watercolour pencil brushed lightly over the slab softens it into something that looks wet. Whatever you use on the front panel, keep it far lighter than the tool used on the back.
The familiar version is a dark back, a pale front, a beak and feet in warmer orange or grey, and ice somewhere between white and pale blue. That is a fine target, and the drawing is laid out to make it easy. It is not a requirement. A purple back with a yellow front still reads as a penguin, because the shape does all the work, and the ice block is a free surface: green, pink, striped, or left blank so the bird appears to stand on the page itself.
Penguins are birds that swim instead of flying, and their flippers are stiff, narrow wings built for pushing through water. Standing upright is their ordinary posture on land, which is why this drawing does not look posed. The webbed feet do double duty as paddles and as a wide base for balance. A pale front with a dark back is an arrangement shared by many animals that swim. The slab under this one is more a stage than a habitat, giving the bird a flat line to stand on instead of floating in open white.
Send it to plain A4 paper at full size; scaling it down tightens the gaps between the toes and the ring around each eye. Card is an option worth considering on this sheet, because a solid dark back laid down in marker puts a lot of ink in one place and thin paper cockles as it dries. Printing a pair means one person can go realistic while the other goes strange, and the two look good next to each other precisely because the outline underneath is identical.
A finished penguin cuts out cleanly, since the outer edge is almost all smooth curve, and the ice block gives you a flat base to glue onto card so the bird stands above a straight line. It also holds up well on a window, where the dark back stays solid and the pale front lets light through. Taken on its own terms, this is a drawing of few lines and wide open shapes: this one asks you to handle a few large areas carefully, and the whole result depends on how evenly you fill the body.
Before you print
- Decide what the front panel will be before you darken the back, because a light area cannot be recovered later.
- Leave a speck of bare paper inside each eye rather than trying to add a highlight on top of the fill.
- Stroke along the toe lines, not across them, so the webbing still reads at the bottom of the page.
- Give the ice block a colour unlike the back, or the two shapes merge into one silhouette.
- Use card if the back is going down in marker; a solid dark fill buckles thin paper as it dries.
Published Updated 742 words
More in this section
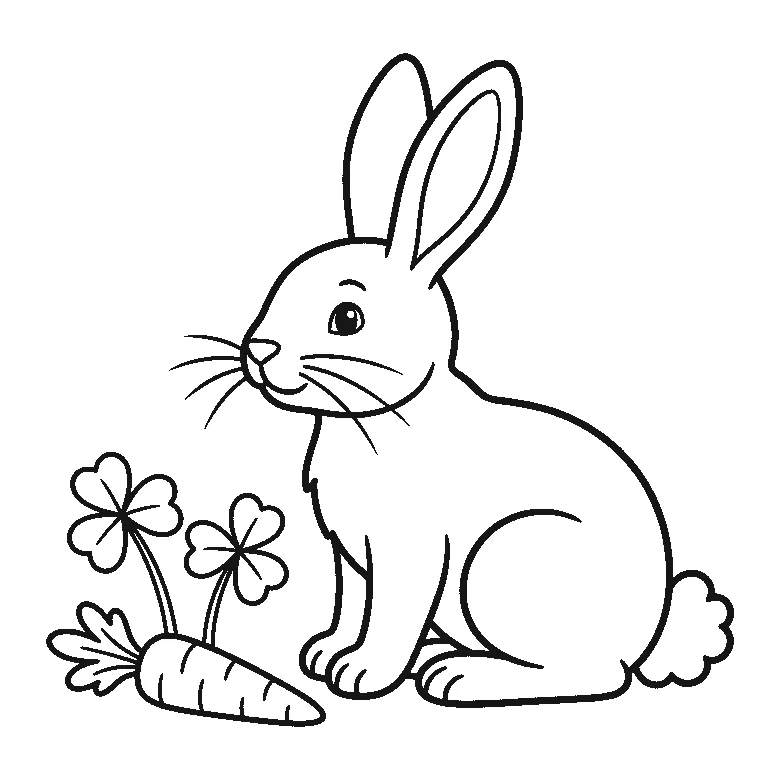
Rabbit colouring page
A sitting rabbit with tall ears, whiskers and a fluffy tail, plus a carrot and two clover flowers.
Colouring outline drawn by us.
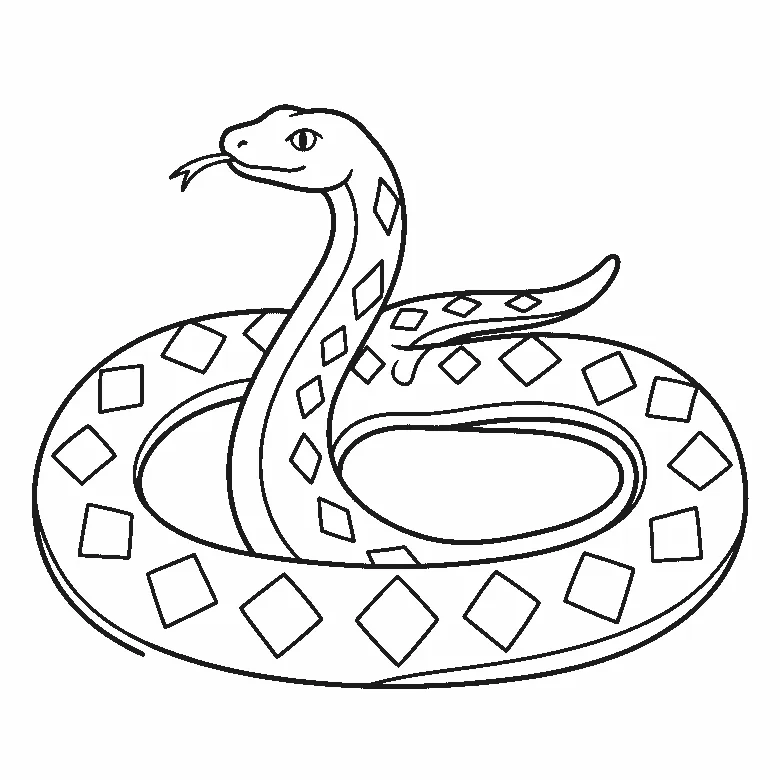
Snake colouring page
A coiled snake with a raised head, forked tongue, and a row of big diamonds down its back, free to print on A4.
Colouring outline drawn by us.
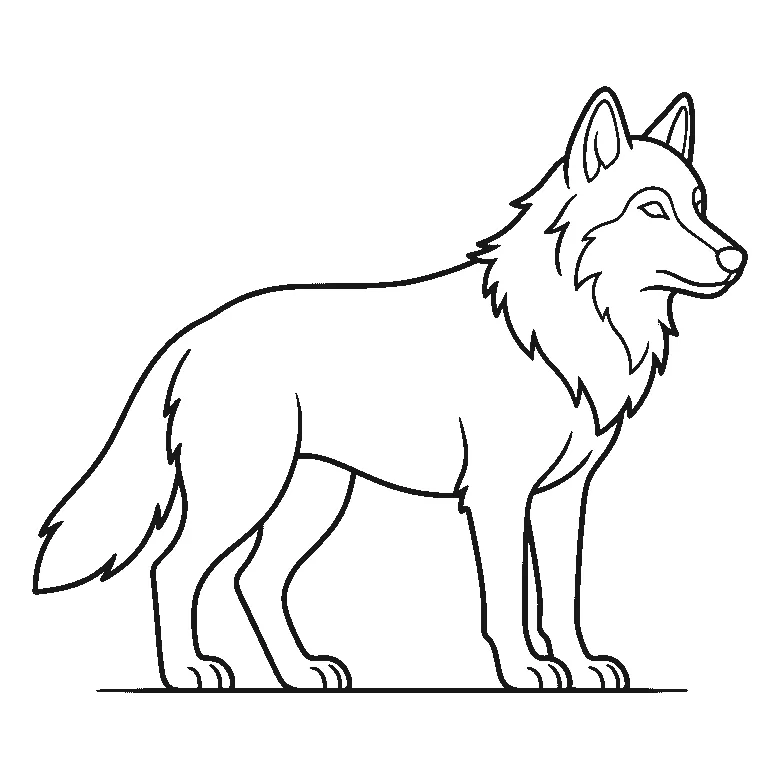
Wolf colouring page
A wolf in profile on a ground line, with a heavy neck ruff and a thick brush tail, printable free at A4.
Colouring outline drawn by us.
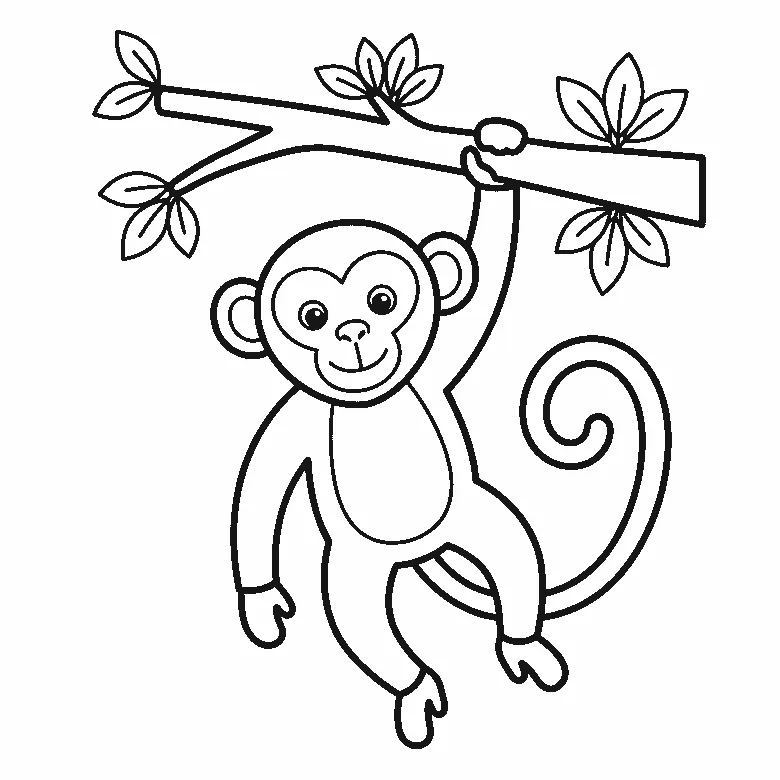
Monkey colouring page
A monkey swinging one-handed from a leafy branch with its tail curled into a spiral, free to print on A4.
Colouring outline drawn by us.
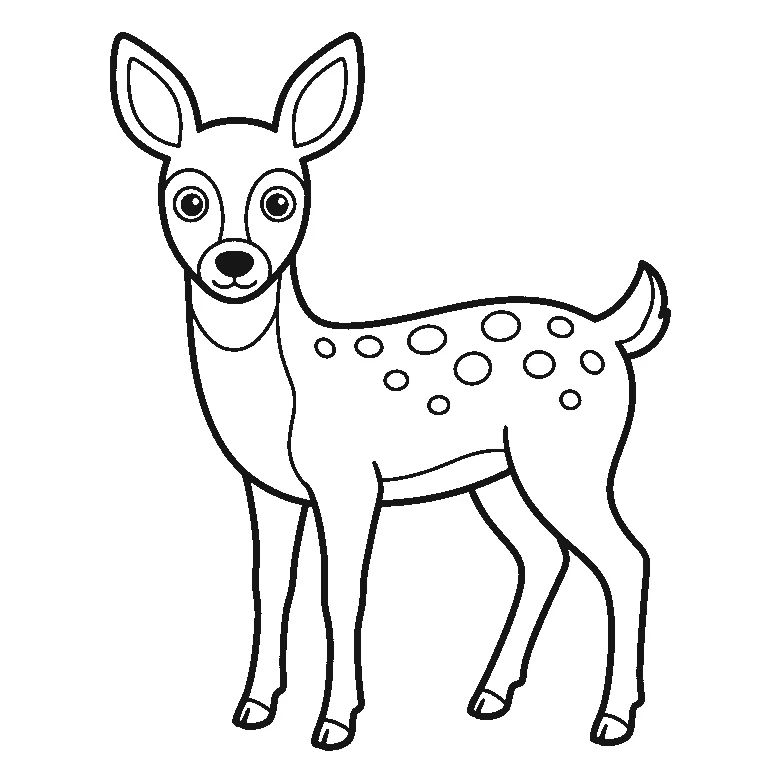
Deer colouring page
A young spotted fawn in profile, head turned forward, with rows of oval spots along the flank to fill one by one.
Colouring outline drawn by us.
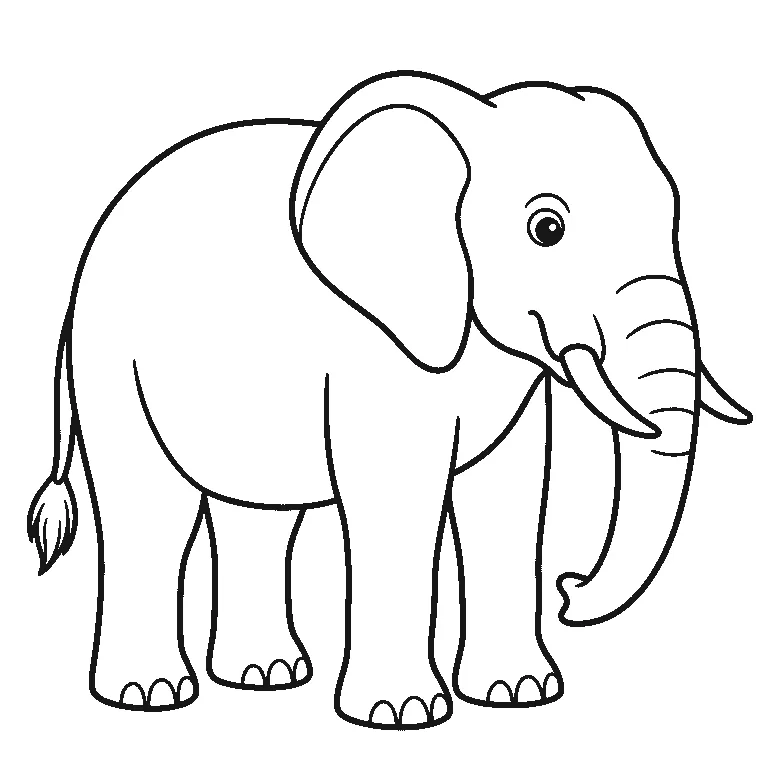
Elephant colouring page
An elephant in profile with a wide ear, two short tusks and a curling trunk, drawn in broad areas that fill fast.
Colouring outline drawn by us.
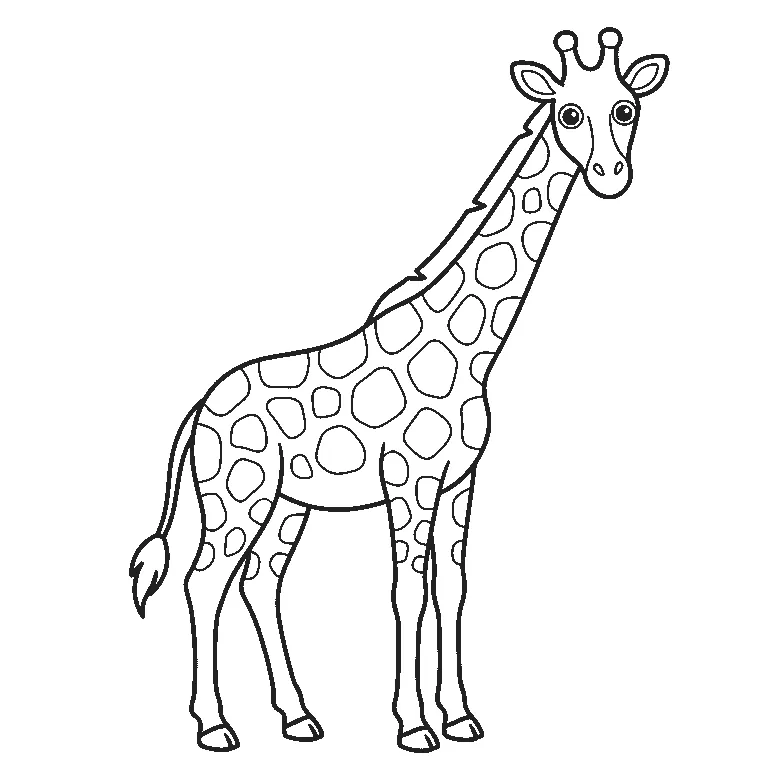
Giraffe colouring page
A tall giraffe in profile, patched from cheek to hoof, with dozens of small rounded shapes to colour one at a time.
Colouring outline drawn by us.
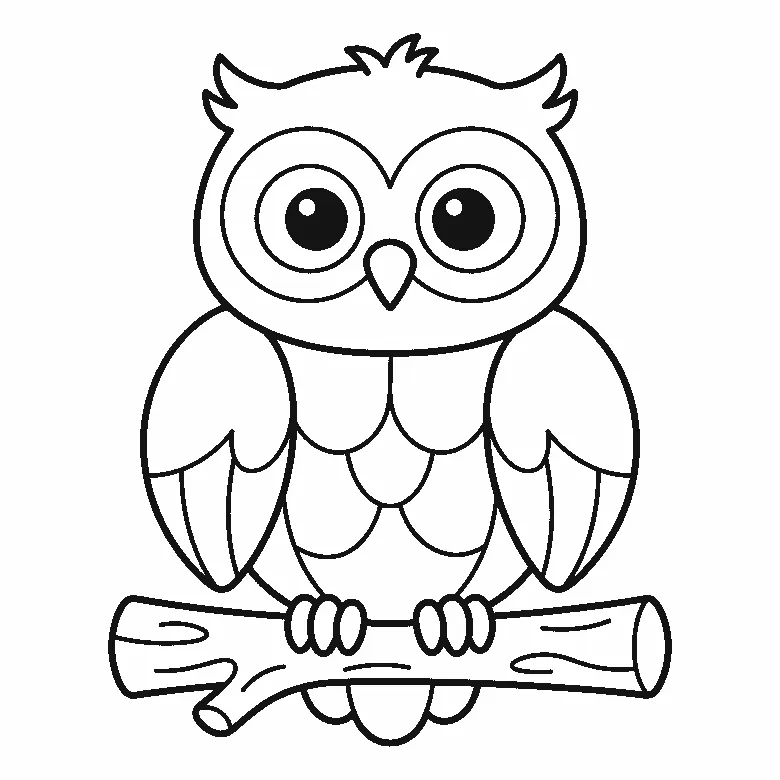
Owl colouring page
A front-facing owl on a thick branch, with two big round eyes and rows of wing feathers to fill in.
Colouring outline drawn by us.

Butterfly colouring page
Wide open wings patterned in circles and teardrops, symmetrical enough to colour one half at a time.
Colouring outline drawn by us.
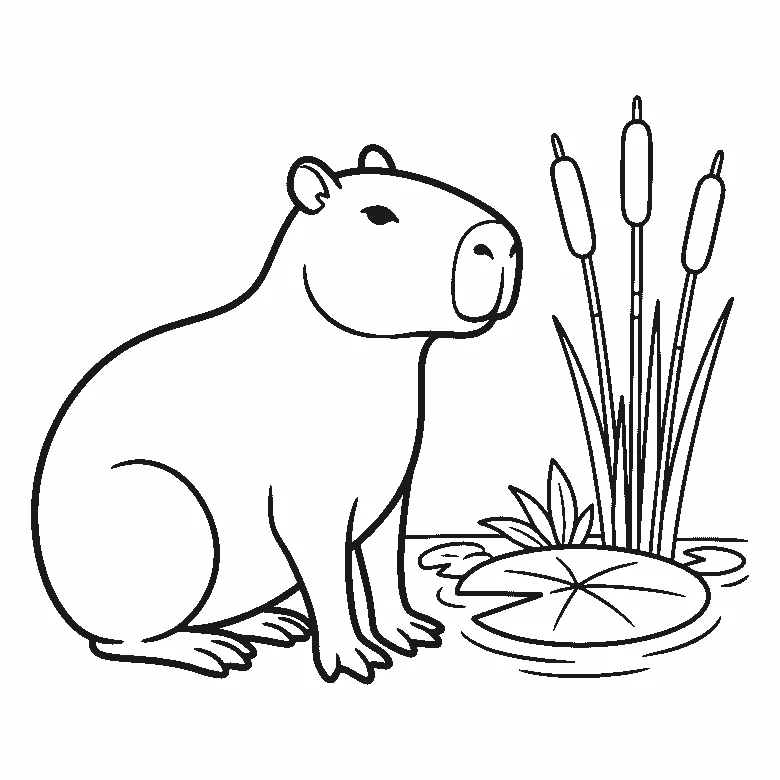
Capybara colouring page
A capybara sitting at the water's edge beside a lily pad and three bulrushes, in plain black outlines.
Colouring outline drawn by us.
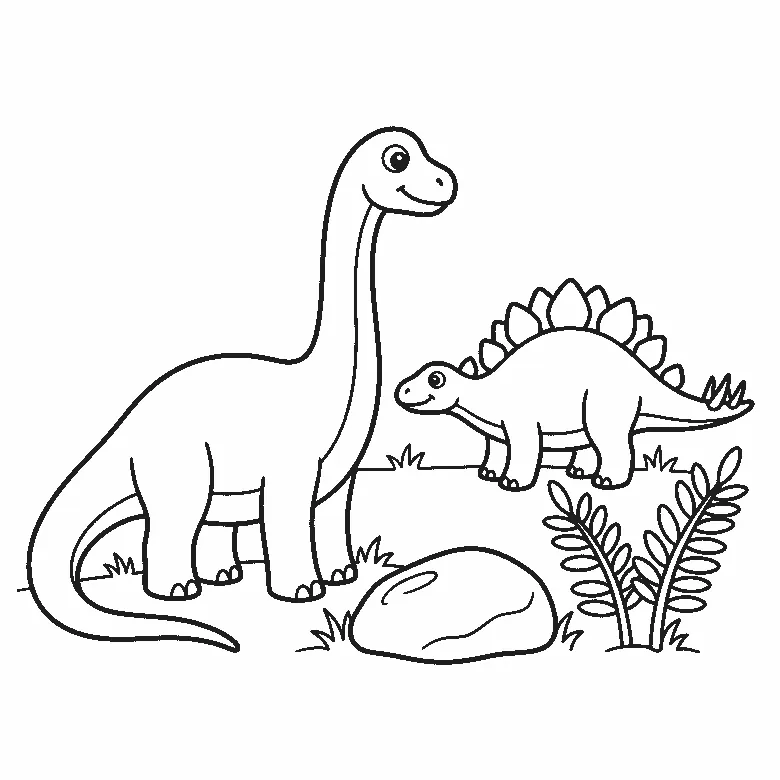
Dinosaur colouring page
Two dinosaurs, a boulder, a fern and tufts of grass in black outline, ready to print on A4 paper.
Colouring outline drawn by us.
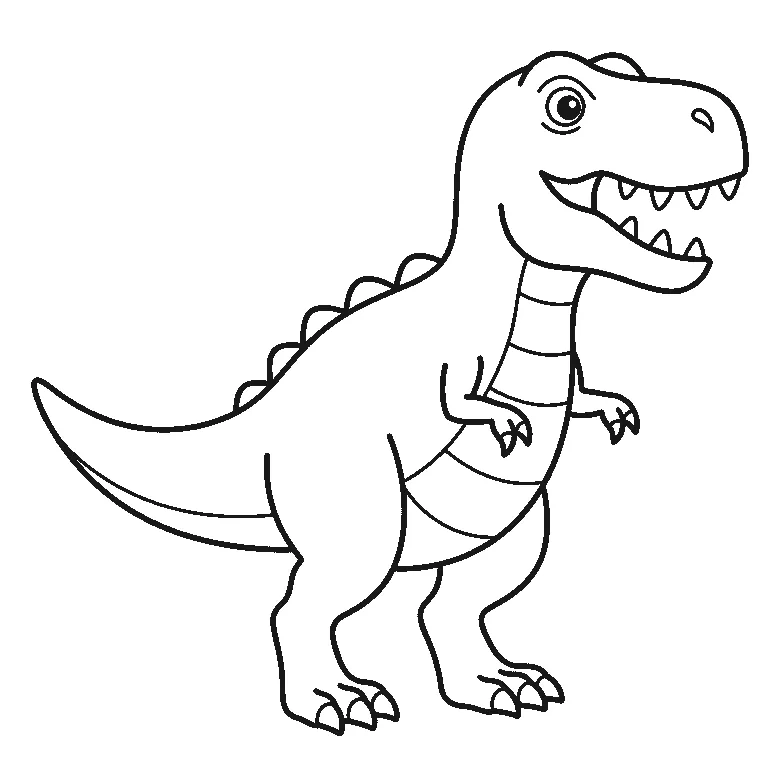
T. rex colouring page
A T. rex in profile with an open mouth, pointed teeth, small arms and a long tail, on plain white.
Colouring outline drawn by us.


