
PDF · A4 · 12 KB · Free, no sign-up. For home and classroom use.
Deer colouring page
A young spotted fawn in profile, head turned forward, with rows of oval spots along the flank to fill one by one.
The sheet holds one young fawn, drawn in profile so the whole body reads across the page, with the head turned forward to meet the reader. Two round eyes sit close together above a small muzzle, and two ears stand upright from the top of the skull. Rows of oval spots run across the flank, each one a closed shape waiting for its own colour. Everything is black outline on white, with no shading and no background, so the paper around the fawn stays empty unless you decide to fill it yourself.
The flank is the largest open area, and it is broken up by the spots, which changes the order you should work in. Fill the coat first in one steady direction, going around each oval rather than over it, then come back and put a lighter or darker tone inside the spots. Working that way keeps the spot edges clean. If you fill the spots first, the coat colour tends to creep over their outlines and the neat rows lose their crispness before you are halfway down the body.
A coloured pencil has an easy job on this drawing, because the coat wants two close tones rather than one flat block and a pencil can lay one over the other. Lay a light layer over the whole flank, then press a little harder along the belly line and under the neck to suggest roundness. Crayon works too, though a broad crayon tip will skip over the small ovals and blur them together. A fine marker can trace the spots cleanly but will flood them if you hold the tip in place, so keep the stroke moving.
A fawn's coat is usually a warm reddish brown with paler spots, the ears lined with a lighter shade inside, the nose and hooves close to black. Those are easy choices and they look right. They are not required. A blue fawn with white spots, a green one, a fawn coloured in bands from nose to tail: nothing on the sheet enforces the brown. The outline is the only fixed thing on the page, and the ink holds the shape together no matter what goes inside it.
Fawns are born with spotted coats and lose the spots as they grow, so a spotted deer like this one is a young animal by definition. The ears are large in proportion to the head, which is part of why the face reads as young rather than adult. Deer walk on split hooves, and the split shows in the print they leave in soft ground. This drawing catches the animal standing still with the head turned, the posture a deer holds when it has heard something and has not yet decided to move.
Print it on plain A4 paper for pencil or crayon. Send it to the printer at actual size rather than fit-to-page, so the outline keeps the weight it was drawn with; scaling down thins the ink and the spot rows begin to close up. If markers are the plan, load heavier stock, since marker ink soaks through thin sheets and will leave a ghost of the fawn on whatever sits underneath. Running two copies at once lets two people colour the same fawn side by side and compare.
A finished fawn does well taped low on a window, where daylight comes through the paper and the coat colour glows a little. It also folds into a card: crease the sheet in half so the fawn faces out, and the blank half becomes the writing space. Cutting the fawn out along its outline gives you a standing figure if you glue a paper tab to the back. A folder cover is the flattest option and keeps the sheet from creasing on the way anywhere.
This sheet is built around repeated small shapes. The animals section holds an elephant sheet and a giraffe sheet as well, and the fawn here is a big open coat interrupted by tidy rows of ovals. Pick it when you want a sheet that rewards patience in one region and moves quickly everywhere else. The legs and the face are done in a short sitting; the flank is where the time actually goes.
Before you print
- Trace each row of spots lightly before filling the coat so you can see where to steer the pencil.
- Leave a thin white gap between the coat colour and each oval spot to keep the rows distinct.
- The two ears are small enclosed shapes, and a sharp pencil point reaches their inner corners where a crayon cannot.
- Keep the pressure light around the muzzle and eyes, since heavy strokes close up the small white areas that make the face read.
- Colour the four legs last, working downward, so your hand never drags across the finished flank.
Published Updated 704 words
More in this section
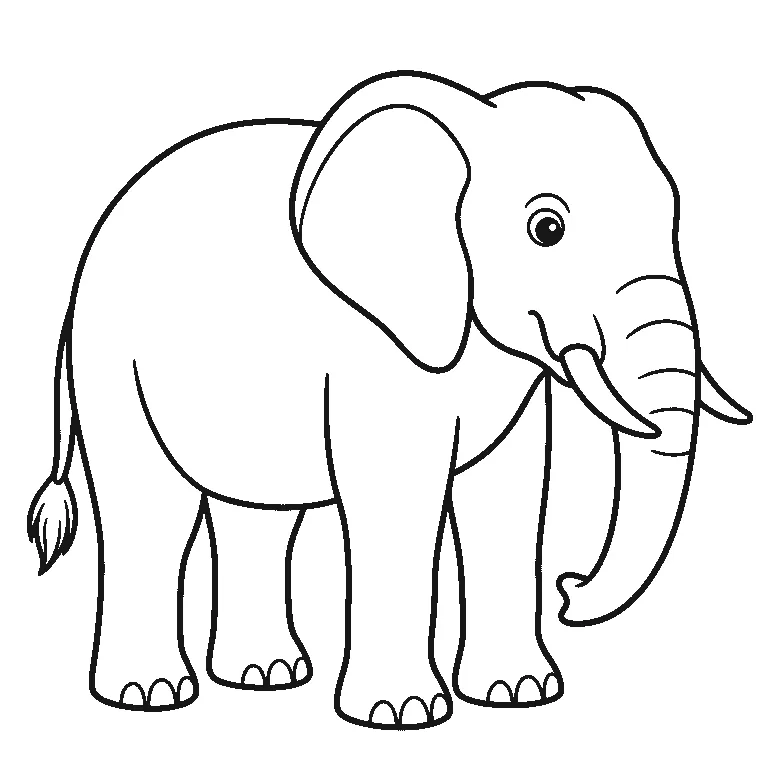
Elephant colouring page
An elephant in profile with a wide ear, two short tusks and a curling trunk, drawn in broad areas that fill fast.
Colouring outline drawn by us.
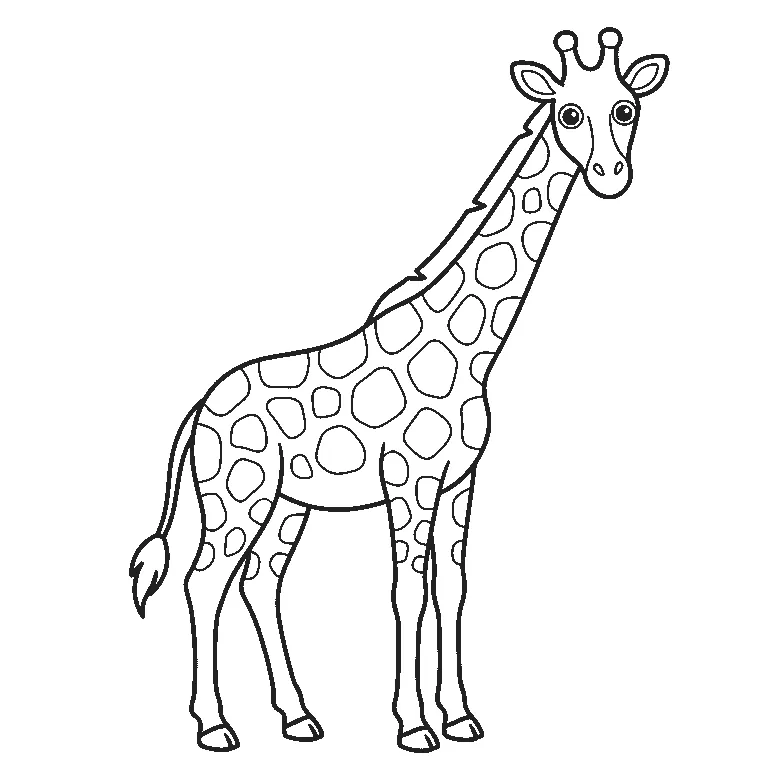
Giraffe colouring page
A tall giraffe in profile, patched from cheek to hoof, with dozens of small rounded shapes to colour one at a time.
Colouring outline drawn by us.
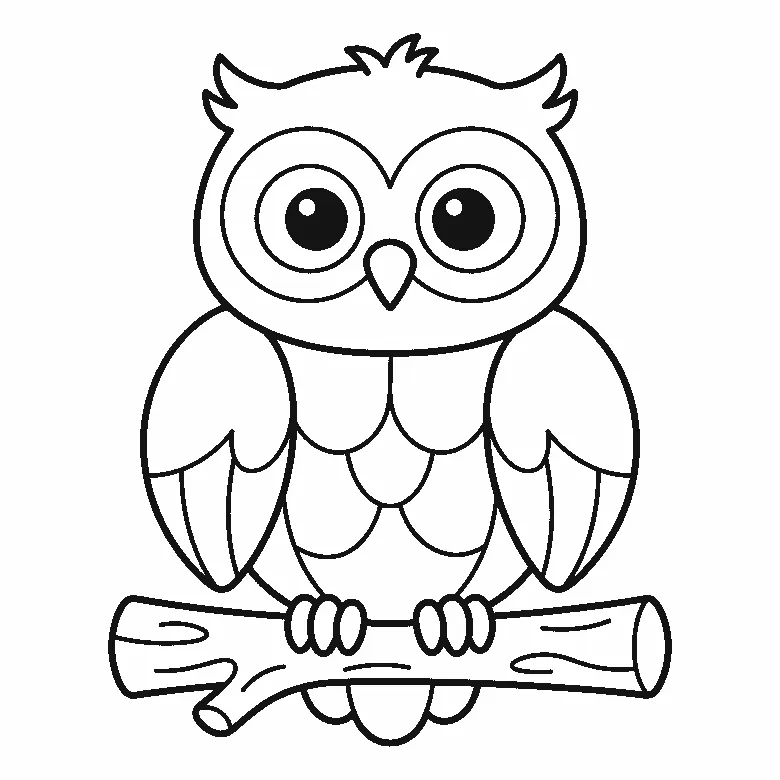
Owl colouring page
A front-facing owl on a thick branch, with two big round eyes and rows of wing feathers to fill in.
Colouring outline drawn by us.
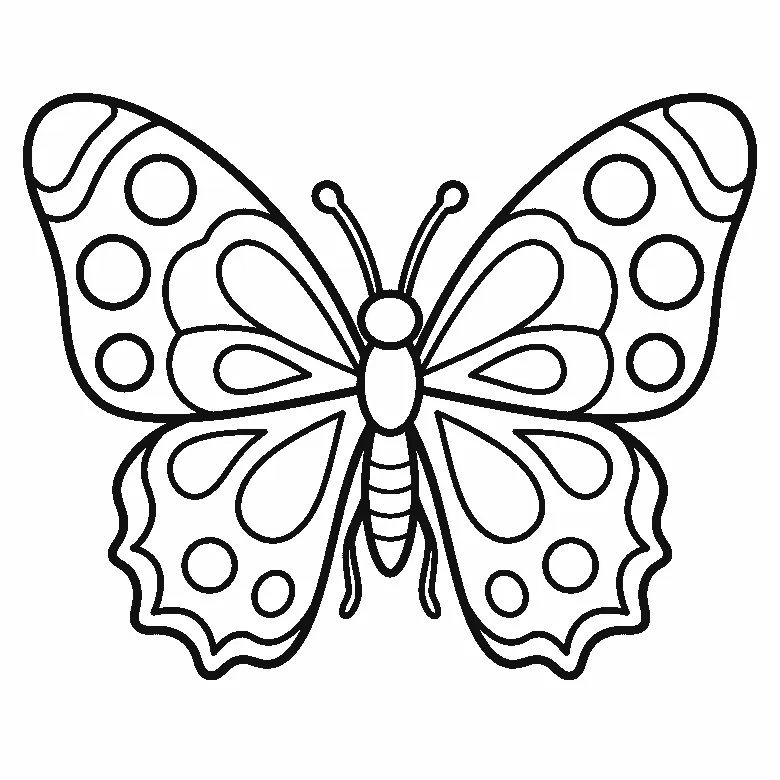
Butterfly colouring page
Wide open wings patterned in circles and teardrops, symmetrical enough to colour one half at a time.
Colouring outline drawn by us.
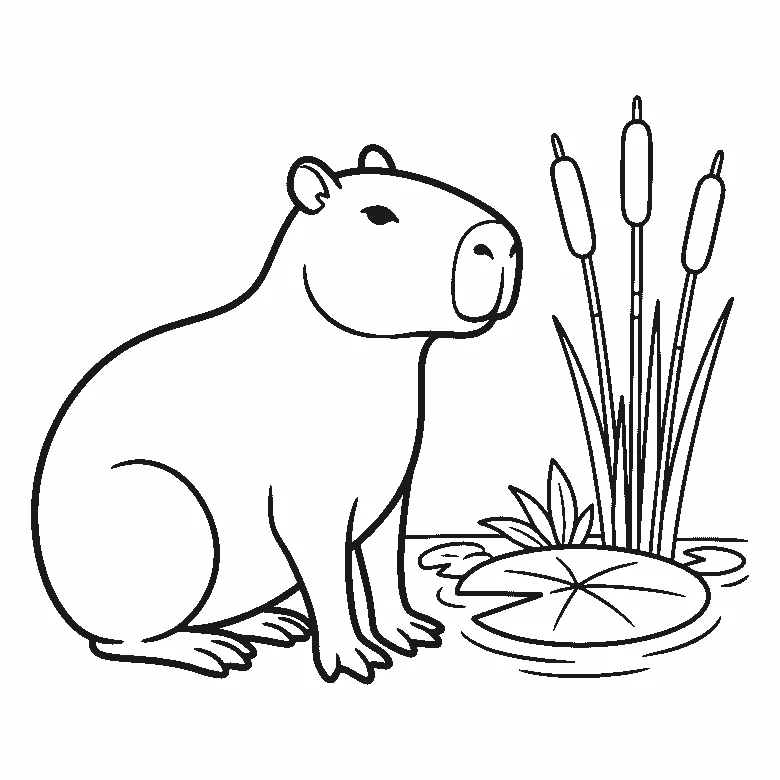
Capybara colouring page
A capybara sitting at the water's edge beside a lily pad and three bulrushes, in plain black outlines.
Colouring outline drawn by us.
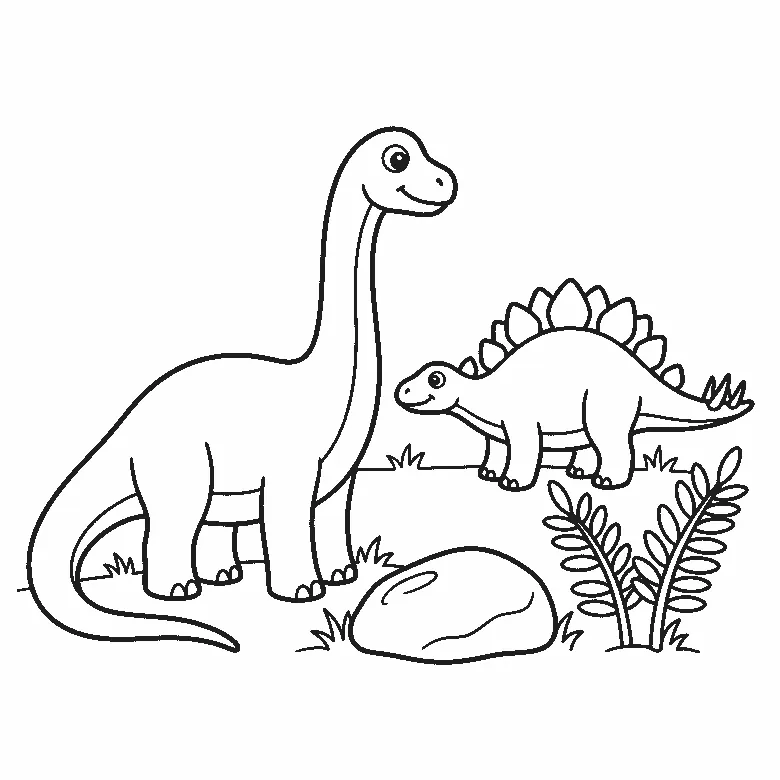
Dinosaur colouring page
Two dinosaurs, a boulder, a fern and tufts of grass in black outline, ready to print on A4 paper.
Colouring outline drawn by us.
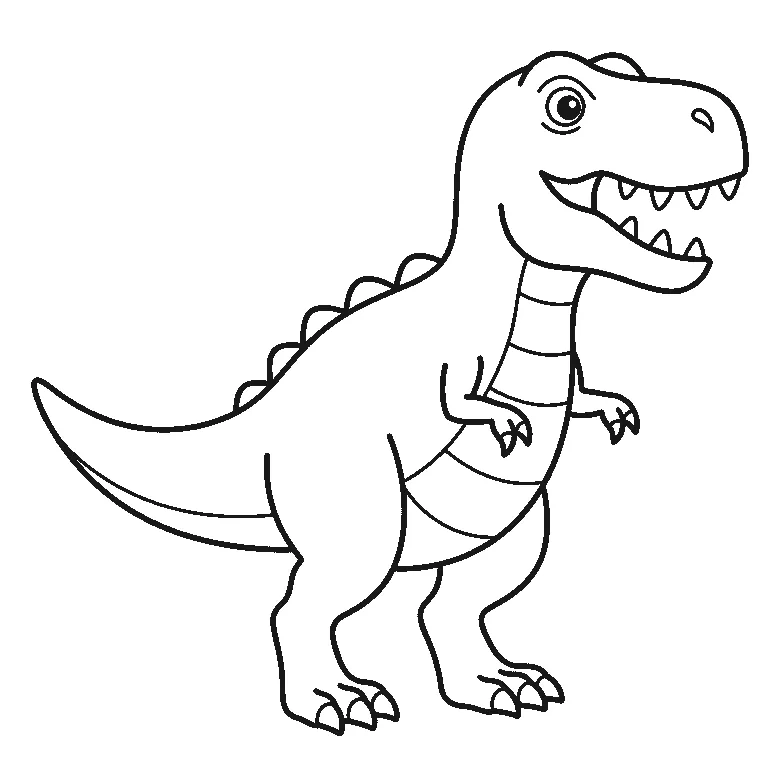
T. rex colouring page
A T. rex in profile with an open mouth, pointed teeth, small arms and a long tail, on plain white.
Colouring outline drawn by us.
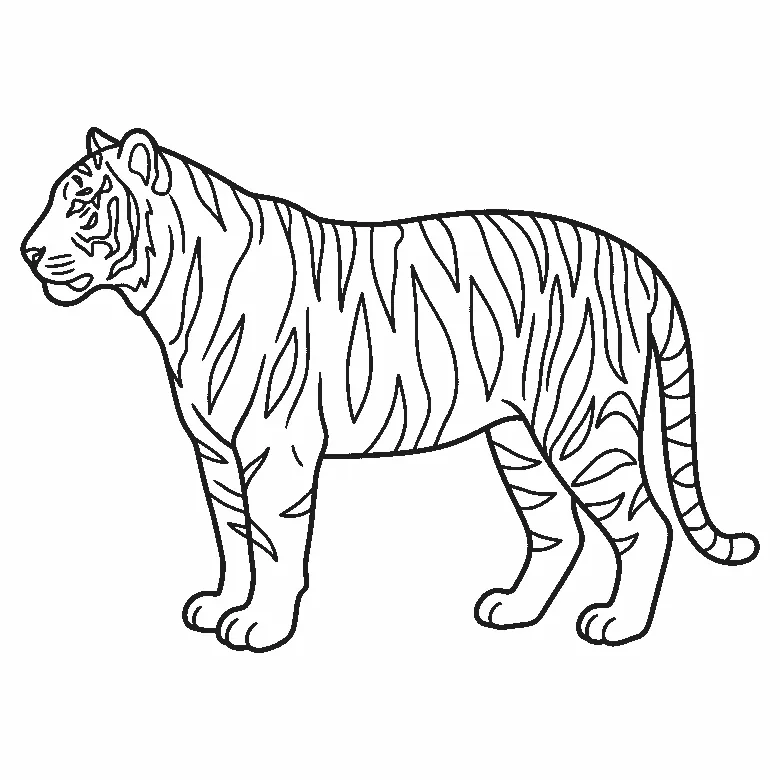
Tiger colouring page
One tiger standing in profile with every stripe drawn as a closed shape you can colour inside.
Colouring outline drawn by us.
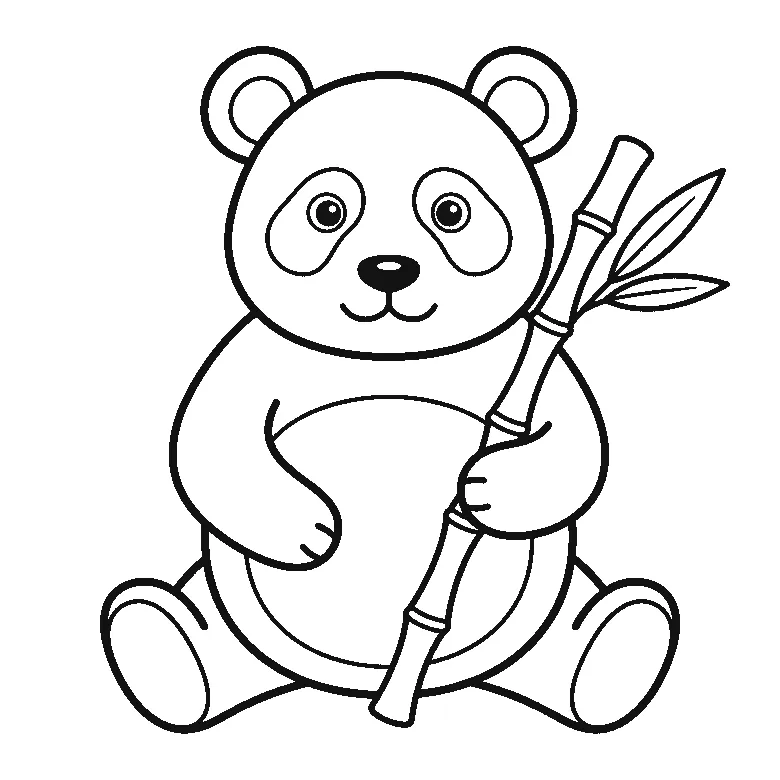
Panda colouring page
A giant panda sitting upright with a bamboo stalk, drawn as a small set of large closed shapes.
Colouring outline drawn by us.
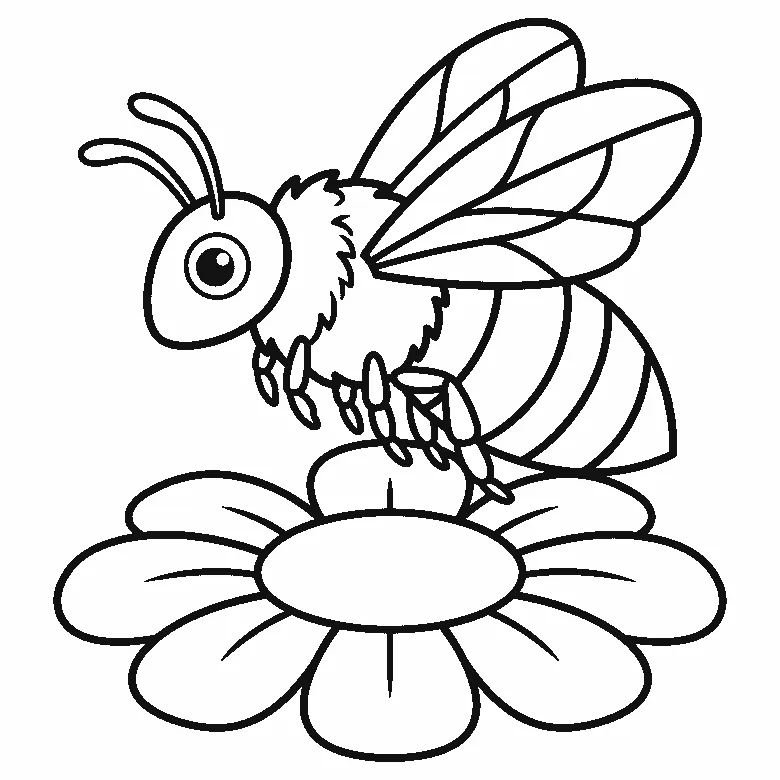
Bee colouring page
One bee on a wide flower, its body already divided into four stripe panels to fill.
Colouring outline drawn by us.
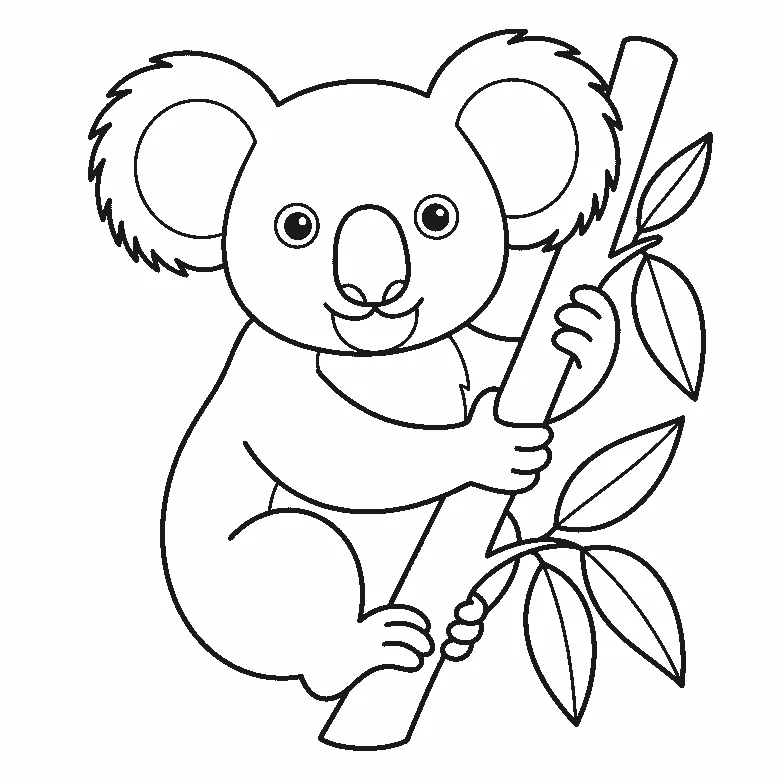
Koala colouring page
A koala hugging a eucalyptus branch, facing forward, with two very large fringed ears.
Colouring outline drawn by us.
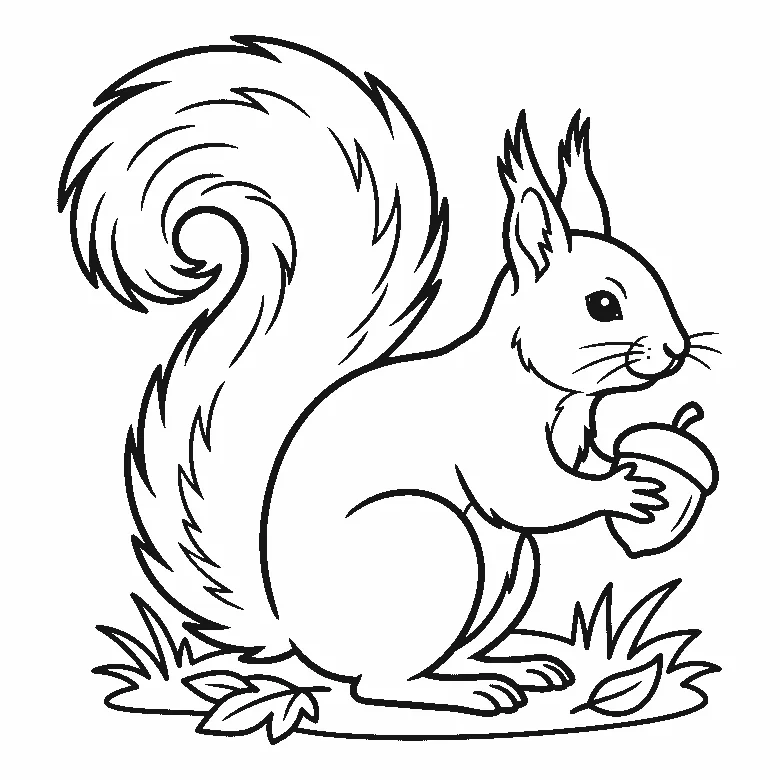
Squirrel colouring page
A squirrel in profile holding an acorn, with a very large curled tail drawn as separate strands.
Colouring outline drawn by us.


