
PDF · A4 · 12 KB · Free, no sign-up. For home and classroom use.
T. rex colouring page
A T. rex in profile with an open mouth, pointed teeth, small arms and a long tail, on plain white.
This sheet gives you one animal, drawn large and seen from the side. The T. rex stands upright on two heavy back legs, its tail stretched out behind to balance the weight of the head. The head is turned in profile with a single round eye, and the mouth is open on a row of pointed teeth. Two small clawed arms hang at the chest. The whole thing is black outline on white, with no background shapes to work around, so the animal has the page to itself.
Start at the tail. It is the longest continuous field on the sheet and it teaches your hand the pressure you want before you get anywhere delicate. From there work forward along the back and down into the thigh, which is the single biggest mass in the drawing. Leaving the head until later is deliberate: by the time you reach it you will know how dark your colour goes, and you can decide whether the skull should match the body or sit a shade lighter.
The teeth are the trap. They are narrow triangles with very little room inside them, and a firm hand will fill the gaps between them as well. One option that works well here is to leave the teeth white and colour only the inside of the mouth behind them, which throws the whole row forward without any careful edge work at all. The two front claws deserve the same restraint. They are tiny, and the outlines already do the describing, so a thin wash of colour is plenty.
The eye is a single round shape and it decides the mood of the finished page. Left white it reads alert. Filled solid it reads fierce. A ring of colour with a white centre in the middle makes the animal look like it is looking at something just off the edge of the paper. Whatever you choose, do it last, after the head around it is done, because it is easier to place a small dark mark on top of a finished field than to colour carefully around one.
A dinosaur like this was a hunter, which is what the teeth in the drawing are for, and it walked on its two back legs with the tail held off the ground rather than dragging. Its arms really were that short compared to the rest of it. The proportions in this drawing are not an exaggeration for effect, and most of the animal's length on this sheet is tail.
Coloured pencil layers well on a body this large: a base of one colour everywhere, then a second colour pressed harder along the back and the top of the tail, gives the animal a rounded look without any blending tools. Crayon moves faster and skips in a way that can read as texture on rough skin. Markers will cover the thigh in seconds and are the wrong tool for the mouth. A gel pen over dry colour is useful for adding small marks along the flank once the base is down.
Green and grey-brown sit naturally on a shape like this one, and both look right against the white. There is no reason to stop there. Feathered patterning in rust and cream, stripes down the tail, a pale belly with a dark back, or a single flat colour chosen because you like it are all fair. The outline does not care. If you want the animal to stand out from the paper, put a band of colour along the ground under the feet even though the sheet does not draw one.
Print at actual size on plain A4 paper, or on card if markers are coming. The open mouth makes this a good sheet for a cut-out: trim around the outer edge, including the teeth if you have the patience, and mount it on a contrasting sheet or a folder cover. This sheet holds a single subject with a lot of empty white around it, so the fields are large and the edges are few, and the work moves along once the tail and the thigh are down and only the head is left.
Before you print
- Begin with the tail, the longest open field, to settle your pressure before reaching the head.
- Leave the teeth white and colour only the inside of the open mouth so the row stays sharp.
- Save the round eye for last, placing it on top of the finished head rather than colouring around it.
- Press harder along the back and upper tail with a pencil to round the body without any blending.
- Add a band of colour under the feet if you want the animal to lift off the white paper.
Published Updated 693 words
More in this section
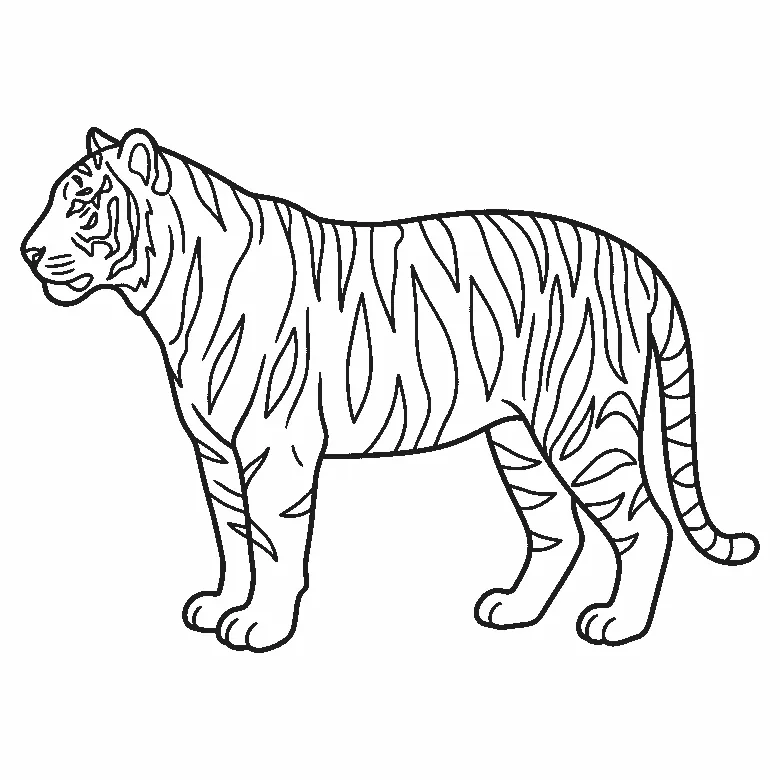
Tiger colouring page
One tiger standing in profile with every stripe drawn as a closed shape you can colour inside.
Colouring outline drawn by us.
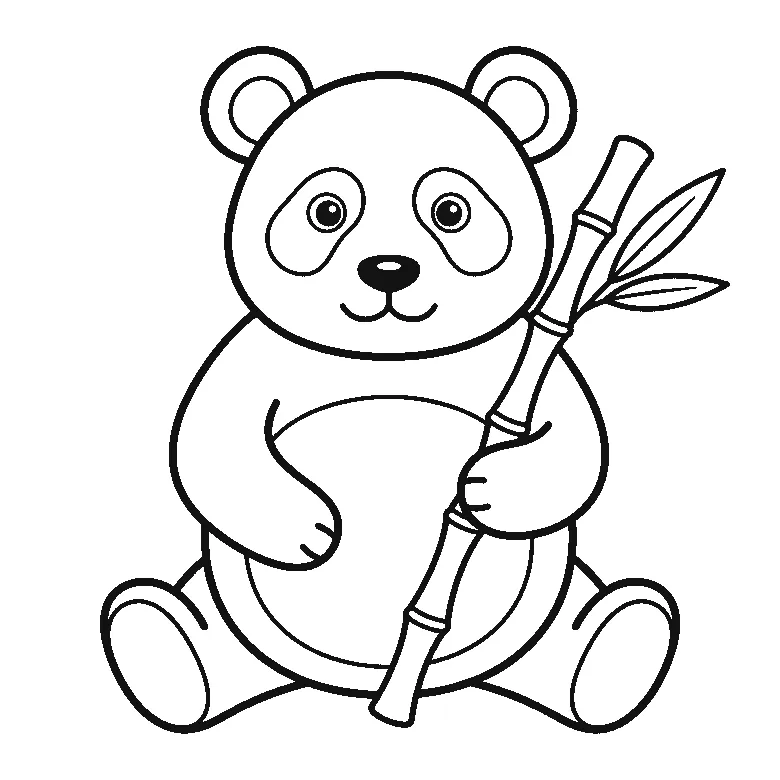
Panda colouring page
A giant panda sitting upright with a bamboo stalk, drawn as a small set of large closed shapes.
Colouring outline drawn by us.
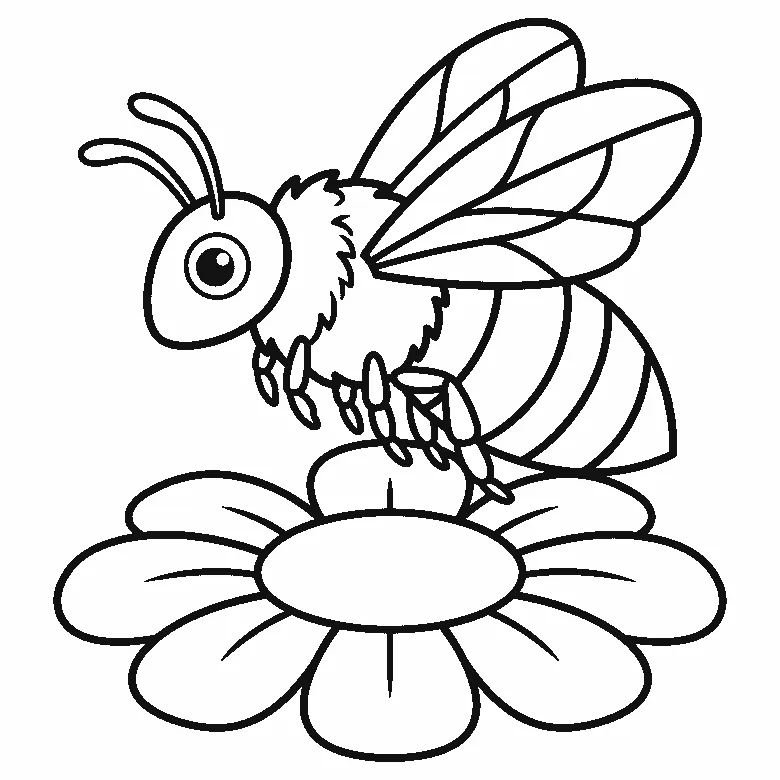
Bee colouring page
One bee on a wide flower, its body already divided into four stripe panels to fill.
Colouring outline drawn by us.
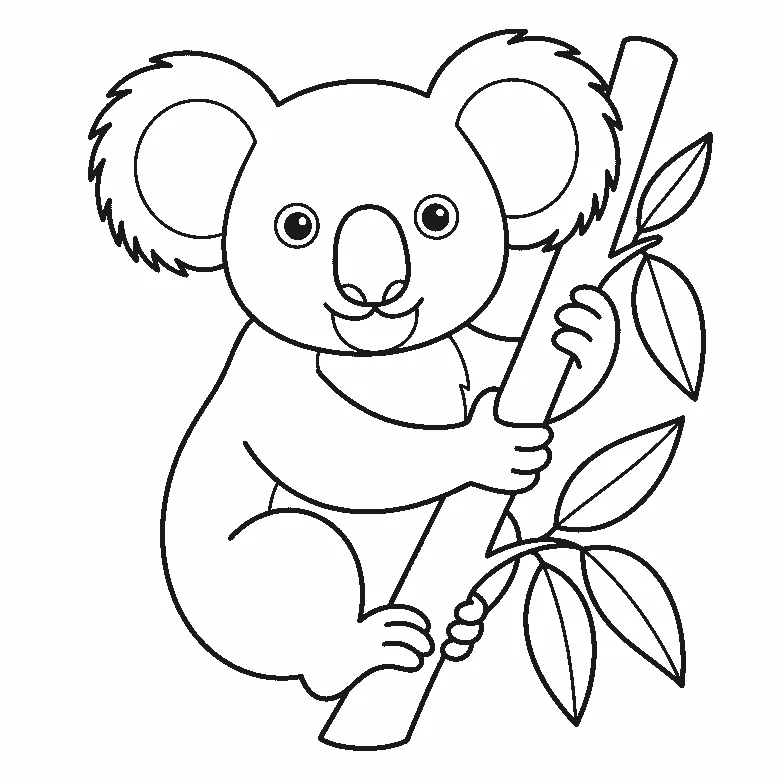
Koala colouring page
A koala hugging a eucalyptus branch, facing forward, with two very large fringed ears.
Colouring outline drawn by us.
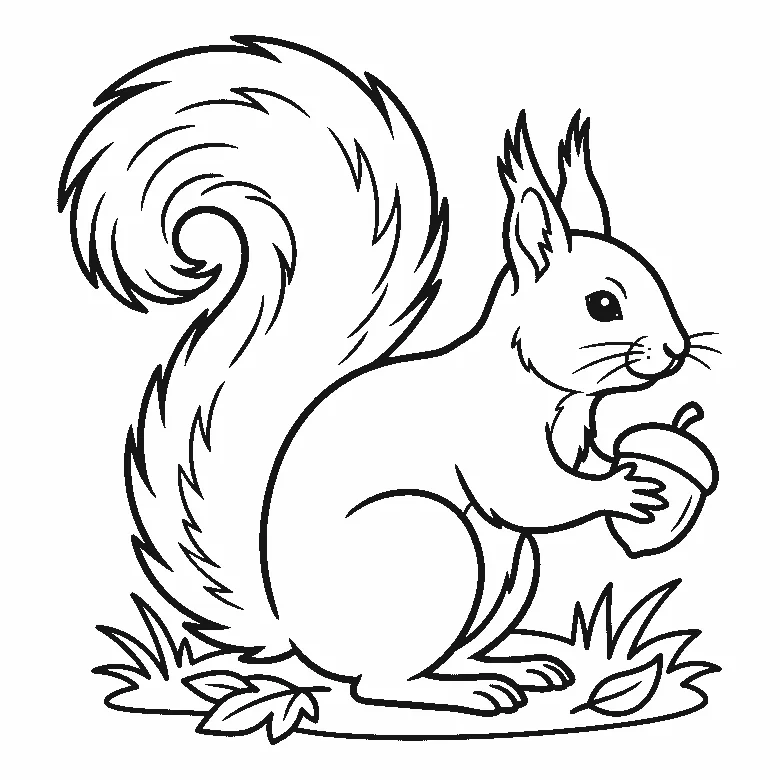
Squirrel colouring page
A squirrel in profile holding an acorn, with a very large curled tail drawn as separate strands.
Colouring outline drawn by us.
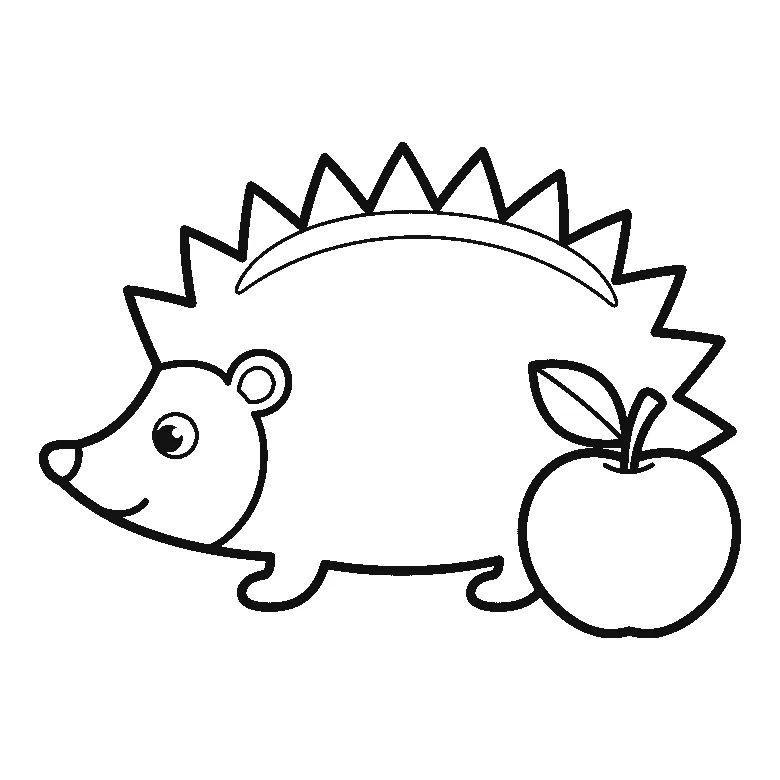
Hedgehog colouring page
A hedgehog in profile beside an apple, its whole back drawn as one row of big triangular spikes.
Colouring outline drawn by us.
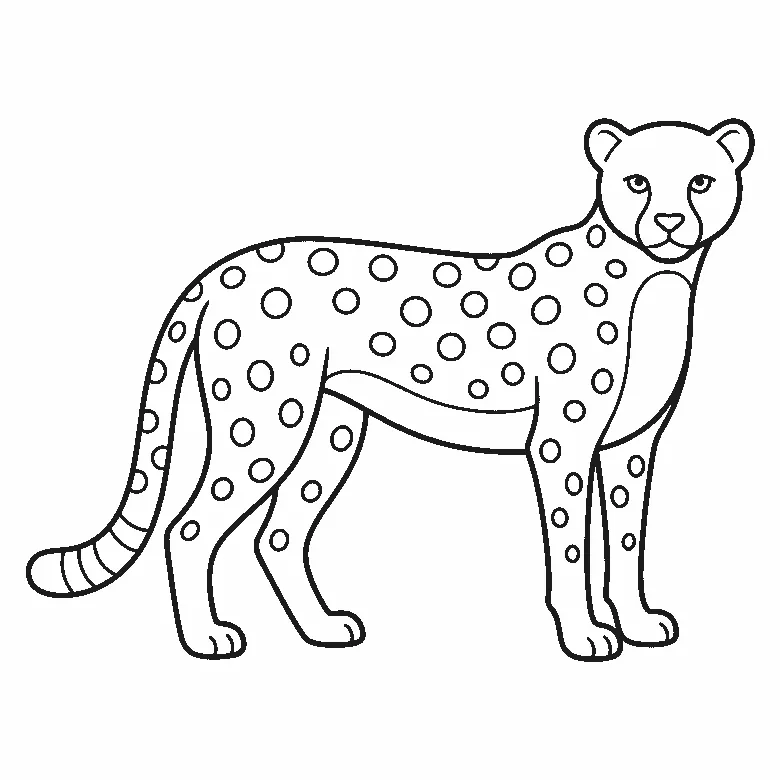
Cheetah colouring page
A cheetah in profile with its head turned to you, covered in solid round spots and a banded tail tip.
Colouring outline drawn by us.
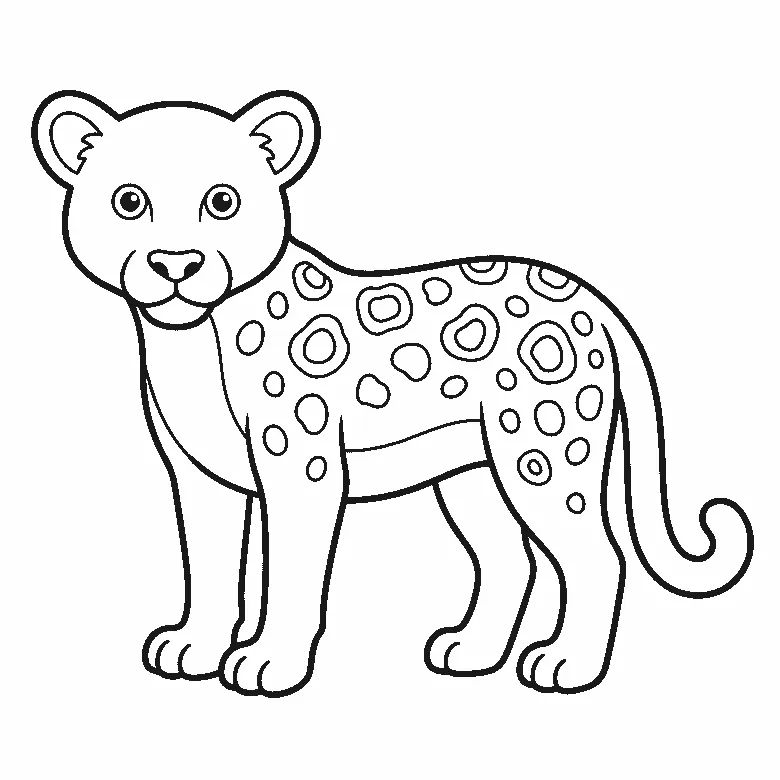
Leopard colouring page
A leopard with its head turned to you, its coat drawn as open rosette rings of different sizes.
Colouring outline drawn by us.
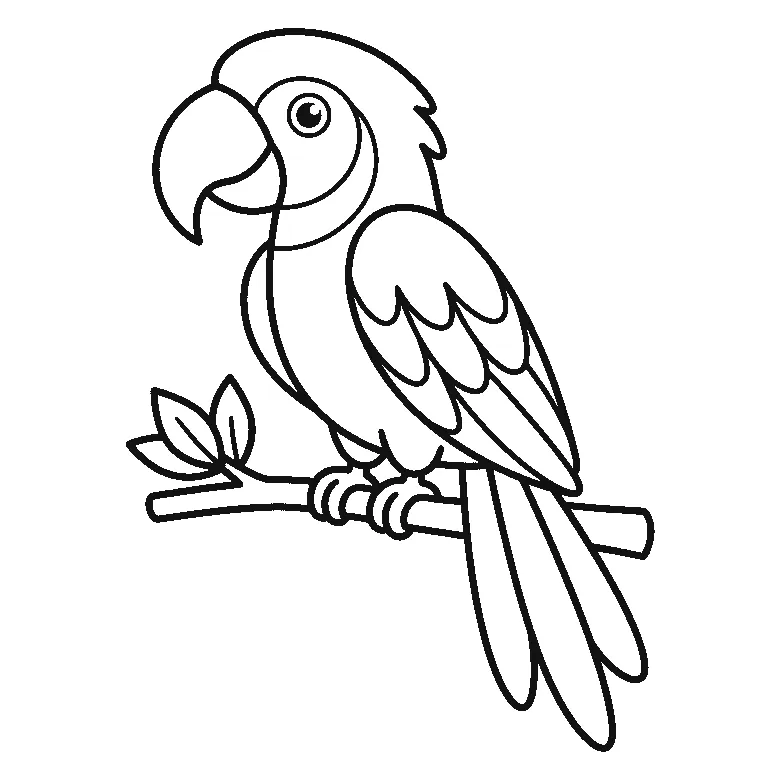
Parrot colouring page
A parrot on a branch with a big hooked beak, a folded wing of broad feathers and three long tail feathers.
Colouring outline drawn by us.
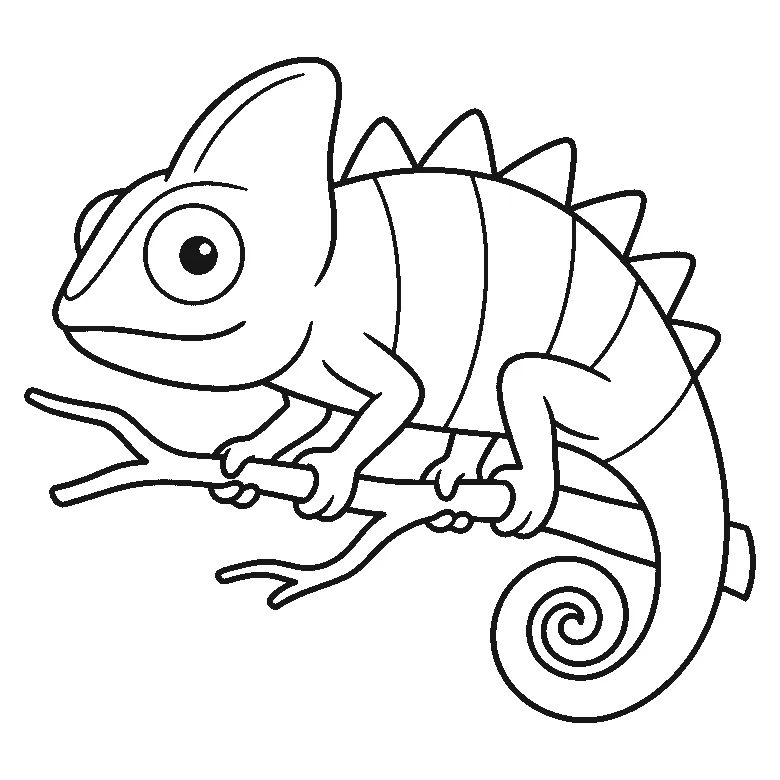
Chameleon colouring page
A chameleon on a branch with a spiral tail, a spiked spine and a body already banded for you.
Colouring outline drawn by us.
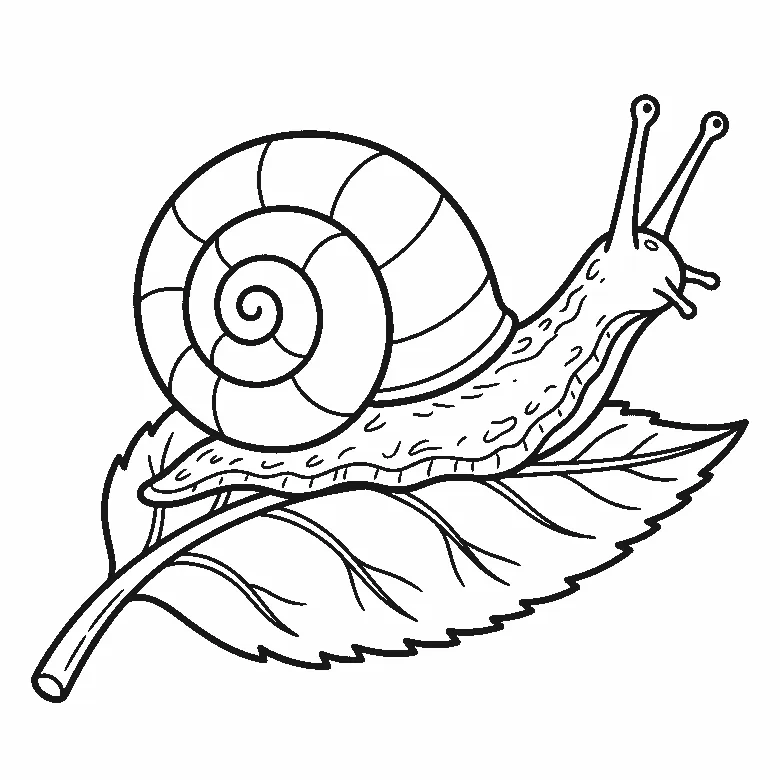
Snail colouring page
A snail crossing a big toothed leaf, its shell a wide spiral of broad bands to fill one by one.
Colouring outline drawn by us.
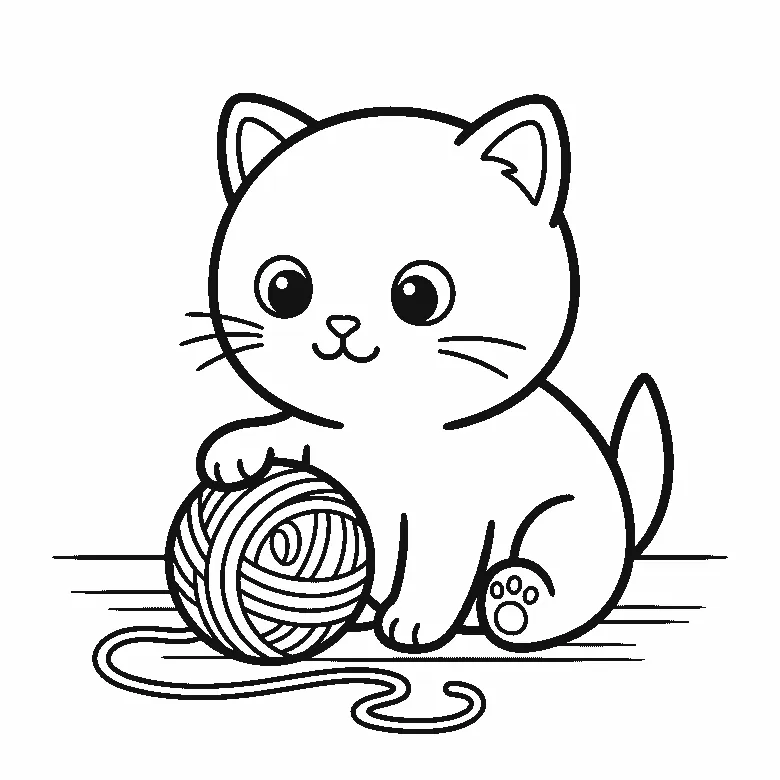
Kitten colouring page
A round-headed kitten sitting with one paw on a ball of wool, the loose thread trailing away across the floor, free as an A4 PDF.
Colouring outline drawn by us.


