
PDF · A4 · 13 KB · Free, no sign-up. For home and classroom use.
Cat colouring page
An upright, forward-facing cat with tufted ears and a curled tail, in thick black outlines on one A4-size sheet.
The cat on this sheet sits upright and looks straight out at whoever is holding the page. Two round eyes take up most of the face, with a small nose and mouth below them and whiskers running out to either side. The ears are tufted, so each one has a few short hairs drawn inside the outline rather than a plain triangle. The long tail comes around and curls up beside the body, which leaves the chest and the space the tail encloses as the largest open areas on the page.
A good place to start is the tail, because it is one long band that can be filled without lifting your hand much, and it tells you how dark the rest of the cat wants to be. The body and chest come next, then the head, then the small shapes last: the eyes, the nose, the inner ears, the whisker roots. Small shapes are where pressing hard causes trouble, since a heavy stroke inside a narrow gap will run over the outline and blur the edge that makes the face read as a face.
Crayon suits the big flank and chest areas and will skip a little over the paper grain, which gives a striped, furry look almost by accident. Coloured pencil is the better choice for the ears and the face, where you want to stop exactly at a line. Markers cover fast and lay down flat, even colour, but on plain paper they soak through to whatever is underneath, so slide a spare sheet under the page first. A gel pen is useful right at the end for tiny marks: a few strokes along the ear tufts, or a bright dot left in each eye.
Cats come in colours that are easy to reach for: orange with darker stripes, black, white, grey, or patches of two or three of those at once. The sheet does not commit to any of them, so a tabby pattern drawn on top with a second, darker pencil works, and so does a cat coloured in flat green with a purple tail. Nothing on the page is marked as one breed or one coat. If two people colour copies side by side, making one realistic and one impossible is a good way to use both.
A sitting cat often arranges its tail exactly the way it is drawn here, curled around and resting against one side, which is why the pose looks familiar even in a simple outline. The whiskers on the muzzle are stiff and rooted deep, and they sit in rows rather than scattered at random. The tufts drawn inside the ears are real hair, growing out of the ear opening, and the ears themselves turn towards sounds independently of each other. None of that has to change how you colour the sheet, but it explains why those small shapes are drawn the way they are.
Print it on ordinary A4 paper at actual size rather than fit-to-page, or the outlines shrink and leave a wider white margin than the drawing needs. If markers are the plan, heavier card holds the ink without buckling, and the black lines stay crisp. Printing two copies is one option, and running the page twice means one person can work on each without waiting. We laid the drawing out to sit in the middle of the sheet with room at the bottom, so a name or a date fits under the cat.
A finished cat taped to a window with the coloured side facing out reads well from the street, especially if the flanks were filled in something solid. The sheet also folds cleanly in half to make a card, with the cat on the front and the inside left blank for writing. Cutting the cat out along its outer outline and gluing it to a darker sheet gives it a border and makes the whiskers stand out. Punched at the top corner, it works as the cover of a folder full of other finished pages.
The cat faces forward on this sheet, so both sides of the head match each other, a colour used on the left has an obvious partner on the right, and the curled tail throws the lower half to one side. The sheets drawn in profile give you one eye and one visible ear instead, and they ask for a different kind of attention. If you are working through the animals in order, this is a reasonable one to start with, because the shapes are large, the outlines are thick, and there is very little fine detail to lose.
Before you print
- Fill the curled tail first, since it sets the darkness the body and chest have to match.
- Leave a small white dot inside each round eye instead of colouring the whole circle.
- Use a sharp coloured pencil for the inner ears and the whisker roots, not a marker tip.
- Draw tabby stripes over the flank colour with a darker pencil once the base coat is down.
- Slide a scrap sheet under the page if you are using markers, because plain paper lets them through.
Published Updated 770 words
More in this section
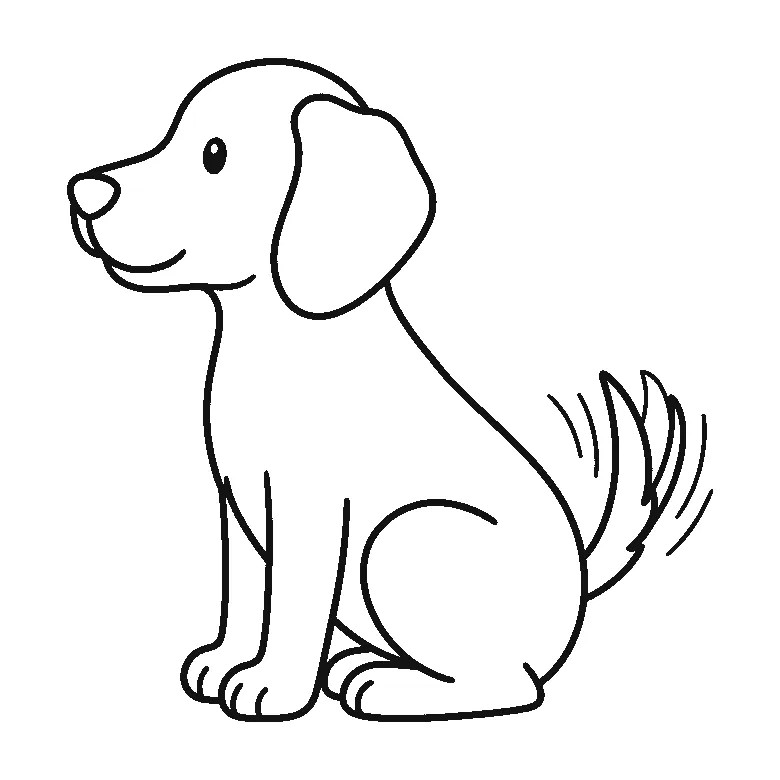
Dog colouring page
A dog in profile with one floppy ear and a feathered tail, drawn in open black outlines and ready to print at actual size.
Colouring outline drawn by us.
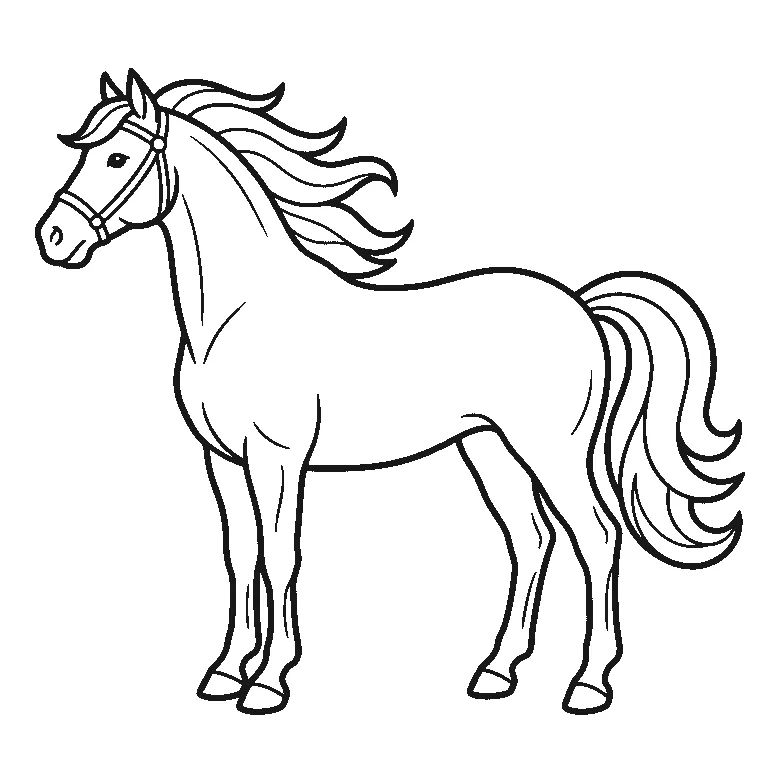
Horse colouring page
A horse standing in profile in its bridle, with a long streaming mane and full tail, on one printable A4-size sheet.
Colouring outline drawn by us.
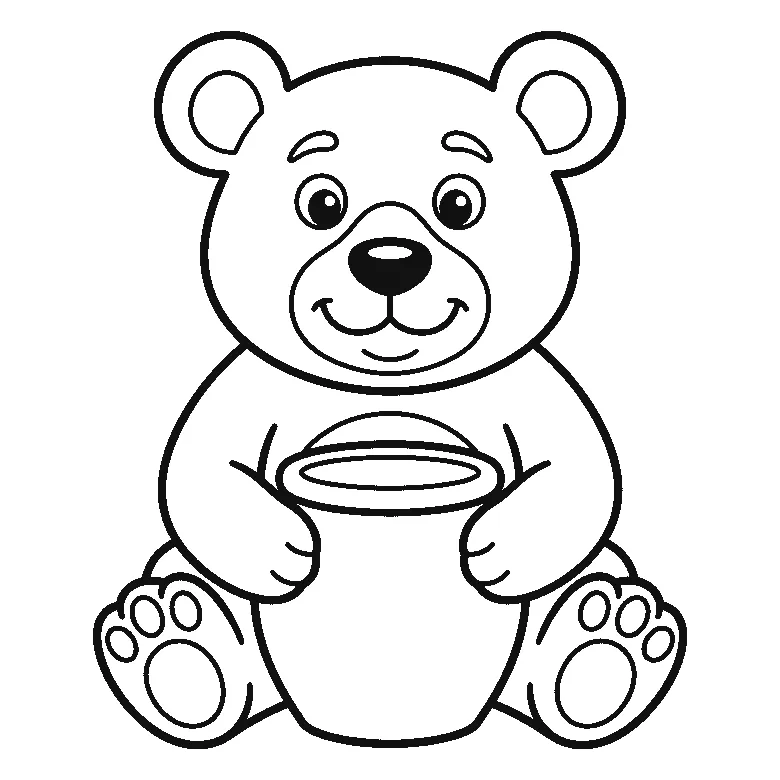
Bear colouring page
A round bear sitting with a honey pot in its paws, drawn in thick black outlines and free to print at A4 size.
Colouring outline drawn by us.
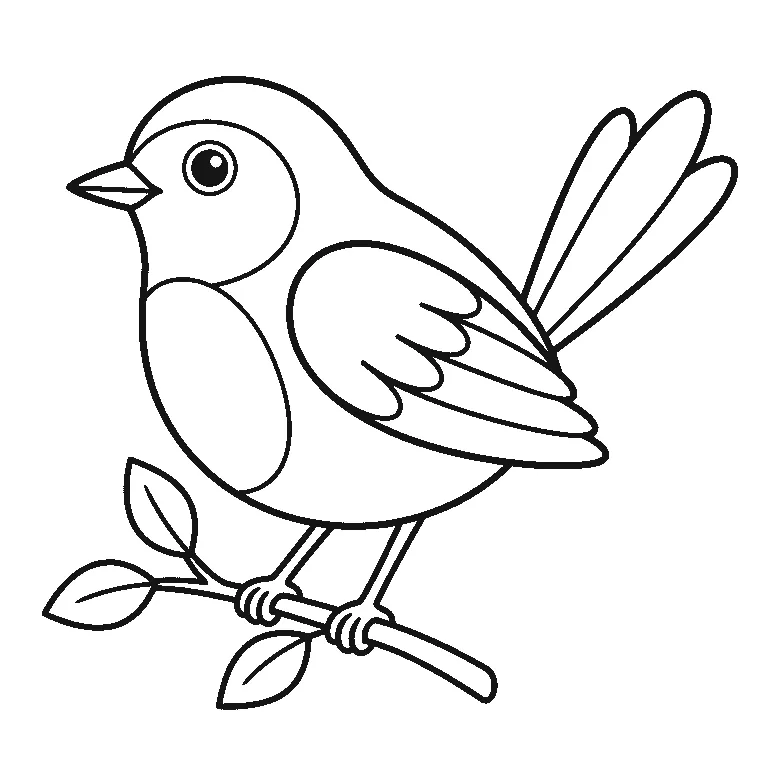
Bird colouring page
Free A4-size printable: a plump songbird perched on a leafy twig, with a long layered tail worth taking slowly.
Colouring outline drawn by us.
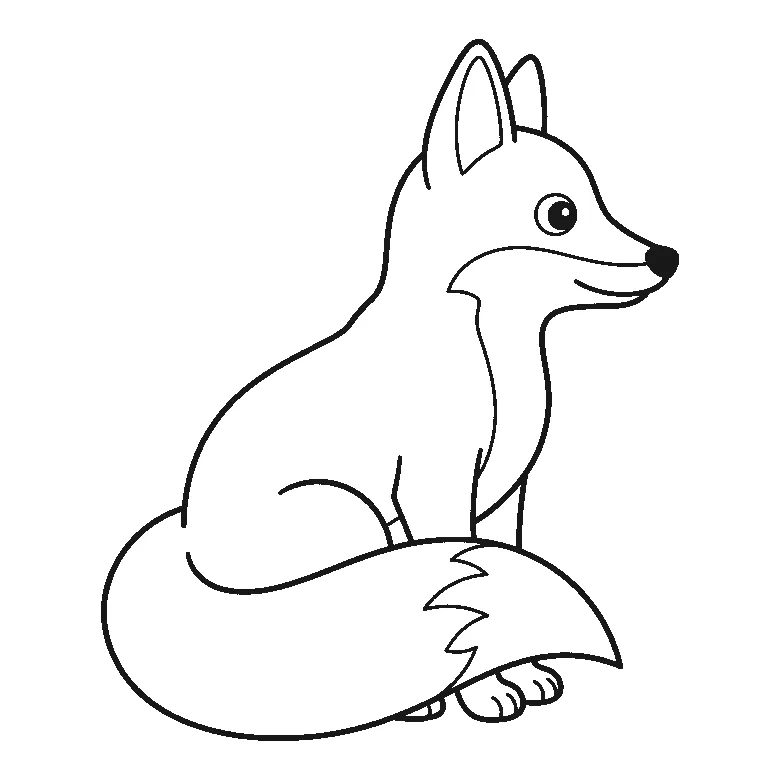
Fox colouring page
A sitting fox in profile with a huge bushy tail curled around in front, free to print at A4 size.
Colouring outline drawn by us.
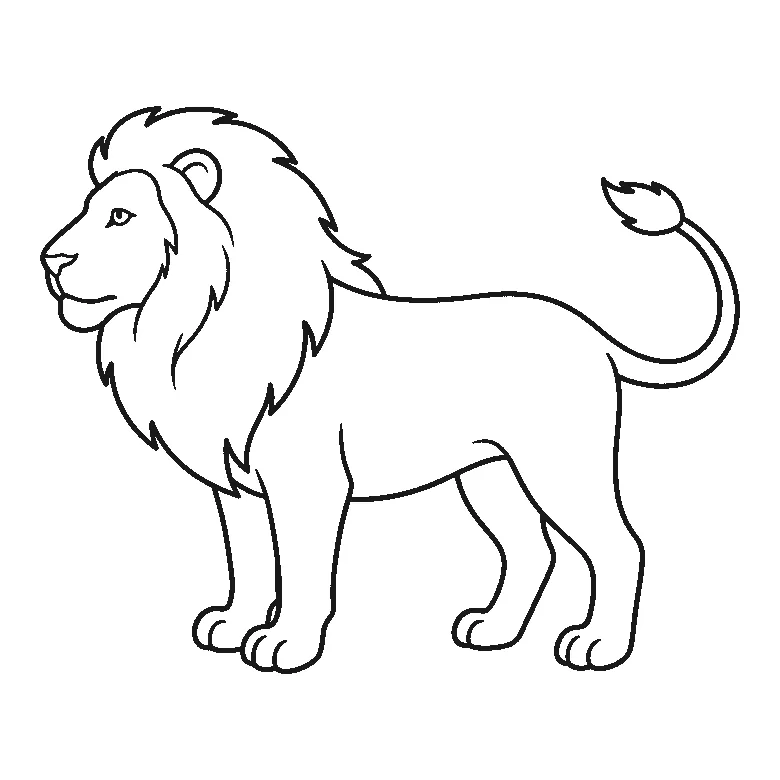
Lion colouring page
One lion in profile with a full ruffled mane, ready to print on plain A4 paper and colour.
Colouring outline drawn by us.
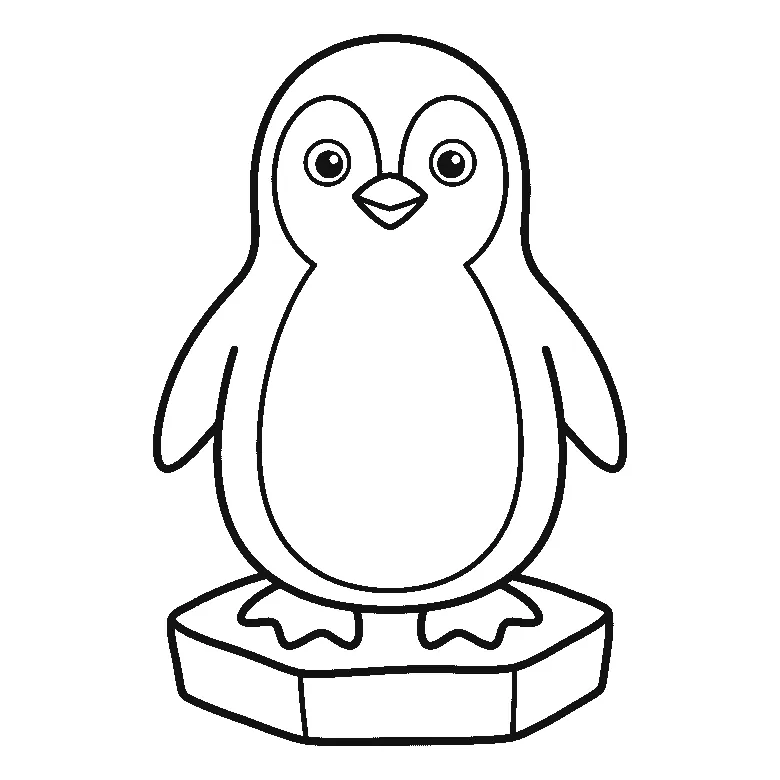
Penguin colouring page
A penguin standing on a block of ice, drawn in a few big shapes that fill fast with any medium.
Colouring outline drawn by us.
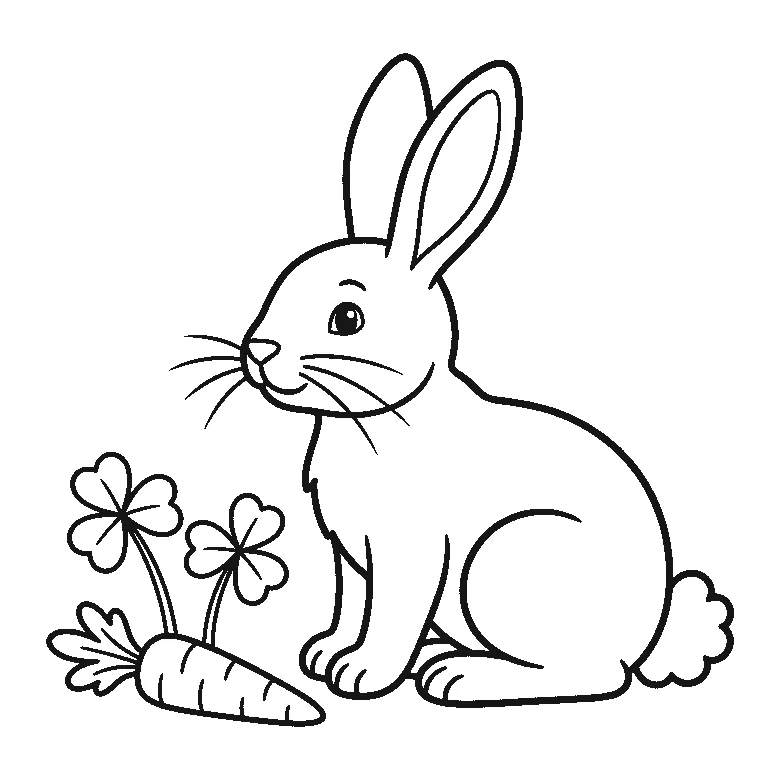
Rabbit colouring page
A sitting rabbit with tall ears, whiskers and a fluffy tail, plus a carrot and two clover flowers.
Colouring outline drawn by us.
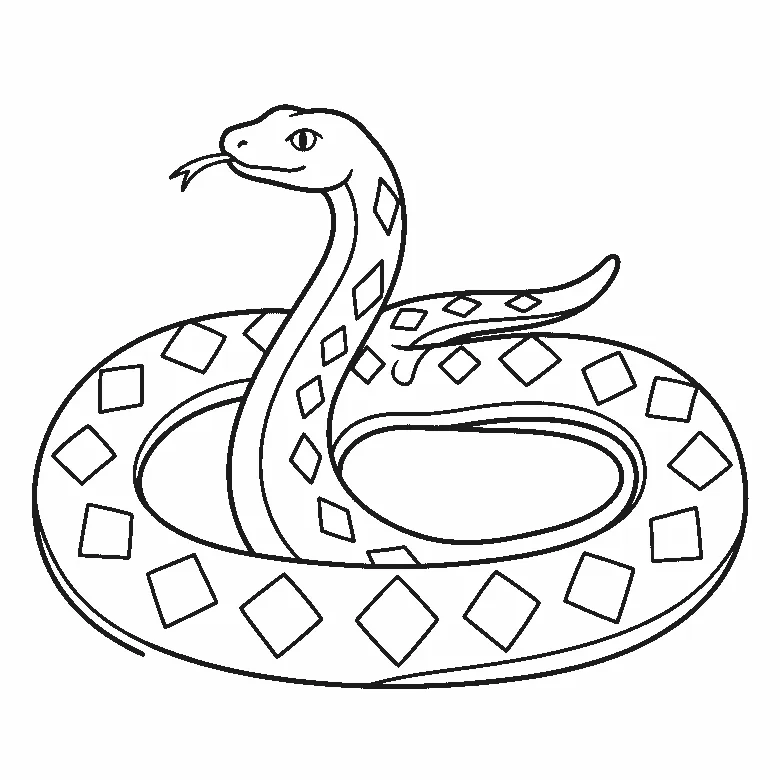
Snake colouring page
A coiled snake with a raised head, forked tongue, and a row of big diamonds down its back, free to print on A4.
Colouring outline drawn by us.
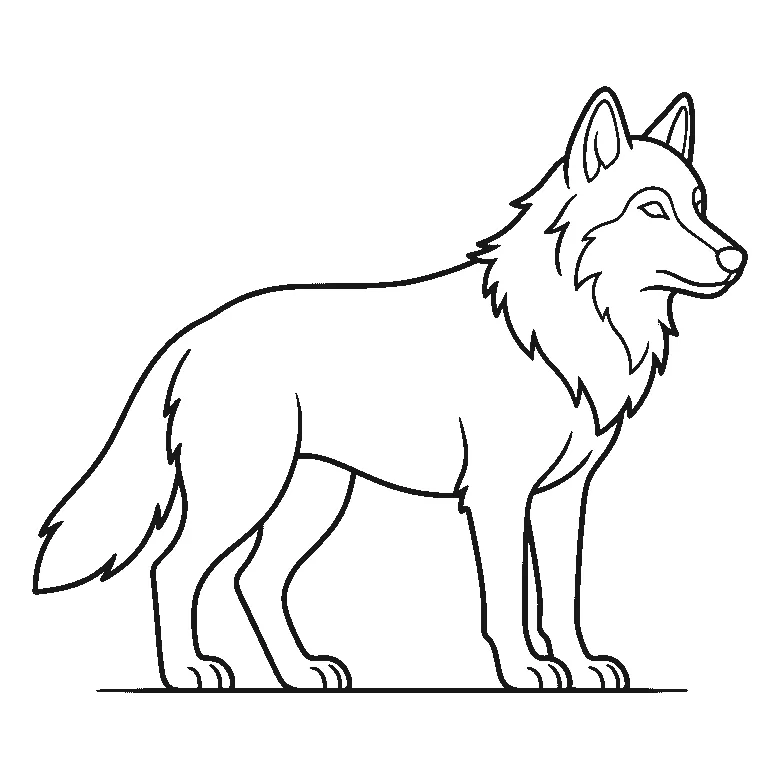
Wolf colouring page
A wolf in profile on a ground line, with a heavy neck ruff and a thick brush tail, printable free at A4.
Colouring outline drawn by us.
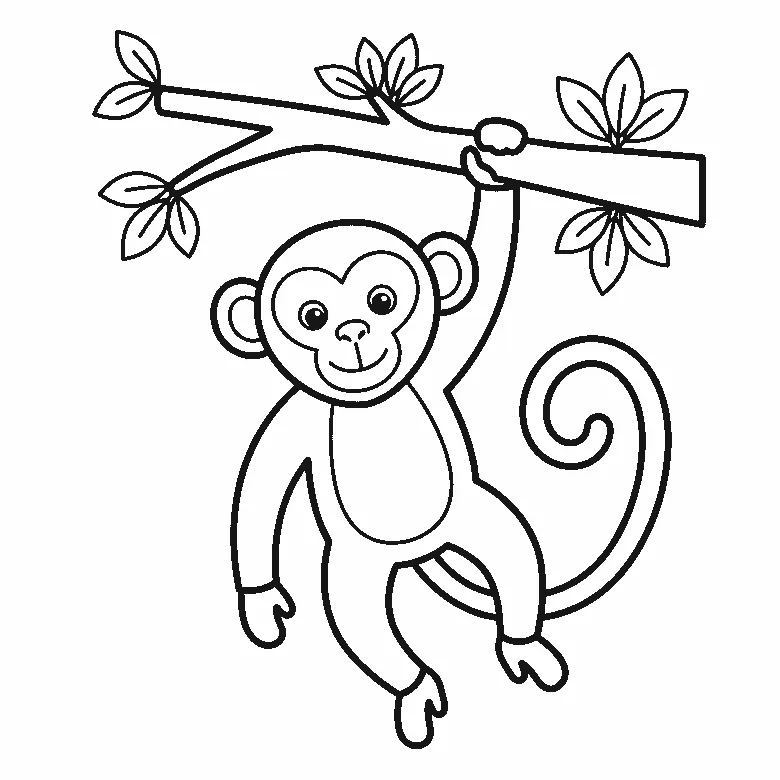
Monkey colouring page
A monkey swinging one-handed from a leafy branch with its tail curled into a spiral, free to print on A4.
Colouring outline drawn by us.
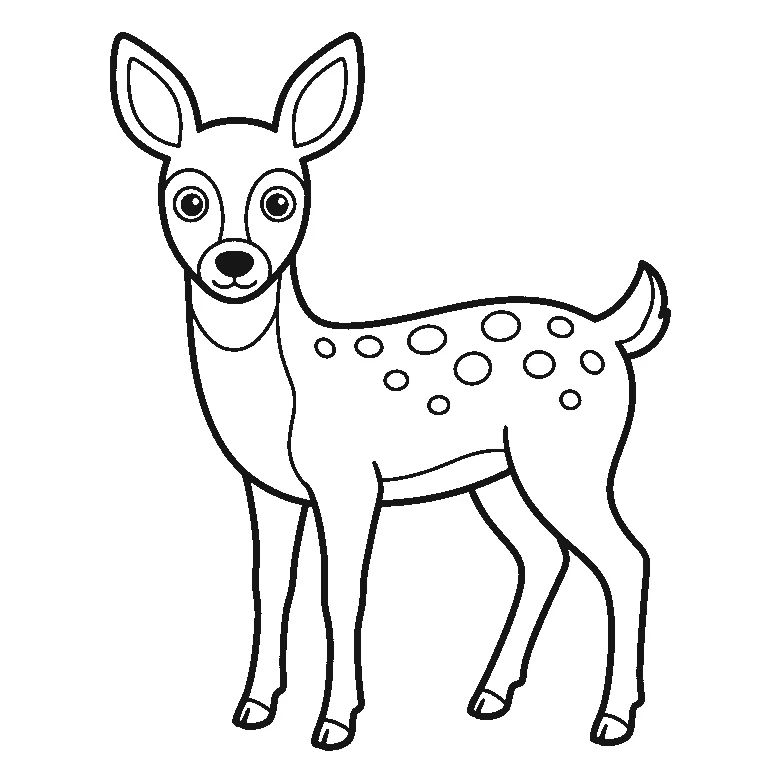
Deer colouring page
A young spotted fawn in profile, head turned forward, with rows of oval spots along the flank to fill one by one.
Colouring outline drawn by us.


