
PDF · A4 · 16 KB · Free, no sign-up. For home and classroom use.
Tiger colouring page
One tiger standing in profile with every stripe drawn as a closed shape you can colour inside.
A tiger stands in profile facing left across the middle of the sheet, drawn large enough that the body fills most of the width. One almond eye with a small pupil sits on the visible cheek, the ears are rounded, the muzzle carries a few whisker lines, and the mouth is closed. What makes this drawing different from most big-cat outlines is the stripes: they are not strokes. Every stripe is a long closed shape with an outline all the way round it, tapering to a point at each end, and they are spaced well apart down the back, the flanks, the legs and the tail, with plain fur left between them.
That one decision changes what the sheet is. A stripe drawn as a line can only be traced over; a stripe drawn as a closed shape can be filled, which turns the tiger into perhaps forty separate small areas instead of one large one. It also means the drawing does not need a dark pencil to read as a tiger, because the pattern is already there in the outline. The trade is time: a sheet with forty enclosed shapes is a long sitting rather than a quick one.
A workable order is stripes first, fur second. Filling every stripe while the hand is fresh means the wide unstriped fur can be laid down afterward around shapes that are already settled, and any overlap lands on a boundary rather than in the middle of a stripe. Doing it the other way round is possible and asks for more care: a broad crayon crossing the flank has to steer round a dozen tapering points, and the points are exactly where a stroke slips.
Coloured pencil suits this drawing better than anything else, because the stripes are narrow enough that a crayon tip rounds off inside them. A fine-tipped marker works in the stripes and a broad one works on the open fur, so switching tips halfway is reasonable. If you want the stripes dark, two or three light passes build a deeper tone than one heavy one and are far less likely to skate over an outline.
The tail is a separate problem worth planning for. It is banded rather than striped: the marks run all the way across it as a series of rings, which means alternating two colours along its length is easy and looks deliberate. Whatever the tail does can either continue the flank pattern or break from it, and breaking from it draws the eye to the back of the animal, which is otherwise the emptiest quarter of the page.
Orange with black stripes and a pale belly is the reading the animal itself suggests, and it works. Nothing on the outline requires it. Because every stripe is a closed shape, a tiger in three colours is as easy to make as a tiger in two, and the shapes are large enough that a graded set, palest at the shoulder and deepest at the hip, is achievable with one pencil and a change of pressure.
A couple of plain facts about the animal are worth knowing while you fill it. A tiger's stripe pattern is individual, so no two carry the same arrangement, and the pattern runs into the skin rather than sitting only on the fur. The stripes are also drawn here as they sit on a real coat: broader over the ribs, narrower and closer together down the legs, and ringed on the tail. Following that change of scale as you colour, rather than treating every stripe the same, is what makes the finished animal read as one body.
Print at actual size on plain A4 paper. The stripe outlines are thin and fit-to-page is what closes them up first, and a closed stripe is a stripe you cannot colour inside. Regular copier paper takes pencil well; card is the upgrade if markers are involved, since the fur areas take a lot of ink. Cut around the outer silhouette and the tiger comes away as one clean shape, because nothing in the drawing crosses its own outline.
Before you print
- Fill every stripe first, then lay the plain fur down around shapes that are already settled.
- Use coloured pencil in the stripes; a crayon tip rounds off before it reaches the tapered ends.
- Build a dark stripe from two or three light passes rather than one heavy one.
- Alternate two colours along the tail bands so the back of the animal has something happening in it.
- Follow the drawing's own change of scale, from broad stripes over the ribs to narrow ones on the legs.
Published Updated 683 words
More in this section
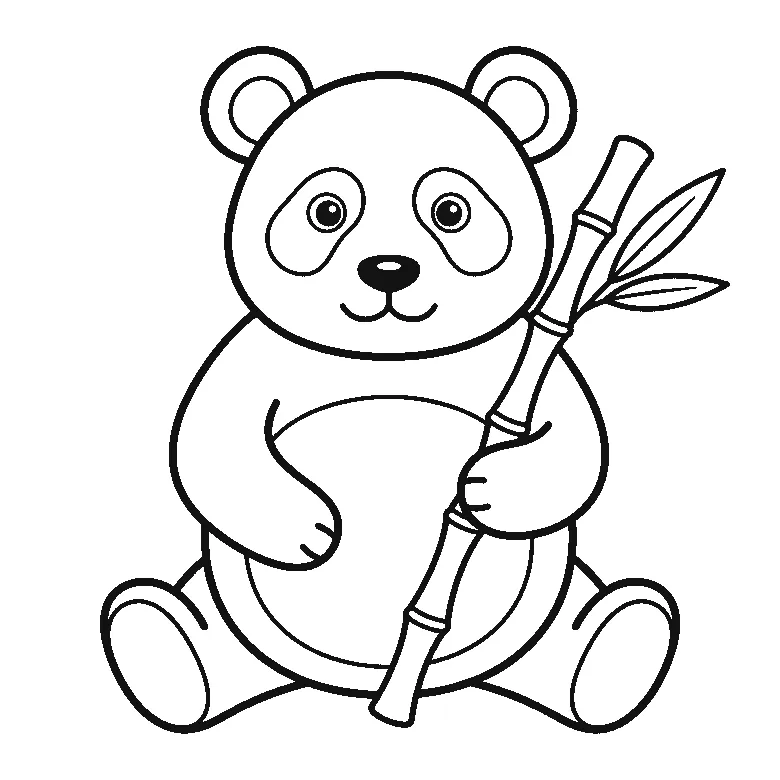
Panda colouring page
A giant panda sitting upright with a bamboo stalk, drawn as a small set of large closed shapes.
Colouring outline drawn by us.
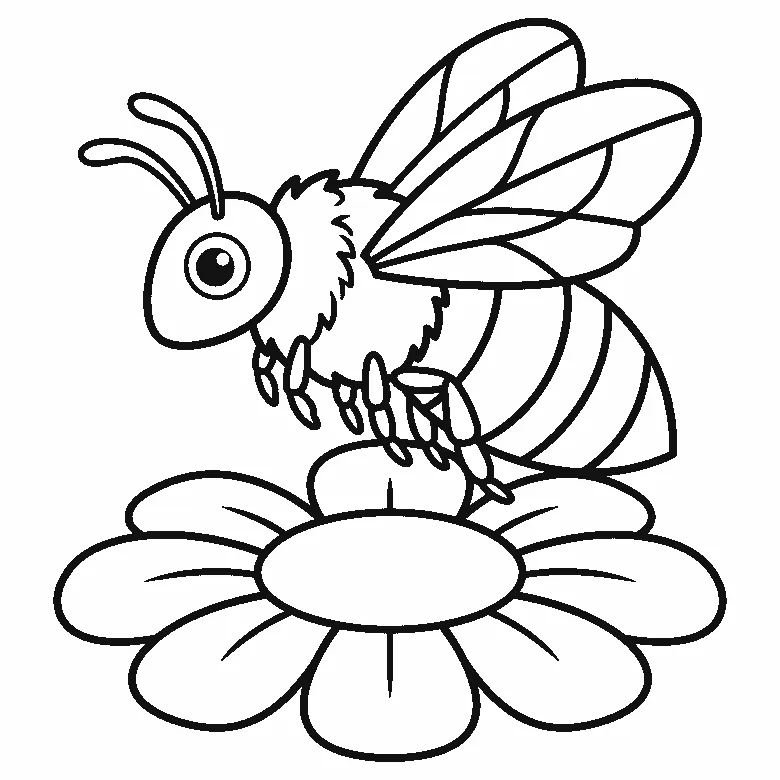
Bee colouring page
One bee on a wide flower, its body already divided into four stripe panels to fill.
Colouring outline drawn by us.
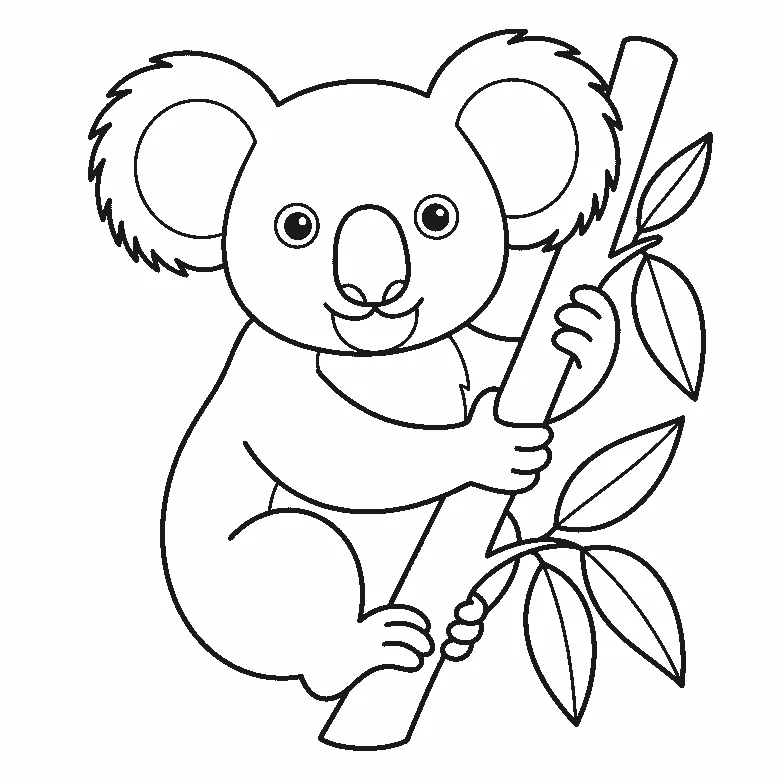
Koala colouring page
A koala hugging a eucalyptus branch, facing forward, with two very large fringed ears.
Colouring outline drawn by us.
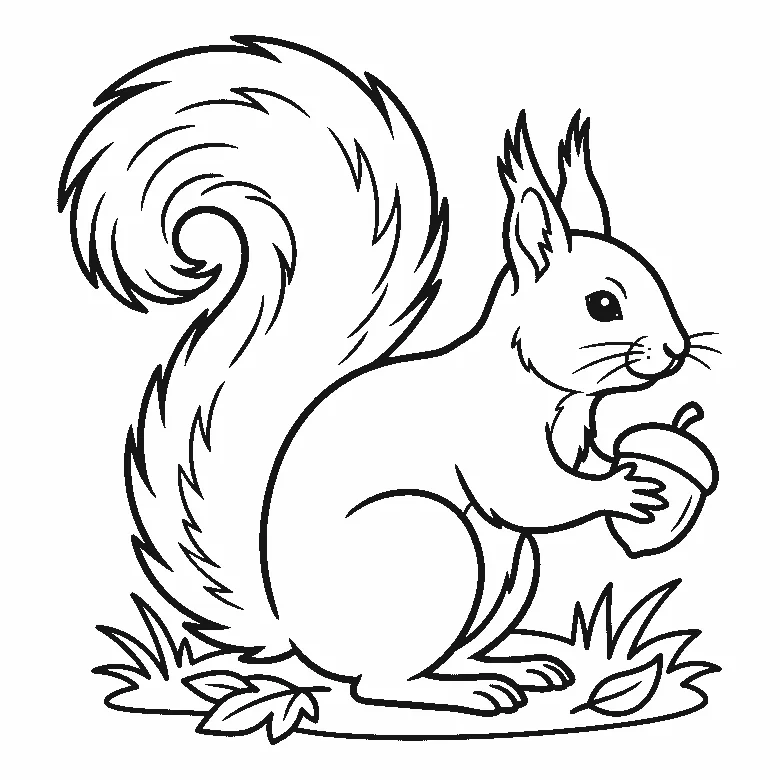
Squirrel colouring page
A squirrel in profile holding an acorn, with a very large curled tail drawn as separate strands.
Colouring outline drawn by us.
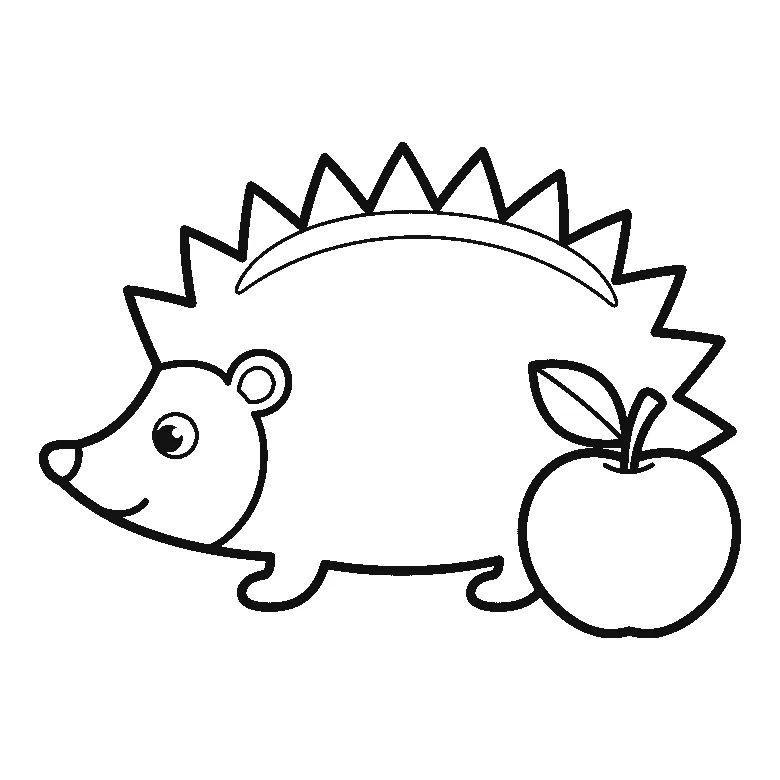
Hedgehog colouring page
A hedgehog in profile beside an apple, its whole back drawn as one row of big triangular spikes.
Colouring outline drawn by us.
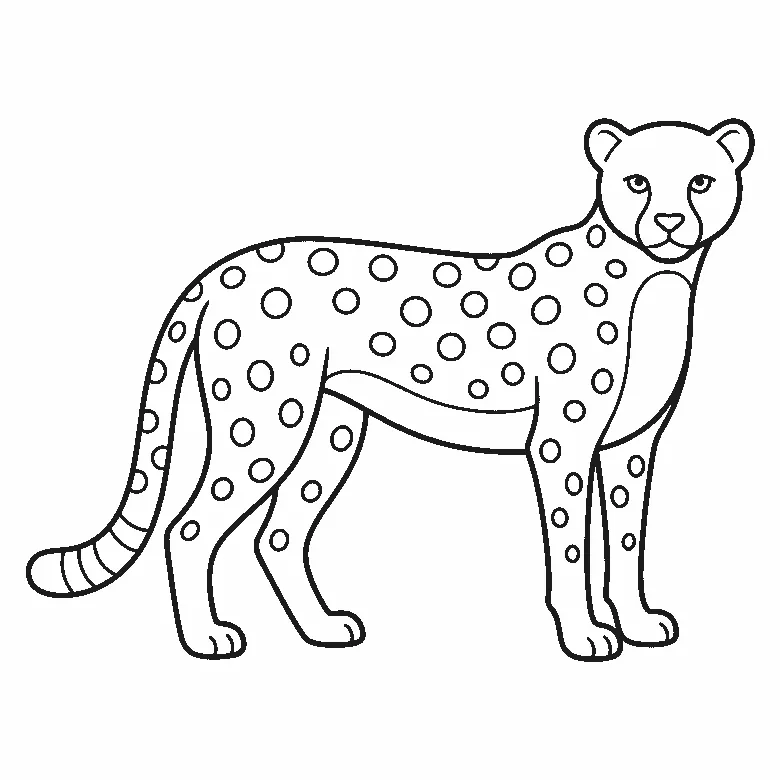
Cheetah colouring page
A cheetah in profile with its head turned to you, covered in solid round spots and a banded tail tip.
Colouring outline drawn by us.
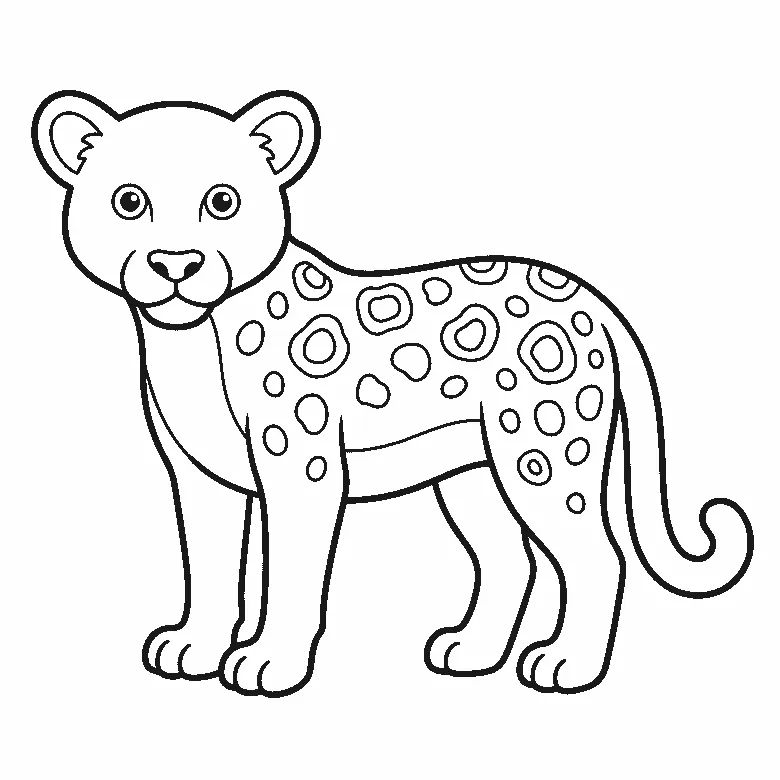
Leopard colouring page
A leopard with its head turned to you, its coat drawn as open rosette rings of different sizes.
Colouring outline drawn by us.
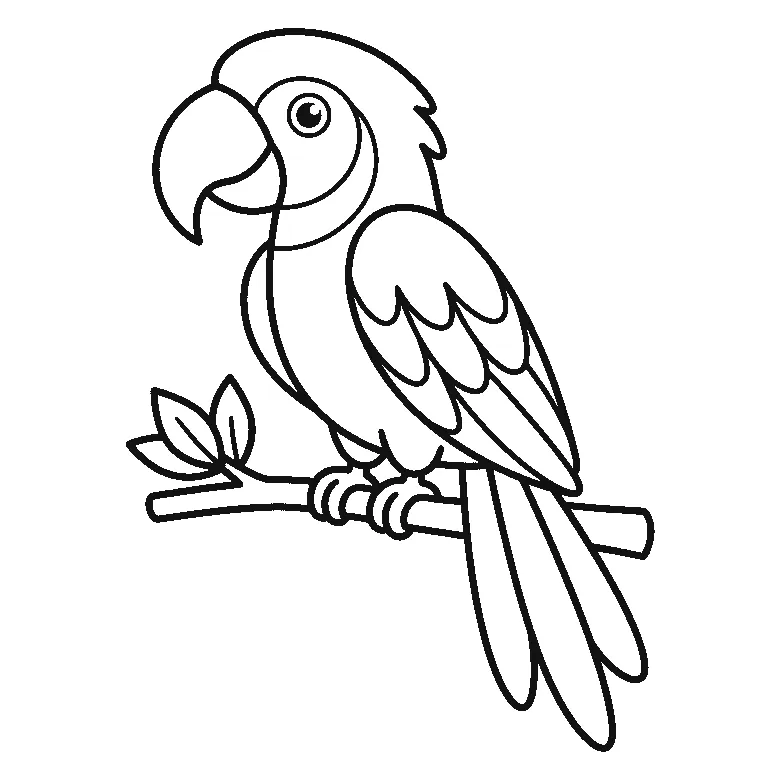
Parrot colouring page
A parrot on a branch with a big hooked beak, a folded wing of broad feathers and three long tail feathers.
Colouring outline drawn by us.
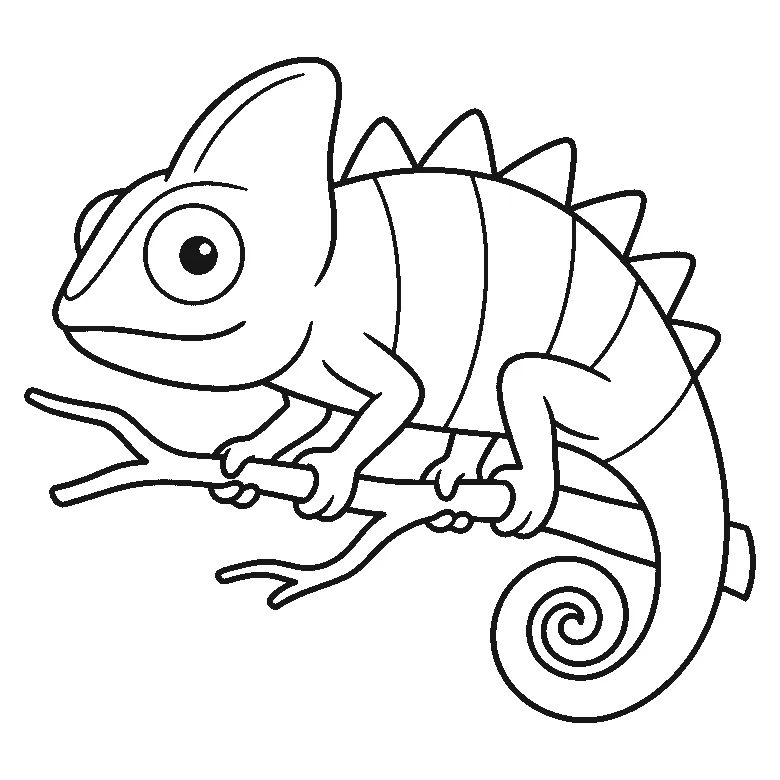
Chameleon colouring page
A chameleon on a branch with a spiral tail, a spiked spine and a body already banded for you.
Colouring outline drawn by us.
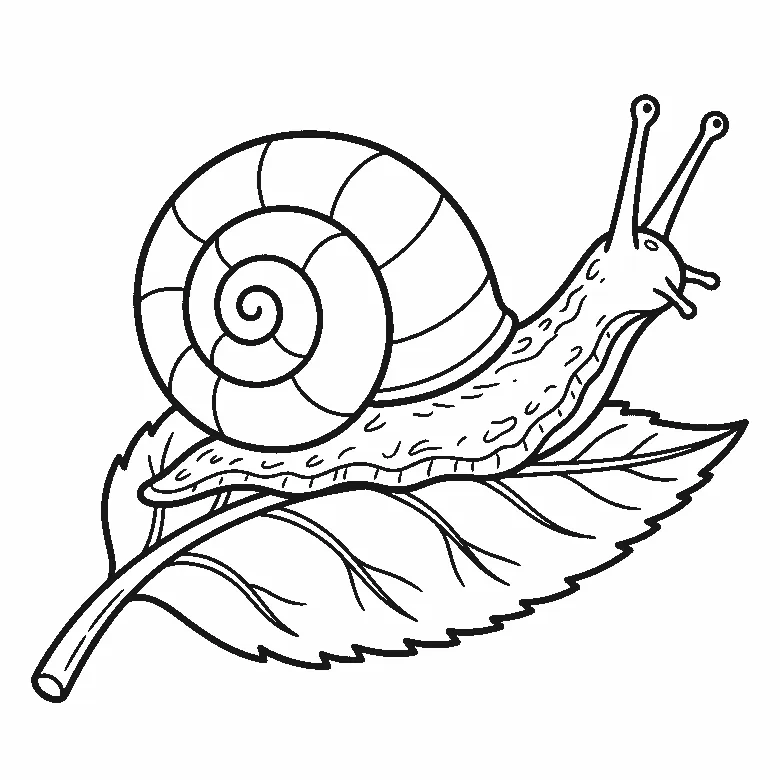
Snail colouring page
A snail crossing a big toothed leaf, its shell a wide spiral of broad bands to fill one by one.
Colouring outline drawn by us.
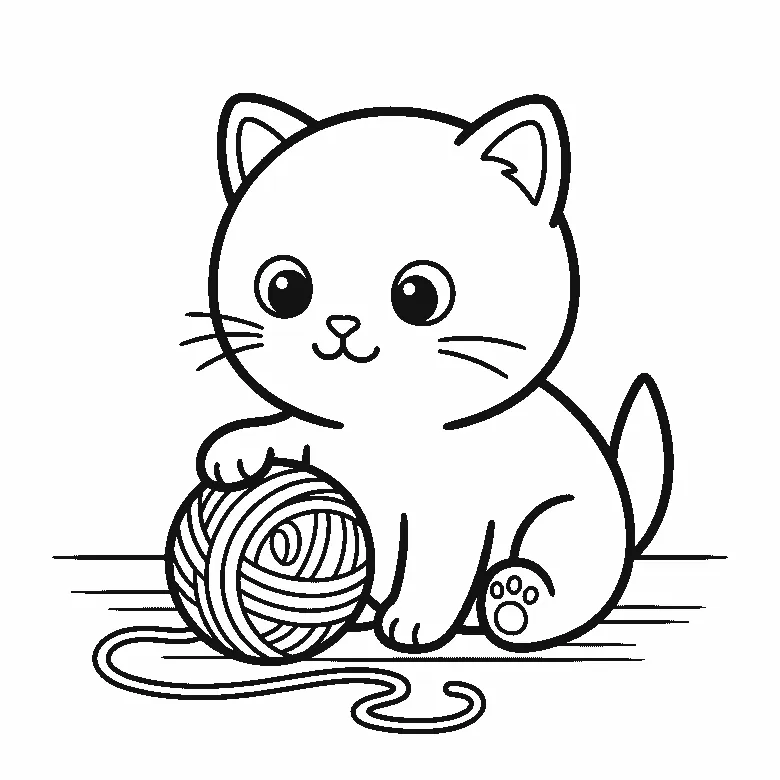
Kitten colouring page
A round-headed kitten sitting with one paw on a ball of wool, the loose thread trailing away across the floor, free as an A4 PDF.
Colouring outline drawn by us.
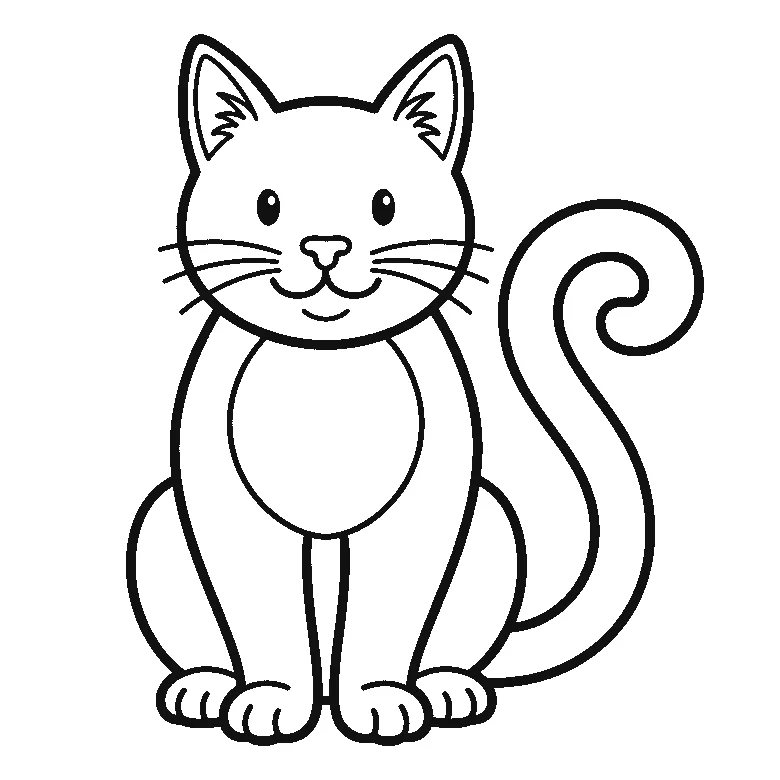
Cat colouring page
An upright, forward-facing cat with tufted ears and a curled tail, in thick black outlines on one A4-size sheet.
Colouring outline drawn by us.


