
PDF · A4 · 13 KB · Free, no sign-up. For home and classroom use.
Car colouring page
Three vehicles stacked down the page, hatchback, van and pick-up, with every panel left blank to fill.
Three vehicles are drawn one above another down the page, each seen straight from the side. At the top is a small hatchback with a sloping back and a short bonnet. In the middle is a van, tall and boxy, with a long flat flank and a sliding door line. At the bottom is a pick-up truck with a cab up front and an open bed behind it. All three sit level, all three show two wheels, and no vehicle overlaps another. The panels are left completely plain, which means there are no stripes, no vents and no decorative lines to work around.
That plainness is the whole point of the sheet. A side view with blank panels gives you three large uninterrupted surfaces, and what you put on them is up to you rather than up to the drawing. You can fill each vehicle in one flat colour, or treat the panels as space for stripes, blocks, checkers, numbers or patterns that were never drawn in. Sketch any pattern lightly in pencil before committing, because a pattern that looks even in your head often drifts once it crosses the door line, and a faint guideline is easy to cover with the final colour.
The wheels are the smallest closed shapes on the page and they set the tone for everything else. Two circles per vehicle, six in total, each with a hub drawn inside it. Colouring the tyre dark and leaving the hub light is the arrangement that reads as a wheel from across a room. Reversing it, or making the hubs bright and the tyres pale, gives the vehicles a toy-like look that suits a page with three of them stacked up. Whatever you choose, doing all six the same way ties the three separate drawings into one page instead of three unrelated ones.
Windows are the second decision. Left white, they read as glass with light on it and the vehicles look clean and diagram-like. Filled with a pale blue or grey, they look like glass you cannot see through, which is how car windows usually photograph. Filled dark, they go heavy and the vehicle reads as a silhouette with colour. The van sits in the middle of the page as the tall boxy shape of the three, so whatever you do to its glass lands at the centre of the sheet, and it makes sense to settle the van's windows first and let the other two follow.
Coloured pencil suits this page better than almost anything else, because flat body panels are exactly where layering shows. Two light passes in the same direction give a smooth surface with no streaks; a third pass along the lower part of a panel makes the vehicle look like it has weight sitting on its wheels. Crayon works and is faster, but on an area as long as the van's flank it tends to skip across the paper texture and leave a mottled finish. That mottled finish is a look worth keeping, and on a pick-up it can pass for a used, working paint job.
Markers give the strongest result and carry the most risk here. The three bodies are the largest fills on the sheet, and a marker crossing that much paper deposits enough ink to bleed through onto whatever is under the page, so put a spare sheet beneath before you start. Working in one continuous direction, edge to edge, while the ink is still wet avoids the darker bands that appear where a stroke overlaps a dried one. Gel pens are the opposite tool: too slow for the panels, but very good for adding a thin stripe or a number on the pick-up's door after the base colour is dry.
The three vehicles are genuinely different machines and the drawing is honest about it. A hatchback is short because its cargo space is inside the same box as the passengers, reached through the rear door. A van is tall because its whole body is one enclosed volume, which is why the middle drawing has so much flat side. A pick-up separates the two: a closed cab for people and an open bed behind it for everything else, which is why its outline drops down between the cab and the tailgate. Colouring the cab and the bed of the pick-up differently is a choice that matches how the thing is actually built.
Print at actual size on plain A4 paper so all three vehicles keep their proportions relative to one another. If you are using markers, thicker card is worth the trip to the printer settings. Two copies let two people work through the same three vehicles side by side, and one page can be kept to realistic paint while the other is invented from scratch. The finished sheet can be cut into three strips, one vehicle each, which turns a single page into three small pictures for a folder cover or a card front. Every panel here is left blank by design, so the paint on all three vehicles is a decision the sheet hands over to whoever colours it.
Before you print
- Settle the van's windows first, because its glass sits at the centre of the page and the other two can follow it.
- Colour all six wheels the same way, dark tyre and light hub or the reverse, so the three drawings read as one sheet.
- Sketch any stripe or number lightly in pencil first, since a pattern tends to drift where it crosses the door lines.
- Slide a spare sheet under the page before using markers on the long van flank, because that fill will bleed through.
- Give the pick-up's cab and bed different colours to match the way the vehicle is actually built.
Published Updated 853 words
More in this section
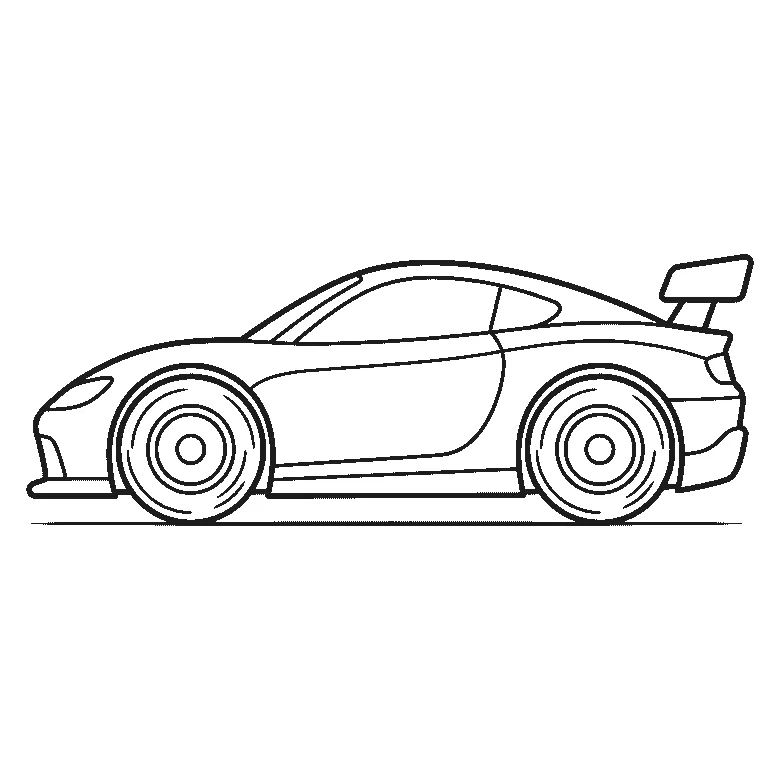
Racing car colouring page
A racing car seen from the side, with a bare body panel, a rear spoiler and spoked wheels, ready for any paint scheme you invent.
Colouring outline drawn by us.
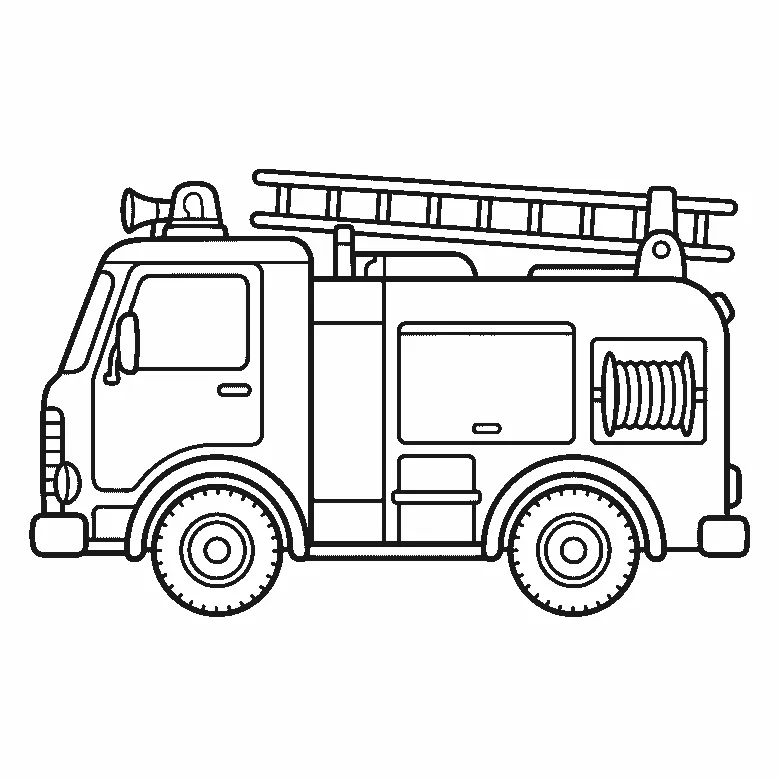
Fire engine colouring page
A side view of a fire engine with its ladder, beacon, horn, hose reel and treaded wheels drawn in clean outline.
Colouring outline drawn by us.
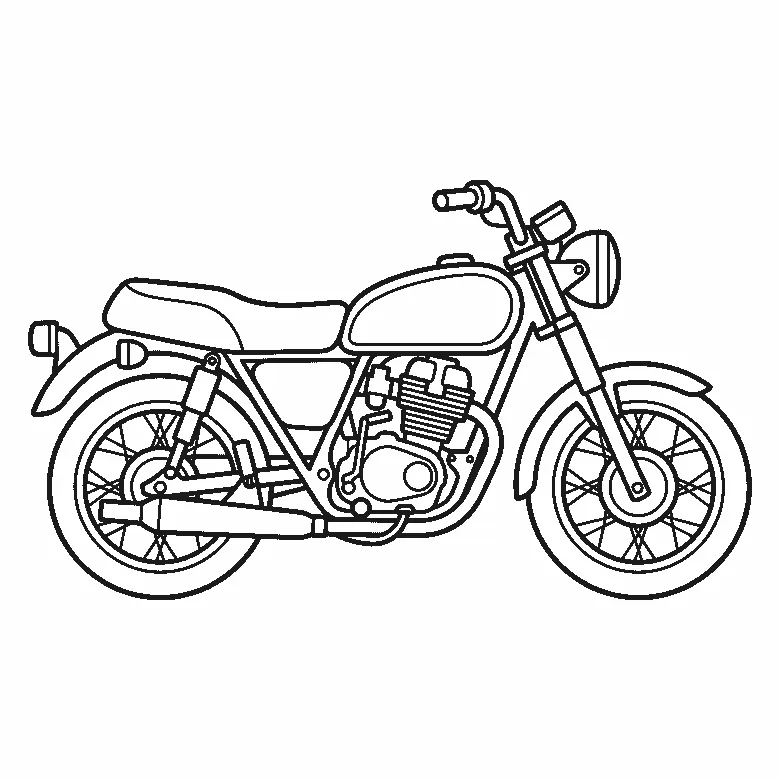
Motorbike colouring page
A motorbike in side view with spoked wheels, an engine, a headlamp and completely plain bodywork.
Colouring outline drawn by us.
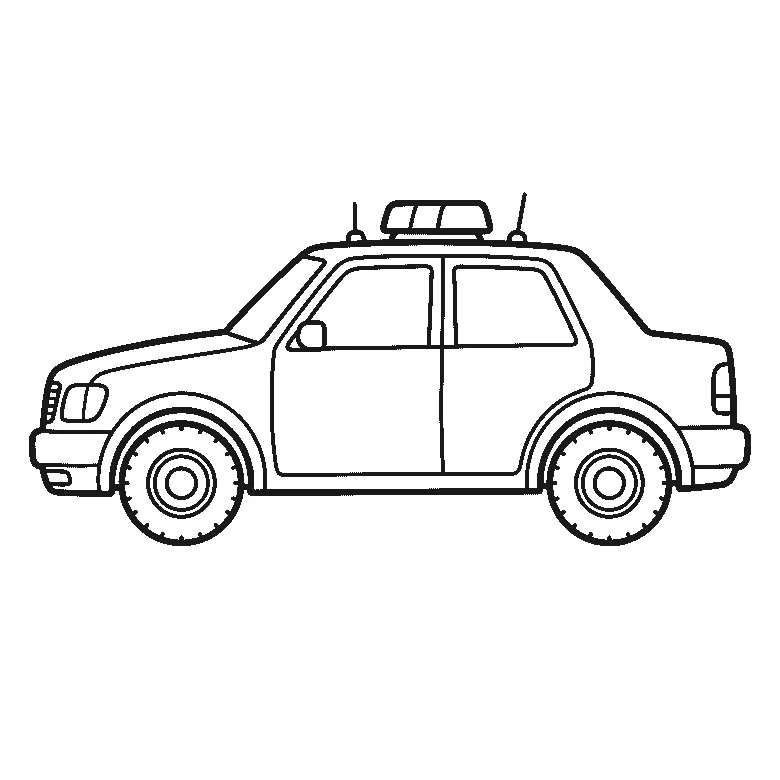
Police car colouring page
A patrol car in side view with a roof light bar, two aerials and completely plain door panels.
Colouring outline drawn by us.
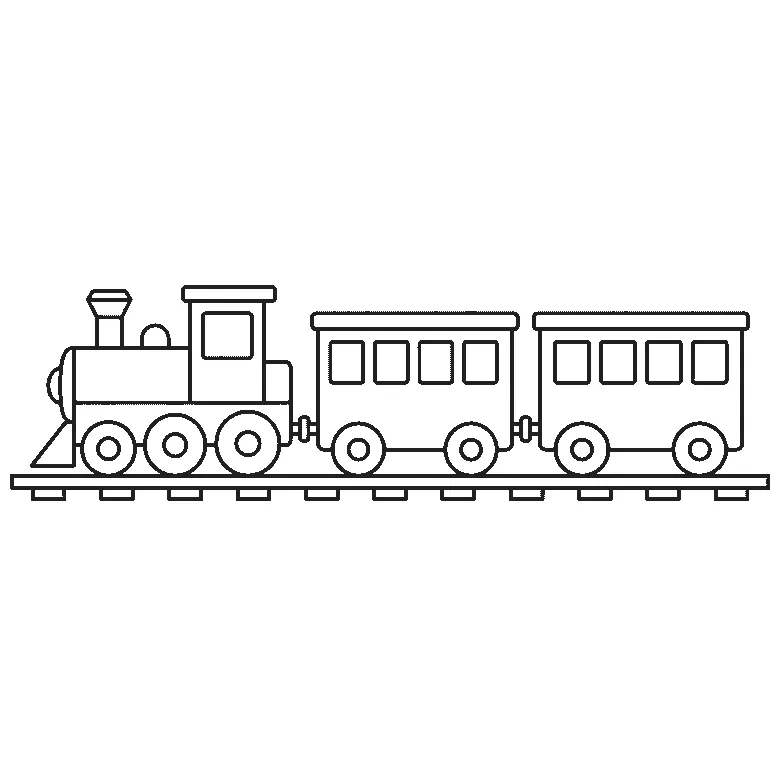
Train colouring page
A locomotive and two carriages on a straight track, drawn as simple boxes with big square windows.
Colouring outline drawn by us.
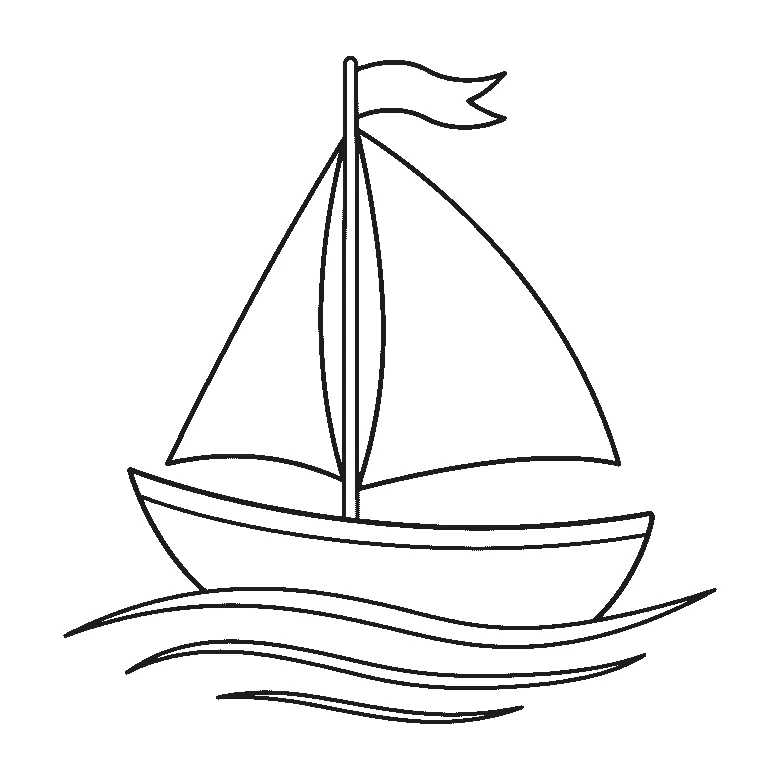
Boat colouring page
A sailing boat with two blank triangular sails and three curved water lines, drawn large and simple.
Colouring outline drawn by us.
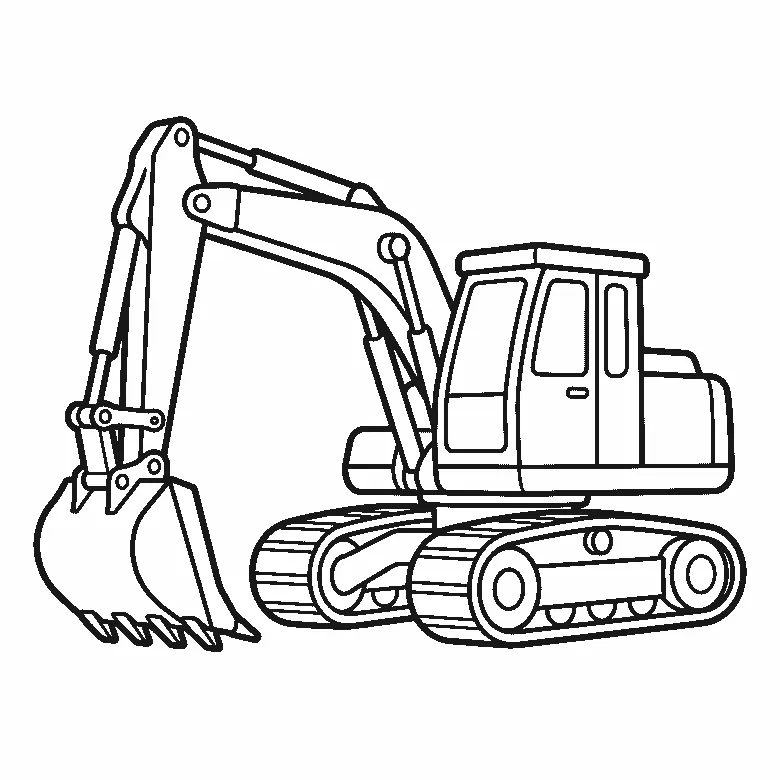
Digger colouring page
A tracked digger with a jointed arm and a toothed bucket, drawn from a three-quarter angle.
Colouring outline drawn by us.
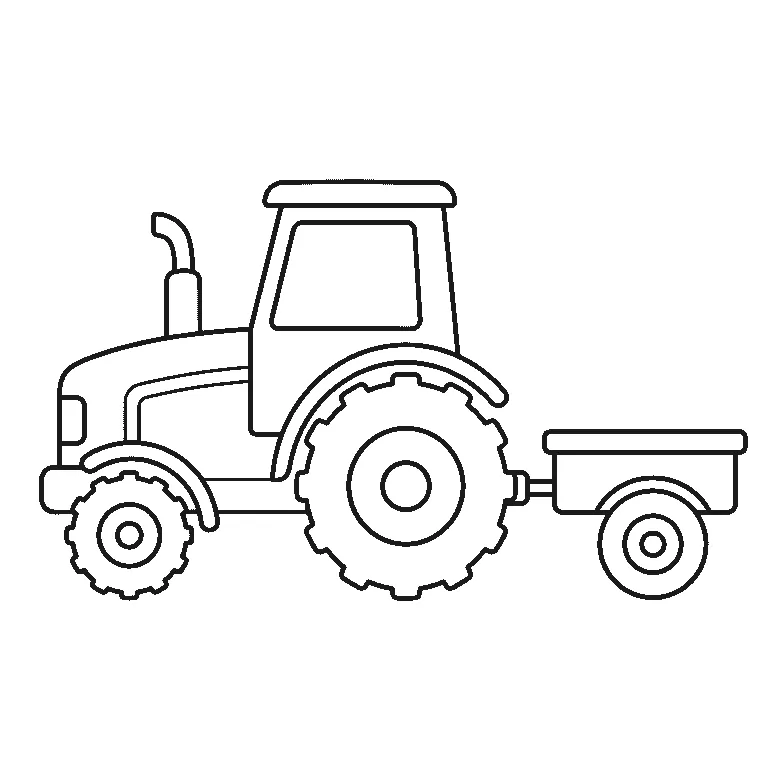
Tractor colouring page
A tractor with one huge lugged rear wheel and a small front one, pulling a two-wheeled trailer.
Colouring outline drawn by us.
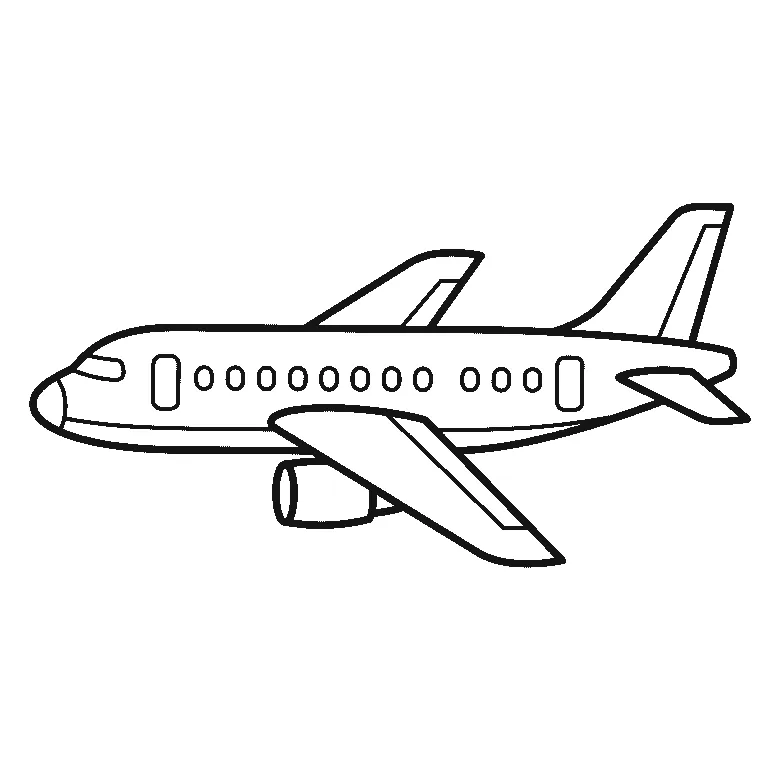
Aeroplane colouring page
A passenger aeroplane in level flight seen from the side, with a row of cabin windows, two wings and a tall swept fin, free as an A4 PDF.
Colouring outline drawn by us.


