
PDF · A4 · 7 KB · Free, no sign-up. For home and classroom use.
Aeroplane colouring page
A passenger aeroplane in level flight seen from the side, with a row of cabin windows, two wings and a tall swept fin, free as an A4 PDF.
This sheet holds one aircraft and nothing else. There is no runway, no cloud, no ground line and no horizon, so the aeroplane floats on white paper with room around it on every side. It is drawn from slightly below and to the side, nose pointing left and body tilted a few degrees up, which is what makes a static drawing look like it is climbing. The fuselage is one long tube with a rounded nose and a tapering tail. Two swept shapes near the nose stand for the cockpit glazing, and everything else on the body is the window row.
Eleven small oval windows run along the side in two groups, eight of them and then, after a gap, three more. At each end of that row stands a taller rounded rectangle, and those are the doors. The gap between the eighth oval and the ninth is not a mistake in the drawing: it is the sort of break a real cabin has where a galley or an exit sits. Colouring all eleven ovals identically and leaving the two doors white is the arrangement that makes the row read as windows rather than as a pattern.
Both wings are drawn and they behave differently. The near wing sweeps down and to the right, towards the viewer, and it carries a long narrow panel outlined inside it. The far wing sweeps up and away behind the body, drawn thinner because it is farther off. Treating the near wing as a lighter tone than the far one puts distance between them immediately, and it is the single change that does most for this drawing, because everything else on the page sits in one flat plane.
One engine hangs beneath the near wing, drawn as a short cylinder with two rings around it and a small pylon joining it to the wing above. It is one of the few shapes here with any thickness suggested in the outline, so it takes shading well: a darker tone at the bottom of the cylinder and a lighter one along the top makes it read as round rather than as a rectangle. The tail is a tall fin swept back at the top, with a long panel drawn inside it in the same way as the wing, and a smaller horizontal surface juts out to the right below it.
The fuselage is the largest single area on the sheet and it is completely plain, with no window frames, no stripes and no lettering anywhere. That leaves a decision rather than a task: one colour from nose to tail is the fast finish, and a band of a second colour running the length of the body under the window row is the traditional airliner arrangement, which is where the eye expects to find one. There is no badge, no airline name and no registration number anywhere in the outline, so nothing on this page has to agree with anything real.
A jet in this shape is drawn with the wings swept backward rather than sticking straight out, and that shape is not styling. Sweeping the wings back lets an aircraft fly faster before the air over the wing starts to misbehave, which is why airliners are drawn this way and small propeller aircraft usually are not. The tail fin is swept for the same reason. Noticing that once makes the drawing easier to colour, because the wing, the fin and the tailplane are then three versions of one shape and can be given one treatment.
Markers suit this sheet better than they suit most, since the areas are large, the outlines are thick and there are almost no narrow channels to feather across. The exceptions are the eleven ovals and the ring lines on the engine, which want a fine tip or a sharpened pencil. Crayon works well on the fuselage if the strokes all run the same way, along the body rather than across it, because a long shape coloured in one direction looks deliberate and the same shape scrubbed looks unfinished.
Print at actual size on plain A4 paper rather than fit-to-page, so the cabin windows keep their separation; scaled down, the eight in the first group start to run into one another. Card is worth it if markers are the plan, since the fuselage and the wings are broad flat fields. Cut out along the outline and the aircraft comes away in one piece, wings and all, with only the tailplane needing a careful pass. A length of thread taped behind the wing hangs it flat, which suits a drawing that has no ground under it in the first place.
Before you print
- Give the near wing a lighter tone than the far one, and the two separate at once.
- Colour all eleven cabin windows the same and leave the two doors white, so the row reads as windows.
- Shade the engine darker along its underside and lighter along the top to make the cylinder look round.
- Run crayon strokes along the fuselage rather than across it; a long shape coloured in one direction looks deliberate.
- Treat the wing, the fin and the tailplane as one shape with one treatment — they are swept the same way for the same reason.
Published Updated 777 words
More in this section
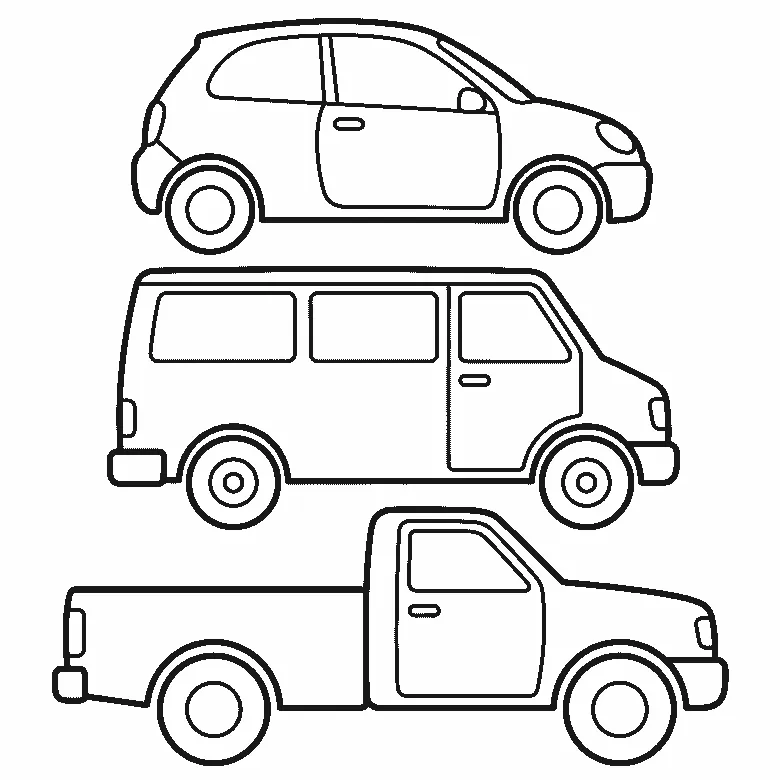
Car colouring page
Three vehicles stacked down the page, hatchback, van and pick-up, with every panel left blank to fill.
Colouring outline drawn by us.
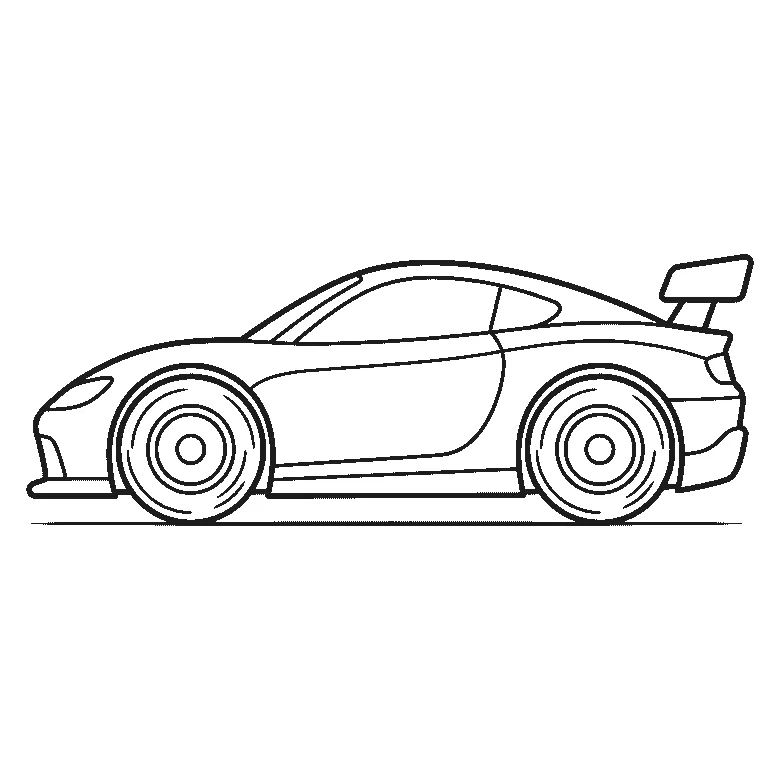
Racing car colouring page
A racing car seen from the side, with a bare body panel, a rear spoiler and spoked wheels, ready for any paint scheme you invent.
Colouring outline drawn by us.
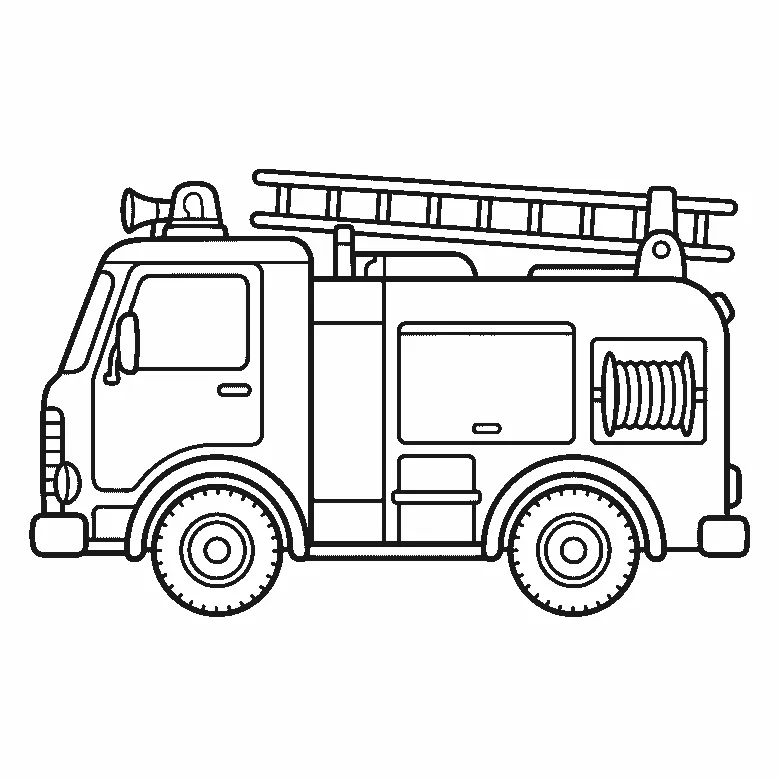
Fire engine colouring page
A side view of a fire engine with its ladder, beacon, horn, hose reel and treaded wheels drawn in clean outline.
Colouring outline drawn by us.
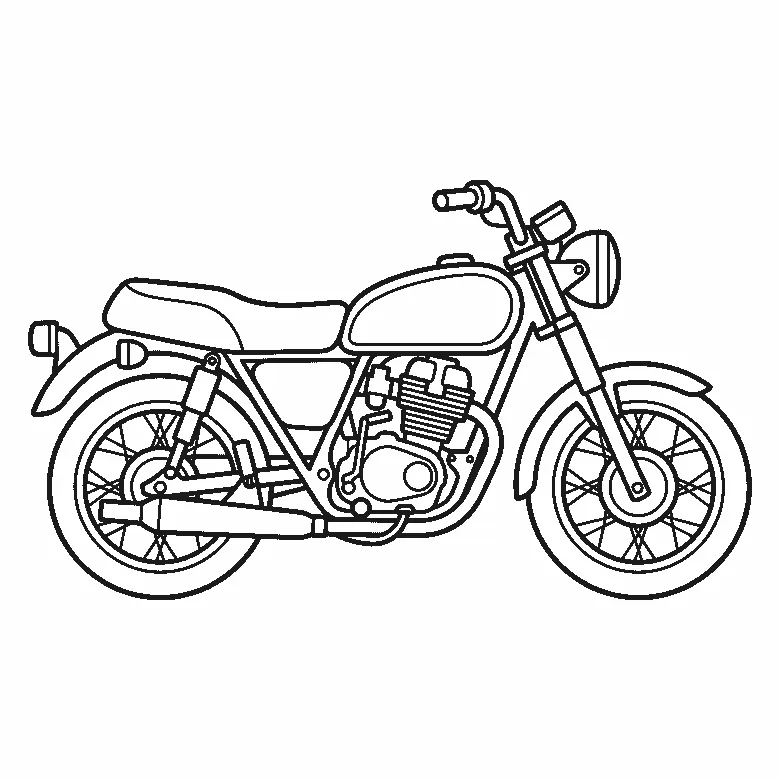
Motorbike colouring page
A motorbike in side view with spoked wheels, an engine, a headlamp and completely plain bodywork.
Colouring outline drawn by us.
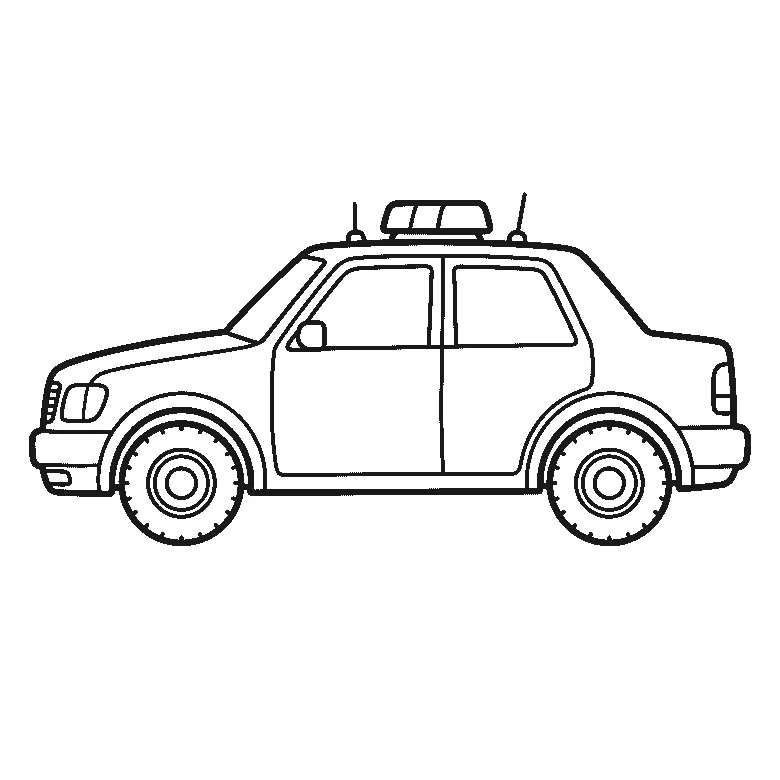
Police car colouring page
A patrol car in side view with a roof light bar, two aerials and completely plain door panels.
Colouring outline drawn by us.
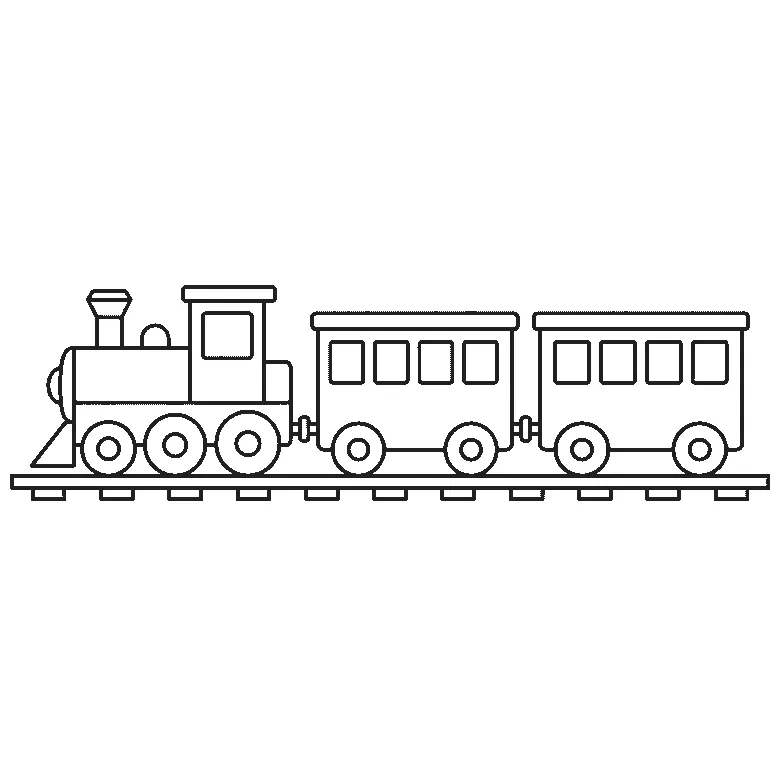
Train colouring page
A locomotive and two carriages on a straight track, drawn as simple boxes with big square windows.
Colouring outline drawn by us.
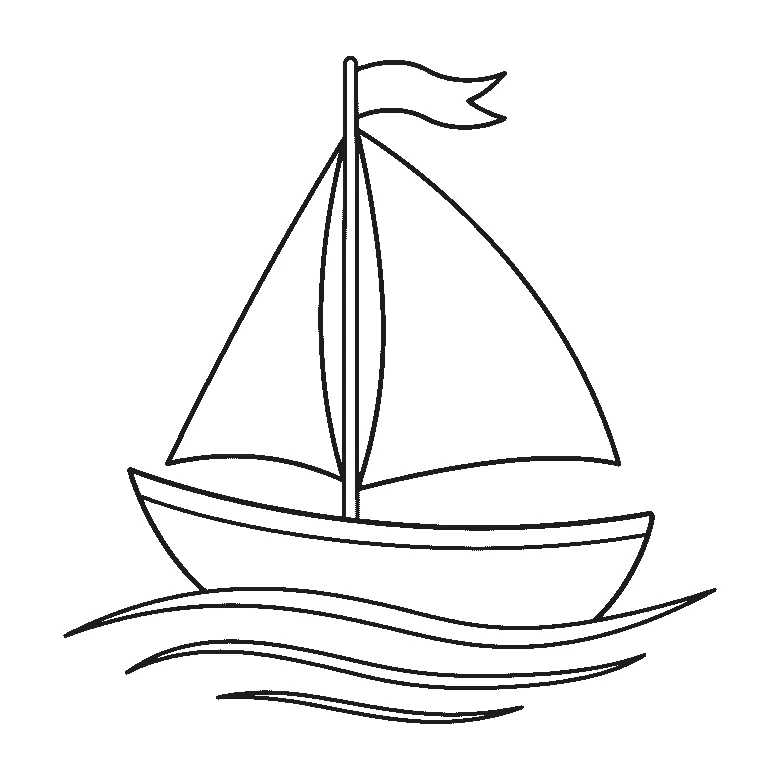
Boat colouring page
A sailing boat with two blank triangular sails and three curved water lines, drawn large and simple.
Colouring outline drawn by us.
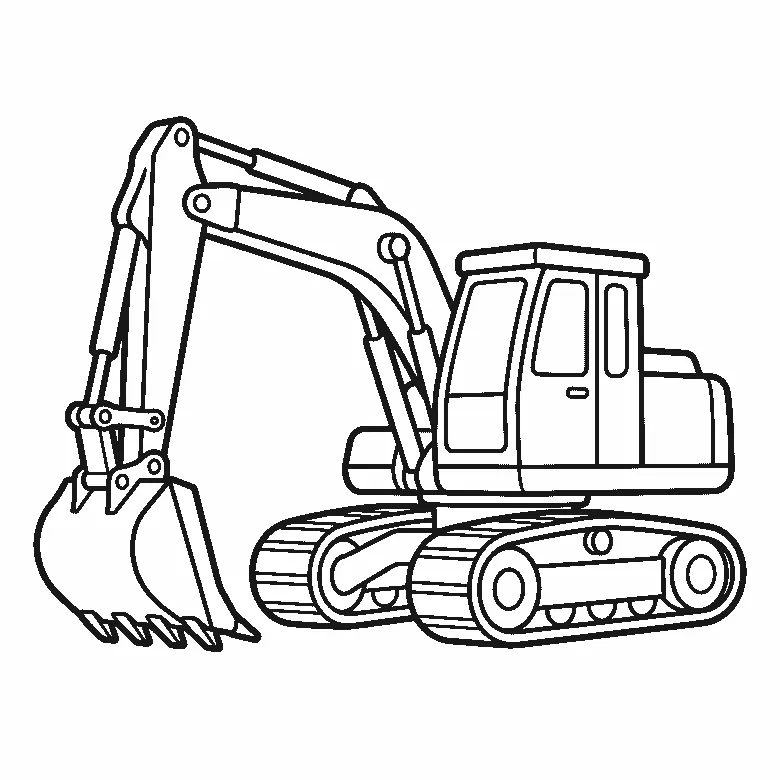
Digger colouring page
A tracked digger with a jointed arm and a toothed bucket, drawn from a three-quarter angle.
Colouring outline drawn by us.
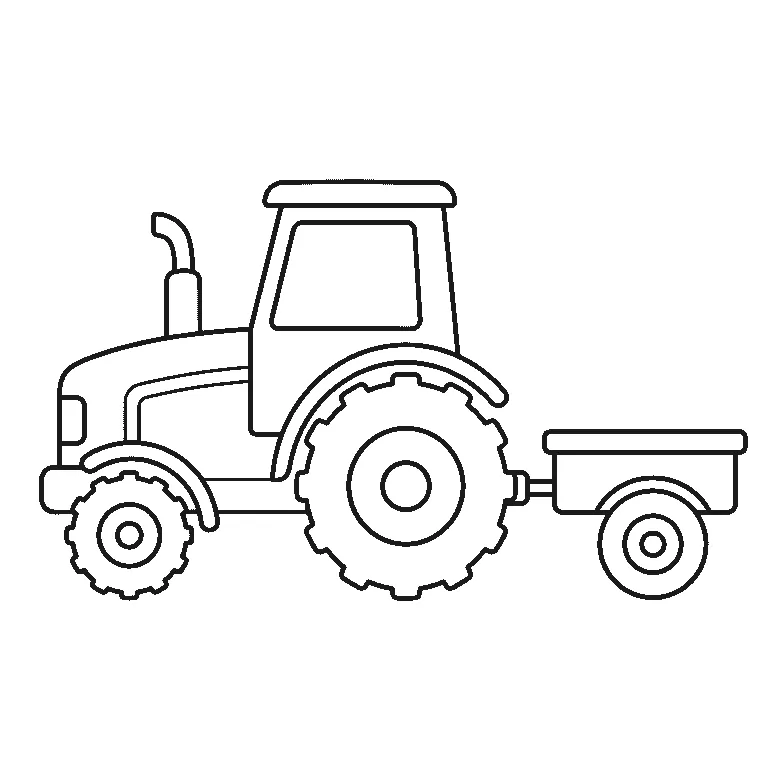
Tractor colouring page
A tractor with one huge lugged rear wheel and a small front one, pulling a two-wheeled trailer.
Colouring outline drawn by us.


