
PDF · US Letter · 15 KB · Free, no sign-up. For home and classroom use.
Christmas tree coloring page
One decorated tree with a star, baubles, light strings and five wrapped gifts, in black outline on letter paper.
The sheet holds one Christmas tree standing in the middle of the page, drawn as a stack of branch tiers that widen toward the bottom. A single large star sits at the very top. Round baubles hang across the branches, mixed with smaller star-shaped ornaments, and strings of lights loop from tier to tier in long curves. Five wrapped gifts sit underneath, boxes with lids and ribbons crossing over the tops. Everything is black outline on white, with no shading and no background fill anywhere on the page.
The largest open areas are the branch tiers themselves. Between the ornaments, each tier is a broad empty shape, and those are the parts that will take the most crayon or the most pencil passes. The gift boxes are the next largest, five flat panels that can each be a different color without crowding anything. The smallest shapes are the ornament centers and the individual bulbs on the light strings, and a fine tip helps there more than anywhere else on the sheet.
One workable order is to start with the ornaments and the star, finish every small shape while the hand is fresh, and only then fill the green of the branches around them. Working small to large means the wide tier can absorb a little overlap instead of the overlap landing on top of a bauble. If you would rather do the opposite, keep the branch color light where it runs up to an ornament, then darken it afterward once the small shapes are settled.
Crayon fills the tiers quickly and leaves a waxy grain that reads well as needles, though it skips on the tight curves of the light strings. Colored pencil is the better choice for the baubles, since two or three layers can go from a pale wash to a deep saturated ball. Markers make the boxes flat and vivid but will bleed into the branch outline if you push the tip against it. A gel pen suits the star ornaments, especially over an already colored tier.
Green branches, a gold top star, red and gold baubles: that is the familiar reading, and it will look right. Nothing on the sheet requires it. A blue tree with white ornaments, or five gifts in five shades of the same color, or a tree that shifts from dark at the base to pale at the tip all work, because the outline does not care which. The light strings are a good place to break the pattern, since alternating two colors bulb by bulb reads as a real strand.
An evergreen's tiers narrow toward the top, which is why the silhouette drawn here reads as a tree from across a room before a single ornament is filled. Firs and spruces both get used as Christmas trees, and they differ in how their needles attach: fir needles sit flat and soft against the branch, spruce needles are stiffer and square in cross-section, which is why a spruce feels prickly in the hand. The star is the largest ornament shape here, so it is a good place to test a color before committing it to the smaller baubles.
Print it at actual size on plain letter paper rather than fit-to-page, so the light strings stay as open as we drew them. If markers are the plan, run it on the heaviest paper the tray will take, because the long unbroken tier shapes are exactly where bleed shows. Two copies is a reasonable default for this one: the five gifts make it easy for two people to sit at the same table and compare which box ended up with which color.
A finished tree does well taped to a window, where the light behind it picks up the ornament colors. Cut around the outer silhouette and it becomes the front of a card or the cover of a folder holding the rest of the sheets. Taken on its own terms, this sheet is a crowded one, since the ornaments and the light strings put dozens of small shapes onto a single figure, while the tiers behind them stay open and the five gift boxes sit as broad flat panels along the bottom edge.
Before you print
- Fill the ornament centers before the branch tiers so any overlap lands on green rather than on a bauble.
- Alternate two colors bulb by bulb along the light strings so the strand reads as a real one.
- Keep a light touch on the star points at the top, since pressing hard flattens the tips into a blob.
- Give each of the five gift boxes a different ribbon color so the row under the tree does not read as one block.
- Put a scrap sheet underneath if you use markers on the tiers, because the long branch shapes are where bleed shows first.
Published Updated 700 words
More in this section
Birthday coloring page
A two-tier cake with three lit candles, a stack of two gifts and three balloons, printable at actual size.
Coloring outline drawn by us.
Thanksgiving coloring page
A fan-tailed turkey and a spilling cornucopia in black outline, sized for letter paper and ready to print.
Coloring outline drawn by us.
Valentine's Day coloring page
One large heart, two small ones, an open envelope with a heart seal, and a long-stemmed rose tied with a bow.
Coloring outline drawn by us.
Halloween coloring page
A pumpkin, a bat, a hanging spider and a buckled witch hat on one printable sheet, black outlines on white.
Coloring outline drawn by us.
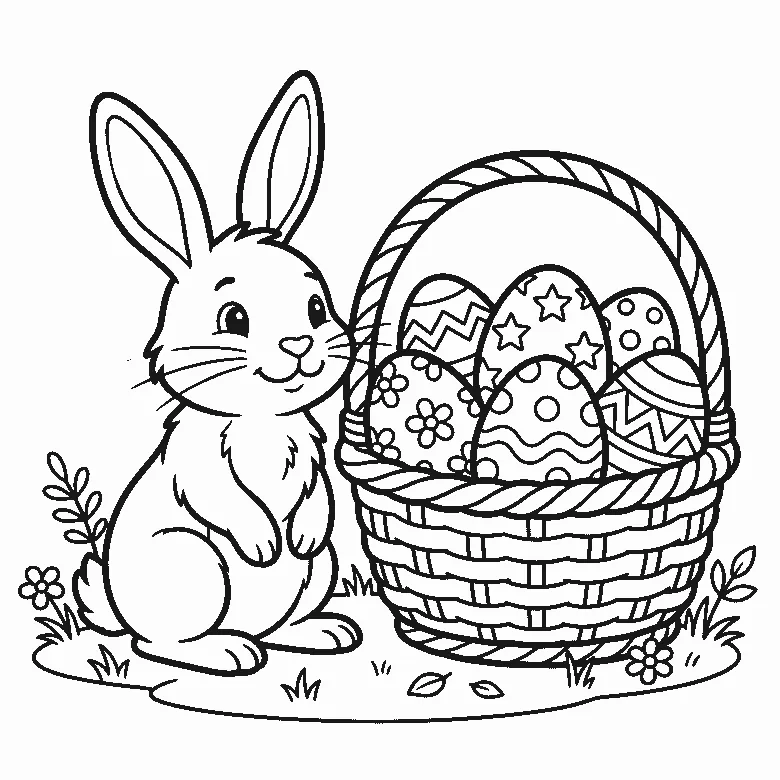
Easter coloring page
A rabbit in profile beside a woven basket of six patterned eggs, drawn in black outline for printing at letter size.
Coloring outline drawn by us.
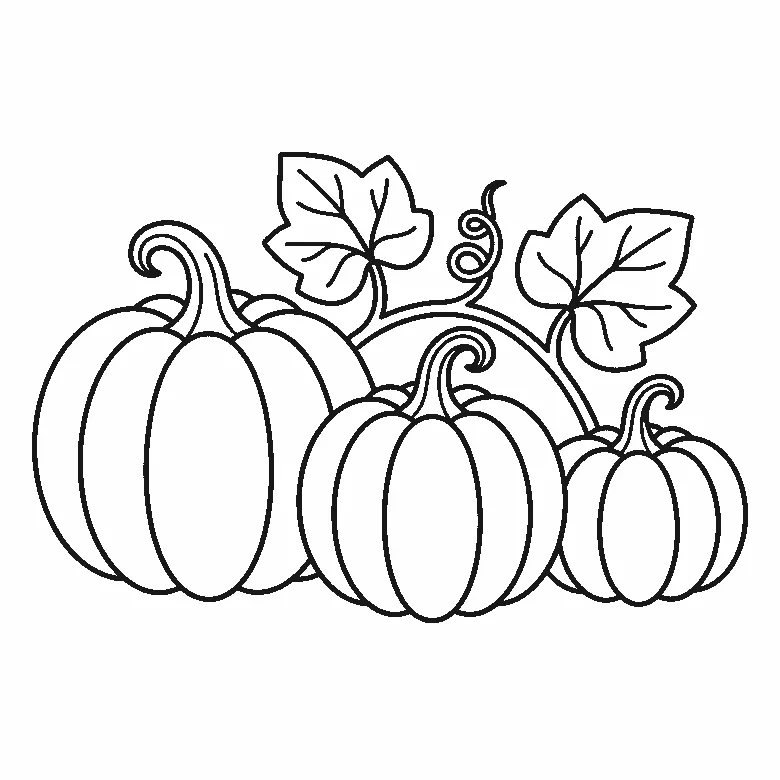
Pumpkin coloring page
Three ribbed pumpkins with curled stems, a vine with two broad leaves and a tendril running behind them.
Coloring outline drawn by us.
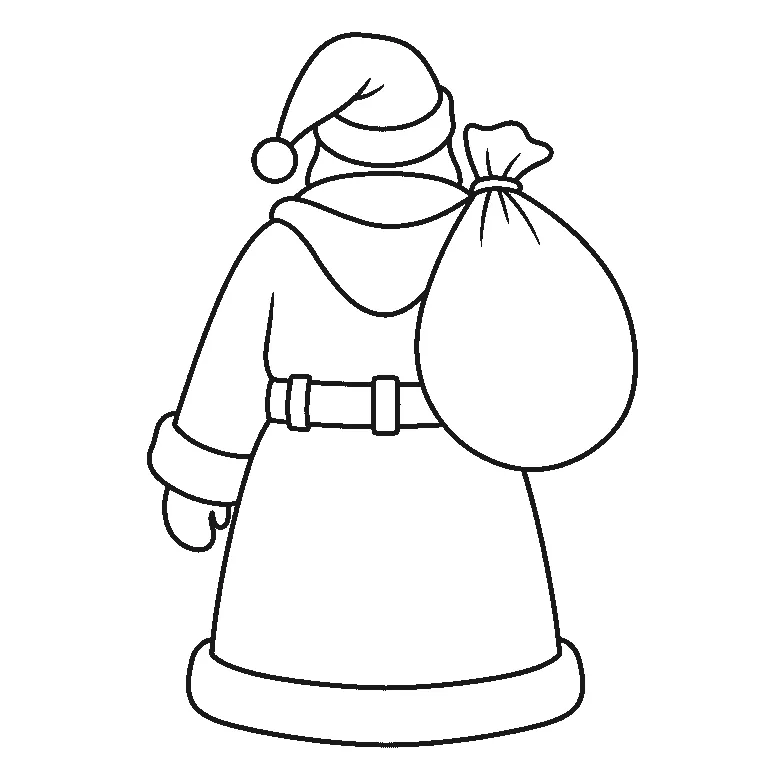
Santa coloring page
Santa drawn from behind in a belted coat with fur cuffs, a pointed hat with a pom-pom, and a sack over one shoulder.
Coloring outline drawn by us.
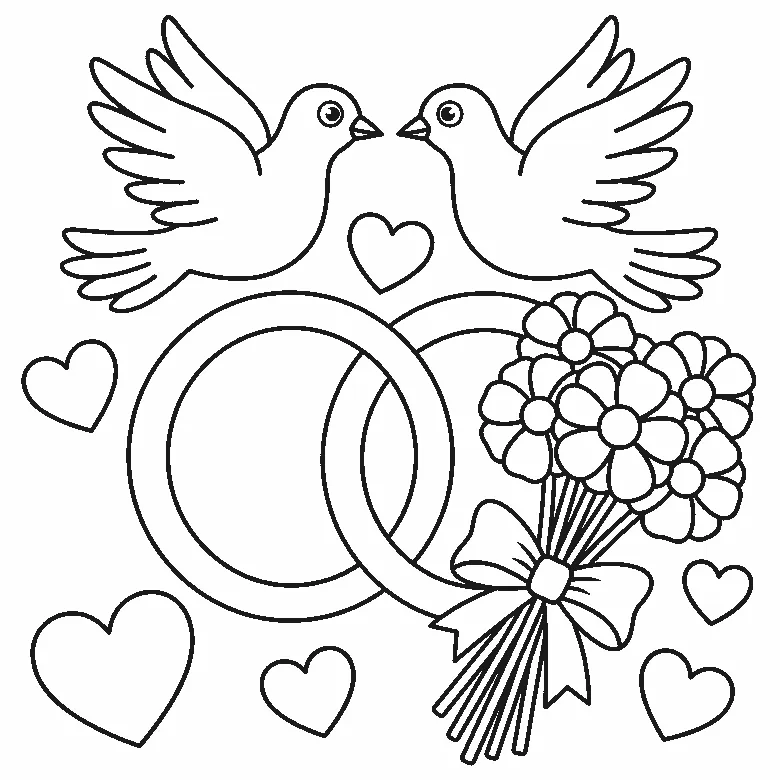
Wedding coloring page
Two interlocking rings, a pair of doves, a tied bouquet and six loose hearts on one sheet, free as a US Letter PDF.
Coloring outline drawn by us.
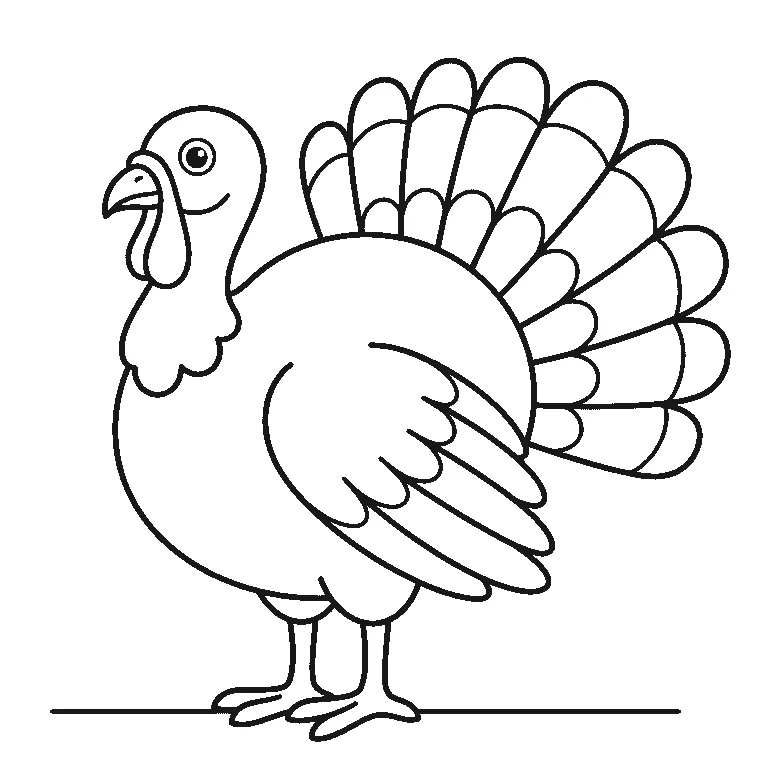
Turkey coloring page
One turkey in profile with a wide fanned tail and a folded wing, drawn large on a US Letter sheet.
Coloring outline drawn by us.

New Year coloring page
A clock at midnight, a firework burst, four balloons, a horn, a party hat and seven stars, printable at actual size.
Coloring outline drawn by us.
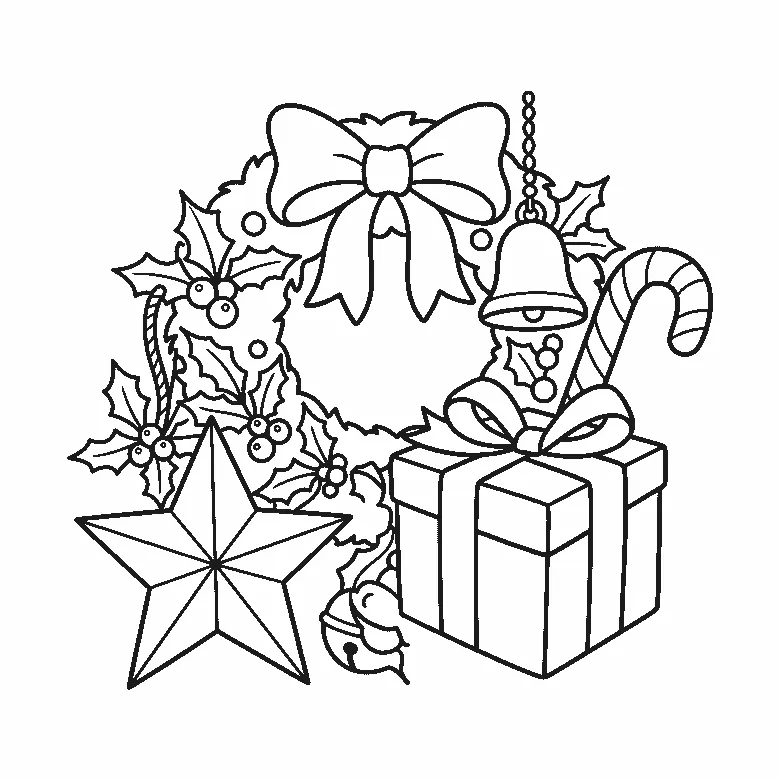
Christmas coloring page
Six separate holiday shapes on one sheet, from holly wreath to jingle bell, free as a US Letter PDF.
Coloring outline drawn by us.


