
PDF · A4 · 14 KB · Free, no sign-up. For home and classroom use.
Fish colouring page
A broad striped tropical fish with three bubbles beside it, free to print at full A4 size in clean outline.
This fish is drawn wide and seen from the side, taking up most of the width of the sheet. Broad stripes run across its body from top to bottom, splitting the middle of the animal into large separate bands rather than leaving one open shape. A round eye sits near the front, the tail fans out behind in a spread of thick outlines, and three bubbles rise in a loose diagonal beside the head. There is no background, no seabed and no water line, so the white around the fish is yours to use or leave alone.
The stripes decide the order of work for you. Take them one at a time from the head end towards the tail, and pick your next colour while the last band is still in front of you, because two similar tones sitting next to each other lose the effect the stripes are there for. Alternating between a warm colour and a cool one keeps each band distinct even from across a room. The fanned tail is best treated as its own piece afterward, since it has its own outlines and does not have to continue the pattern of the body.
Markers are the natural match for banded shapes. They lay down flat, even colour that stops cleanly at an outline, and a striped fish in marker looks deliberate in a way that pencil takes much longer to reach. The cost is bleed, so use card or slip a scrap sheet under the page. Coloured pencil suits anyone who wants the bands to blend slightly where they meet, and a watercolour pencil brushed with a damp brush will soften a band into the next one, which is worth trying on a second copy rather than the first.
The three bubbles and the eye are the only small shapes on the sheet. A bubble looks more like a bubble when it is not filled solid: colour a curve around the inside edge and leave the centre white, and it reads as glass rather than a dot. The eye can stay white with only the pupil filled, or take a ring of colour around it. Pressing hard in either of these will flatten them, and heavy pencil in a shape that size also tends to run over the outline where you cannot easily hide it.
Tropical fish come in almost any combination, which means there is nothing to get wrong here. Yellow with dark bands, orange with white, blue fading into silver, all of them exist somewhere. So does a fish coloured in six shades of green because that was what was on the table. The fins and tail are often a different colour from the body, and giving the fanned tail its own tone is an easy way to make the whole drawing look finished without doing any extra work.
A fish's stripes serve a purpose in the water: strong bands across the body break up its outline, so a moving shape is harder to read as one animal. The fanned shape at the back is the tail fin, and it is what drives the fish forward, while the smaller fins mostly steer and hold it steady. The gill cover sits just behind the head, which is roughly where the first stripe falls on this drawing. Bubbles like the three beside it rise because air is lighter than the water around it.
Use plain A4 paper and print at actual size, not scaled to fit, so the stripes keep their full width and the outlines stay thick enough to colour inside comfortably. Heavier card is worth the extra sheet if markers are involved. Because the bands invite different colour schemes, this is a sheet that rewards printing several copies and treating each one as a separate attempt, and a row of the same fish in four different palettes is a better wall than one carefully finished copy on its own.
Once it is done, the fish cuts out well. The outline is a single broad shape with only the tail sticking out, so scissors follow it easily, and the cut-out mounts on coloured paper or goes straight onto a folder cover. Taped to a window it reads clearly from the street because the bands stay legible at a distance. The bands are what carry this sheet: the body arrives already divided, so the drawing looks finished the moment the last stripe is filled in and the fanned tail has been given its own tone.
Before you print
- Work the stripes from head to tail and choose contrasting tones for neighbouring bands, or the pattern flattens out.
- Leave the centre of each bubble white and colour only around the inner edge.
- Give the fanned tail a colour of its own rather than continuing the body pattern into it.
- Markers suit these flat bands better than pencil, but print on card or the ink will come through.
- Print several copies and try a different palette on each one, since the stripes make the schemes easy to compare.
Published Updated 749 words
More in this section
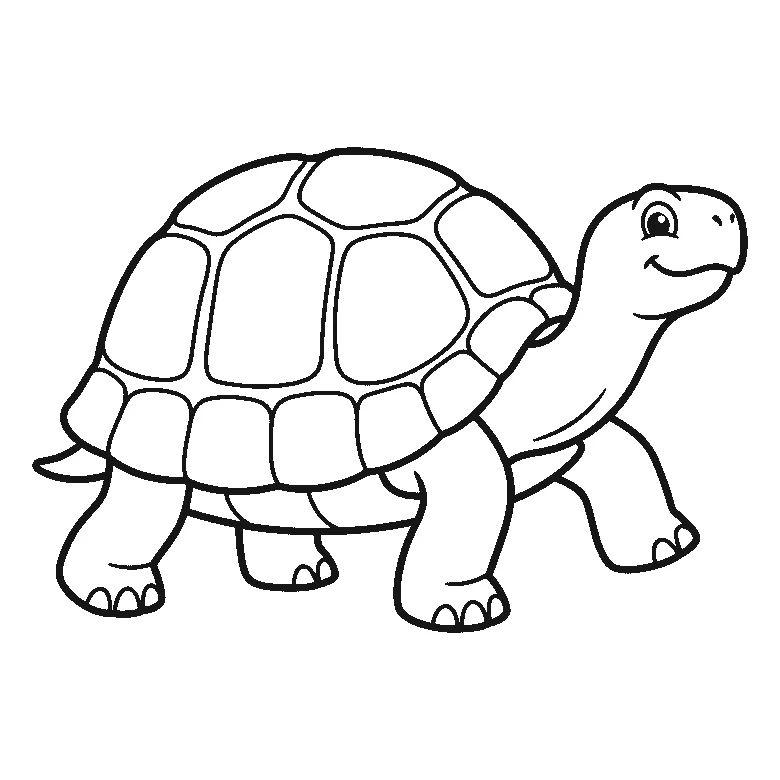
Turtle colouring page
A turtle mid-step with a large domed shell divided into plates, ready to print free on A4 paper.
Colouring outline drawn by us.
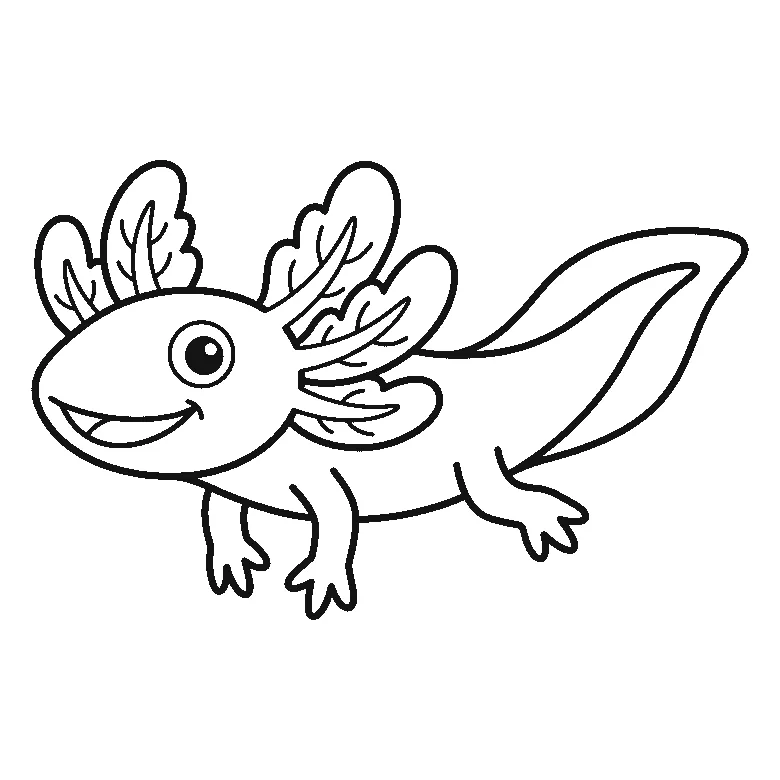
Axolotl colouring page
A side-view axolotl with feathery gills and a finned tail, drawn in thick black outlines for A4 paper.
Colouring outline drawn by us.
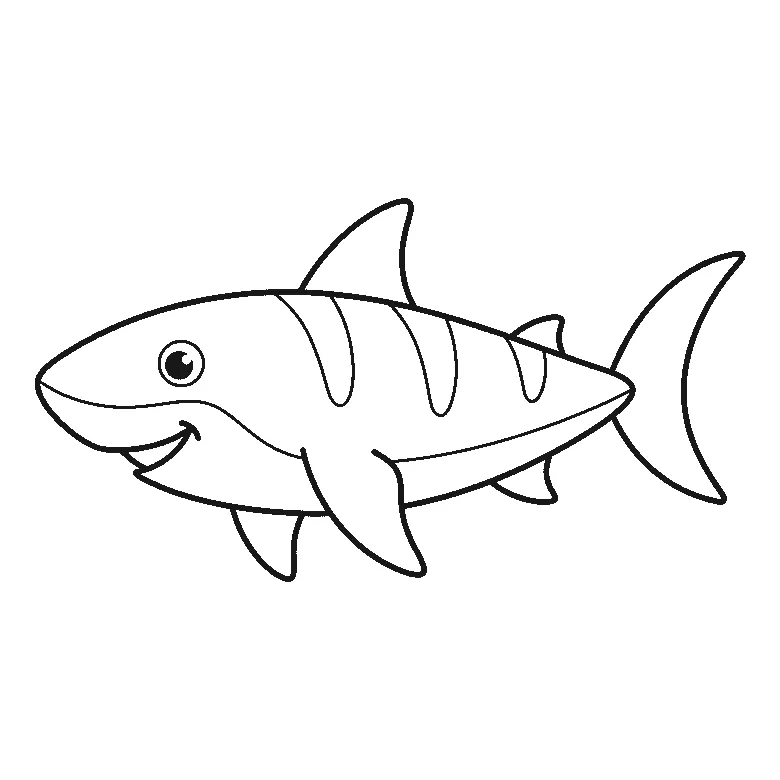
Shark colouring page
One shark in profile, tall dorsal fin to crescent tail, printable on A4 paper with no background.
Colouring outline drawn by us.
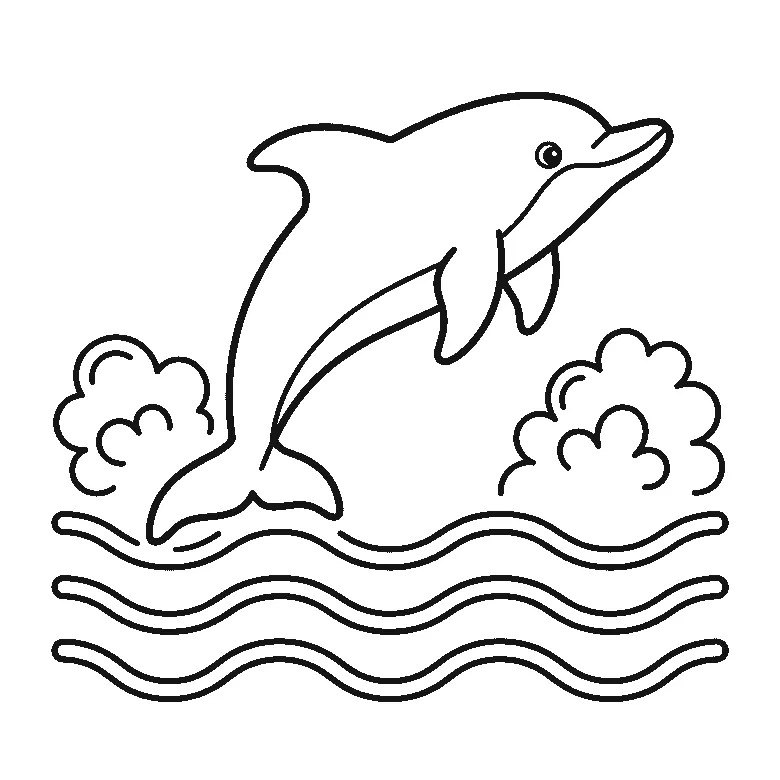
Dolphin colouring page
A leaping dolphin above three wave lines, drawn in thick black outline and free to print as an A4 PDF.
Colouring outline drawn by us.


