
PDF · A4 · 17 KB · Free, no sign-up. For home and classroom use.
Flower colouring page
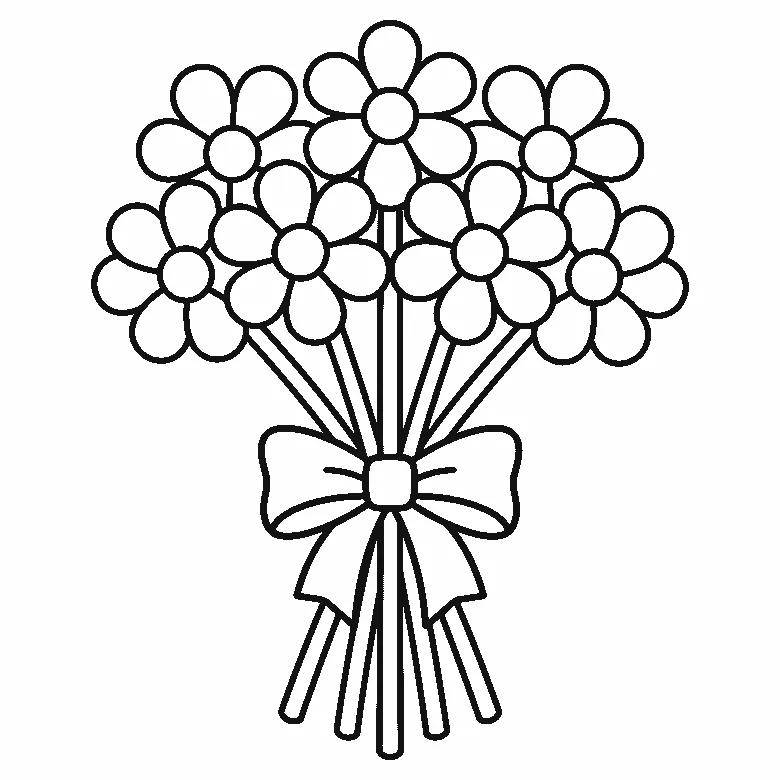
A tied bouquet of five round-petalled flowers, drawn as big open shapes on one printable A4 sheet.
The drawing on this sheet is a bouquet rather than a single bloom. Five flowers sit at the top, each one built from a ring of wide round petals around a centre circle, and each one rides on its own long stem. The stems run down and gather towards the middle of the page, where a ribbon wraps them and finishes in a bow with two loops and two loose ends. Leaves branch off the stems at intervals, some pointing left, some right, so the lower half of the page is not empty. Everything is drawn in plain black outline on white, with no shading and no texture inside the shapes.
Five flower heads means five chances to do something different. The petals are large enough that a crayon tip fits inside one without crowding the line. If you want the bouquet to read as one object, keep the petals in a narrow family of colours and let only the centres vary. If you want it to read as five separate flowers, give each head its own colour entirely and let the green of the stems be the thing that ties them together. Both readings are already built into the outline; you choose which one comes out.
There is a natural order to filling this in. The centres are the smallest closed shapes, so doing them first lets you press with a fine point while your hand is still steady, and any stray mark can be covered by the petal colour that comes afterward. Then the petals, working around each head so you can see the whole flower take shape. Then the stems and leaves, which are long and narrow and reward a slow stroke along the length rather than a scrub across the width. The ribbon last, because it crosses in front of the stems and looks best when it is the freshest layer on the page.
Coloured pencil suits the petals more than anything else here, because a round petal takes a gradient well. Lay a light pass over the whole petal, then press a little harder near the base where it meets the centre, and the petal stops looking flat without any blending tool. Crayon fills the same areas fast and leaves a waxy grain that reads as texture. Markers give the flattest, brightest fill and the strongest edge against the black outline, but they will soak through ordinary printer paper, so put a spare sheet underneath. Watercolour pencil is worth trying on the leaves alone, where a damp brush pulled down the length of a leaf turns two shades of green into one.
Real flowers give you plenty of honest options. Petals come in red, yellow, orange, pink, purple, white and blue, and centres are often a contrasting yellow or brown. Stems and leaves are green in almost every case, though the green ranges from a pale spring shade to something nearly blue. None of that is binding. A bouquet with black petals and silver stems is not wrong, it is a decision, and this outline holds up under it because the shapes are simple enough to survive any palette you put in them.
The ribbon is the most interesting small problem on the page. Its loops and tails overlap the stems, so it is the one place where the drawing has a front and a back. Colour it in something that contrasts hard with the green behind it and the bouquet suddenly gains depth. Colour it in a near-green and the whole lower half of the page goes quiet, which is a fine choice if you want the flower heads to carry all the attention. Either way, keep the tails a shade lighter or darker than the loops so the bow does not fuse into one blob.
Print it on ordinary A4 paper at actual size rather than fit-to-page, so the outlines land at the weight we drew them. If markers are the plan, thicker card is worth the swap. Two copies printed at once is a good habit with this particular sheet, because five heads hold two whole palettes, and a second copy lets one bouquet run warm and the other run cool without redoing the first. We laid it out with margins wide enough that nothing important sits near the trim, so it also scans and photocopies cleanly.
When the sheet is done, the bouquet shape lends itself to a few things beyond the colouring. Cut around the outer edge of the flowers and the ribbon and you have a bouquet silhouette to glue to the front of a folded piece of card. Leave it whole and it tapes to a window, where light through the paper may carry the petal colours across the room. Five heads, five rings of petals and a run of leaves stack up a lot of repeated shapes, so the page fills slowly and holds a long, unhurried session rather than a quick pass.
Before you print
- Fill the five small centres before the petals so any overshoot gets covered by the petal colour.
- Stroke the long stems and leaves lengthwise rather than across, so the grain follows the shape.
- Give the ribbon a colour that contrasts with the stems, or the bow disappears into the greens.
- Layer a second, harder pass at the base of each petal to keep the round shapes from reading flat.
- Slide a scrap sheet under the page if you use markers, since the petal areas are large enough to soak through.
Published Updated 826 words
More in this section

Rainbow colouring page
Six separate bands, a cloud at each end and three birds overhead, all in open outline on one A4 page.
Colouring outline drawn by us.

Space colouring page
A rocket climbing past stars, a crescent moon and a ringed planet, drawn as clean outlines on A4 size.
Colouring outline drawn by us.

Heart colouring page
One big heart packed with small hearts, spirals and flowers, wrapped in a ribbon, free to print on A4 paper.
Colouring outline drawn by us.
Bouquet colouring page
Seven round flowers with wide petals, their stems bundled and tied with a broad ribbon bow.
Colouring outline drawn by us.


