
PDF · A4 · 20 KB · Free, no sign-up. For home and classroom use.
Apple colouring page
Three apples on a leafy branch and one on the ground, in thick outlines sized for crayons.
The sheet holds a short section of branch running across the upper part of the page, with leaves spreading off it and three round apples hanging below. A fourth apple sits on the ground under the branch, tipped slightly, with its own stem and a small leaf still attached. Every apple is drawn as a full closed shape with a dip at the top where the stem enters, so each one is a large uninterrupted area waiting for colour. The branch is a thick line with bark texture suggested by a few strokes rather than by fine detail, and the leaves are simple pointed ovals with a centre vein down each. Nothing on this page is small enough to fight with a crayon tip.
The four apple bodies are the biggest open areas, and they are the reason this sheet works well for a beginner. A round shape with no interior lines lets a hand move in long sweeps instead of stopping at every edge, and it forgives a stroke that runs a little past the outline. Fill those four first while attention is fresh, then move outward to the leaves, and finish with the branch. Leaving the branch for last has a practical benefit: by then you already know how dark your reds came out, and you can pick a brown that sits against them without competing.
Real apples come in deep red, streaked red over yellow, plain green, and a dull gold that goes rosy on one side. Any of those is correct here, and so is none of them. Making all four the same red gives the page a poster-like calm; giving each apple a different treatment turns the branch into a small collection. Colouring the three hanging apples alike and giving the one on the ground a different shade splits the page into a group and a single, which reads as the same fruit under different light, or simply as the odd one out.
Coloured pencil is the medium that gets the most out of a round shape. Layer a light pass over the whole apple, then go back over one side with more pressure so the colour builds up where the fruit would turn away from the light, and leave a small patch near the top edge almost bare. That untouched patch does more work than any amount of shading, because it reads as a highlight on a curved surface. Crayon can do the same thing with a lighter and a heavier pass, though the wax will skip a little on the paper grain, which is part of how crayon looks.
Markers behave differently on this drawing and it is worth knowing before you start. A marker lays down flat, even colour that makes an apple look like a printed shape rather than a piece of fruit, which is a look you can pick deliberately. The problem with markers on plain paper is the bleed: ink soaks through and shows on the back of the sheet, and it creeps sideways past a thick outline if you park the tip in one place. Working from the outline inward in quick strokes, without going back over a spot that is still wet, keeps the edges clean. If you plan on markers, print on the heaviest paper your printer will pull through.
The apple on the ground sits away from the branch with nothing above or beside it, and it invites a small decision the hanging fruit does not. Because it rests on a line, you can put a shadow under it, or leave the ground blank so the apple floats on white paper. A short band of grey or soft blue-grey tucked against the bottom curve is enough. Anything more turns the empty lower third of the page into a busy area, which pulls the eye away from the branch where most of the drawing actually is.
Apples grow at the end of short spurs on the branch, hanging by their stems, and the fruit turns colour as the season goes on rather than starting out red. The leaves stay green the whole time. That is worth knowing while you colour, because it means green leaves against a red apple is what the tree actually looks like, not a decorating choice, and it also means an apple that is half green and half red is perfectly honest. The seeds sit in a small star-shaped core at the centre, which is not drawn here but is what the dip at the top and the dimple at the bottom line up with.
Print it on plain A4 paper at actual size rather than fit-to-page, so the outlines keep the weight they were drawn with. Two copies side by side put the same branch on two sheets, so one can be a realistic tree and the other anything at all. When it is finished, the page is well suited to being cut around the branch and taped in a window, because the apple shapes read clearly from a distance. What this sheet gives you is four versions of the same round thing, each one a large closed area with a stem dip at the top, and the choice of how much they should differ from one another is left open.
Before you print
- Fill the four apple bodies first, then the leaves, then the branch last so your brown can answer the reds you actually got.
- Leave a small patch near the top of each apple uncoloured and it will read as light on a curved surface.
- If you use markers, print on the thickest paper your printer accepts, because the four large fills will show through plain printer paper.
- Give the apple on the ground a short grey band along its lower curve rather than filling the whole ground area.
- Colour the three hanging apples the same and the fallen one differently if you want the page to have a focal point.
Published Updated 880 words
More in this section
Fruit colouring page
A wide bowl holding an apple, a pear, a banana, half an orange and a bunch of grapes, all in open outline.
Colouring outline drawn by us.
Cake colouring page
A two-layer cake on a plate with one wedge already cut out, a dripping icing border and five cherries.
Colouring outline drawn by us.
Bubble tea colouring page
A tall cup with a domed lid, a wide straw and a heap of round pearls filling the bottom.
Colouring outline drawn by us.
Ice cream colouring page
A tall sundae glass with three scoops and a cherry beside a two-scoop waffle cone, on one printable A4 sheet.
Colouring outline drawn by us.
Food colouring page
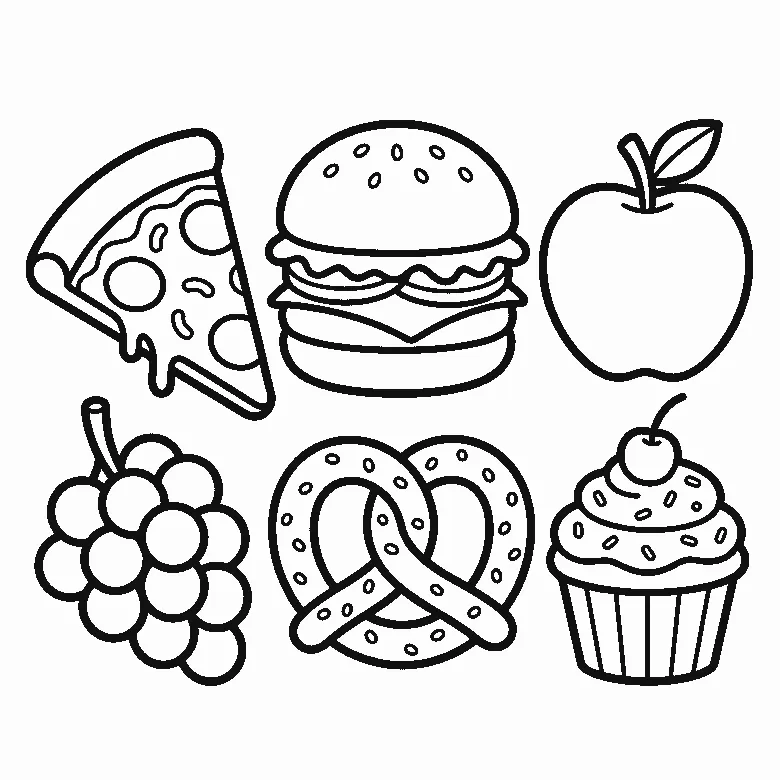
Six foods in two rows, from a pizza slice to an iced cupcake, drawn as thick black outlines on an A4 sheet.
Colouring outline drawn by us.


